3 capturing images and data, 1 data selection, 2 capturing images – LumaSense Technologies Pearl Control User Manual
Page 21: To capture an image
Pearl Control Software Manual
Capturing Images and Data 21
3 Capturing Images and Data
Single frames can be captured from the camera and downloaded to the Pearl Control Software.
In addition to the live image, other types of images can be downloaded for diagnostic checks.
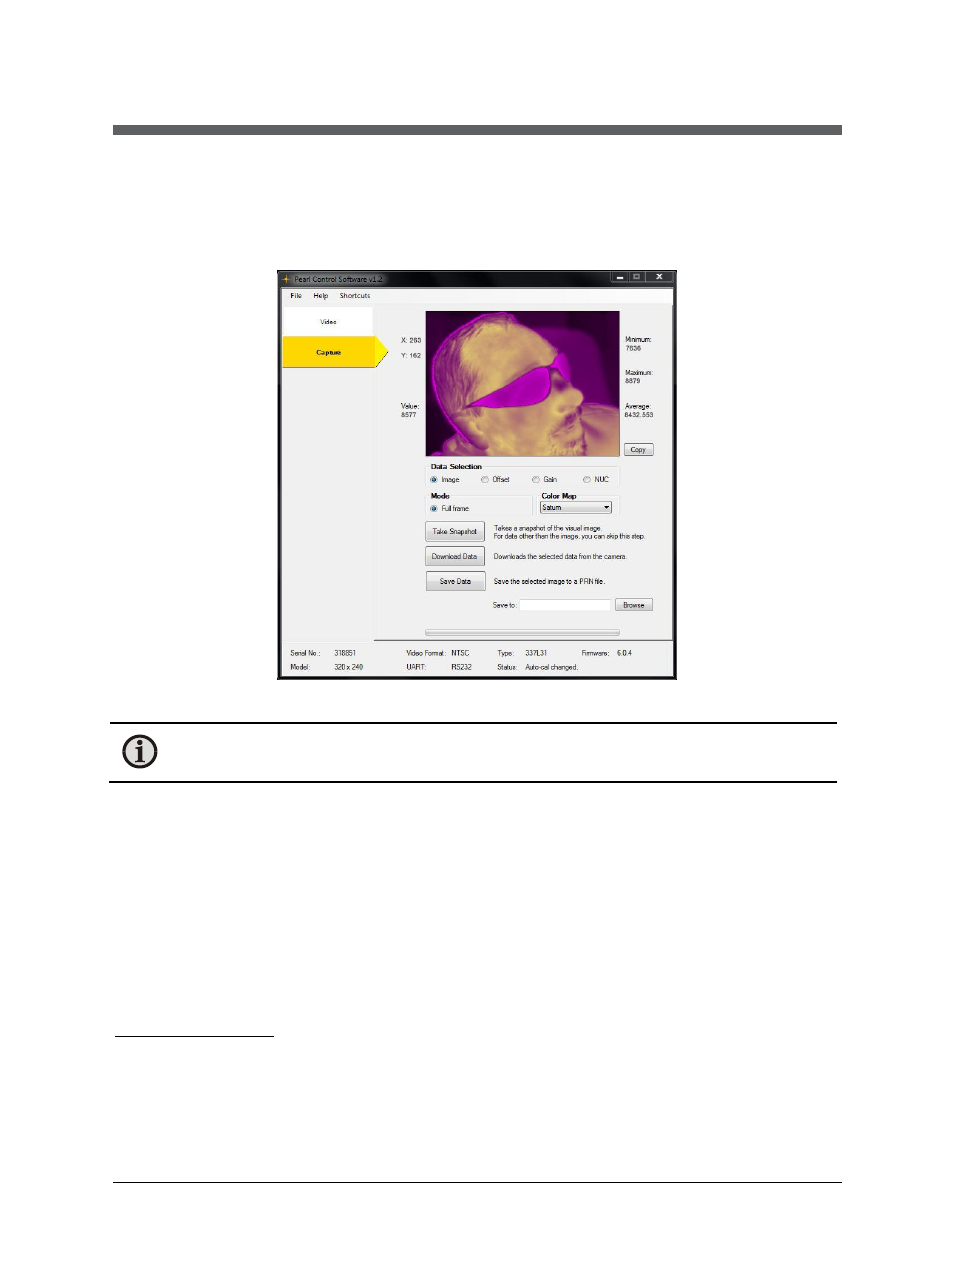
Capture Tab
Note: The Capture tab is not available on all versions of the Pearl Camera. Only
versions 5.0.8 and newer support this feature. This tab is disabled for older versions.
3.1 Data Selection
The Pearl Control Software offers four types of data selection:
Image
Selects a snapshot of the live image to capture.
Offset
Selects the offset field (1-point correction) for capture.
Gain
Selects the gain map (2-point correction) for capture.
NUC
Selects the Non-Uniformity Correction map for capture.
3.2 Capturing Images
To capture an image:
1. Mark the desired Data Selection.
2. Click Take Snapshot. The camera will take a snapshot of the live image.
3. Click Download Data to retrieve the image from the camera. This takes roughly 15
seconds to complete.