3 pcmcia (pc card) installation/removal, 3 pcmcia (pc card) installation/removal -11 – Proface APL3000B - Node Box PC User Manual
Page 56
Chapter 3 Installation and Wiring
3-11
3.2.3
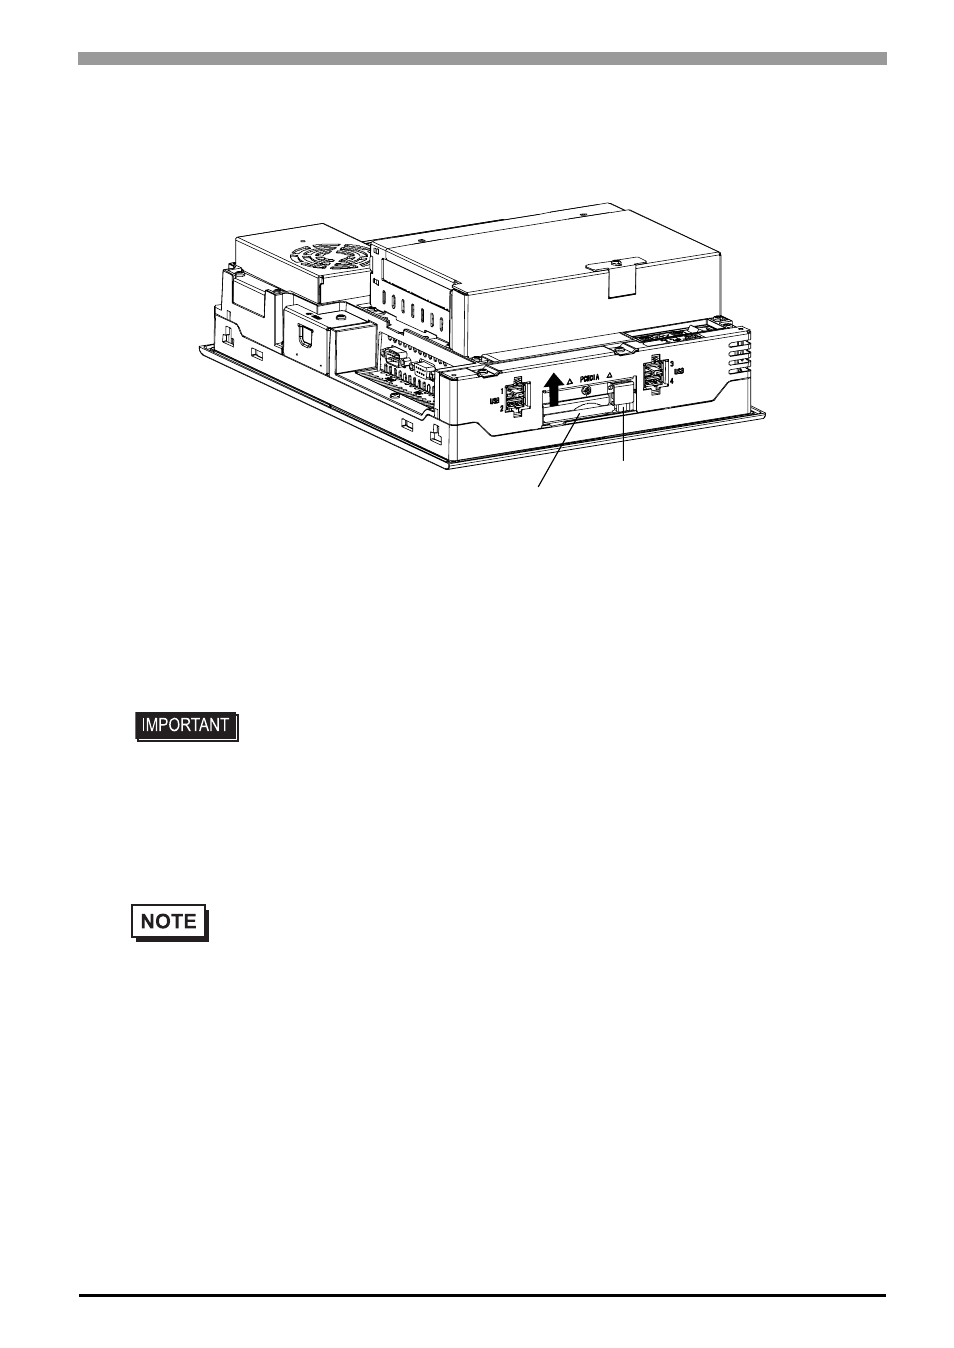
PCMCIA (PC Card) Installation/Removal
(1)
Loosen a screw in the PCMCIA slot on the side of the PS-A unit and slide the cover in the direction of
the arrow as shown below.
(2)
Press the eject button twice to remove the PC Card from the PCMCIA connector. (Pressing the eject
button once causes the tip to come out. Pressing the eject button the second ejects the PC Card from the
PCMCIA slot.)
(3)
Reinstall the PCMCIA slot cover and tighten a screw. The torque required to tighten these screws is 0.5
to 0.6N•m.
•
When using a PC Card with a cable attached, Pro-face recommends you use a clamp or
other type of device to prevent vibration from possibly dislodging the cable.
•
When powering ON the PS-A unit, be sure to stop the PS-A unit’s PC Card driver prior to
removing the PC Card. Failure to stop this driver may result in damage to either the PC
Card, the PC Card’s data, or may cause Windows
®
to stop. For information on the
procedure for stopping the PC Card’s driver, please refer to your OS’ User Manual.
•
With the display face of PS-A unit downward (as illustrated), insert the PC Card face up.
PC Card
Eject Button