4 configure the jumper settings, 5 hard drive installation – IEI Integration ECW-281B-N270-WT v2.00 User Manual
Page 62
ECW-281B Embedded System
Page 46
Step 2:
Gently remove the bottom surface from the ECW-281B/281B2-R20.
Step 0:
4.2.4 Configure the Jumper Settings
To configure the jumper settings, please follow the steps below.
Step 1:
Remove the bottom surface. See Section
751H751H751H
4.2.3.
Step 2:
Locate the jumper settings on the embedded motherboard. See Chapter
752H752H752H
3.
Step 3:
Make the jumper settings in accordance with the settings described and defined
in Chapter
753H753H753H
3.
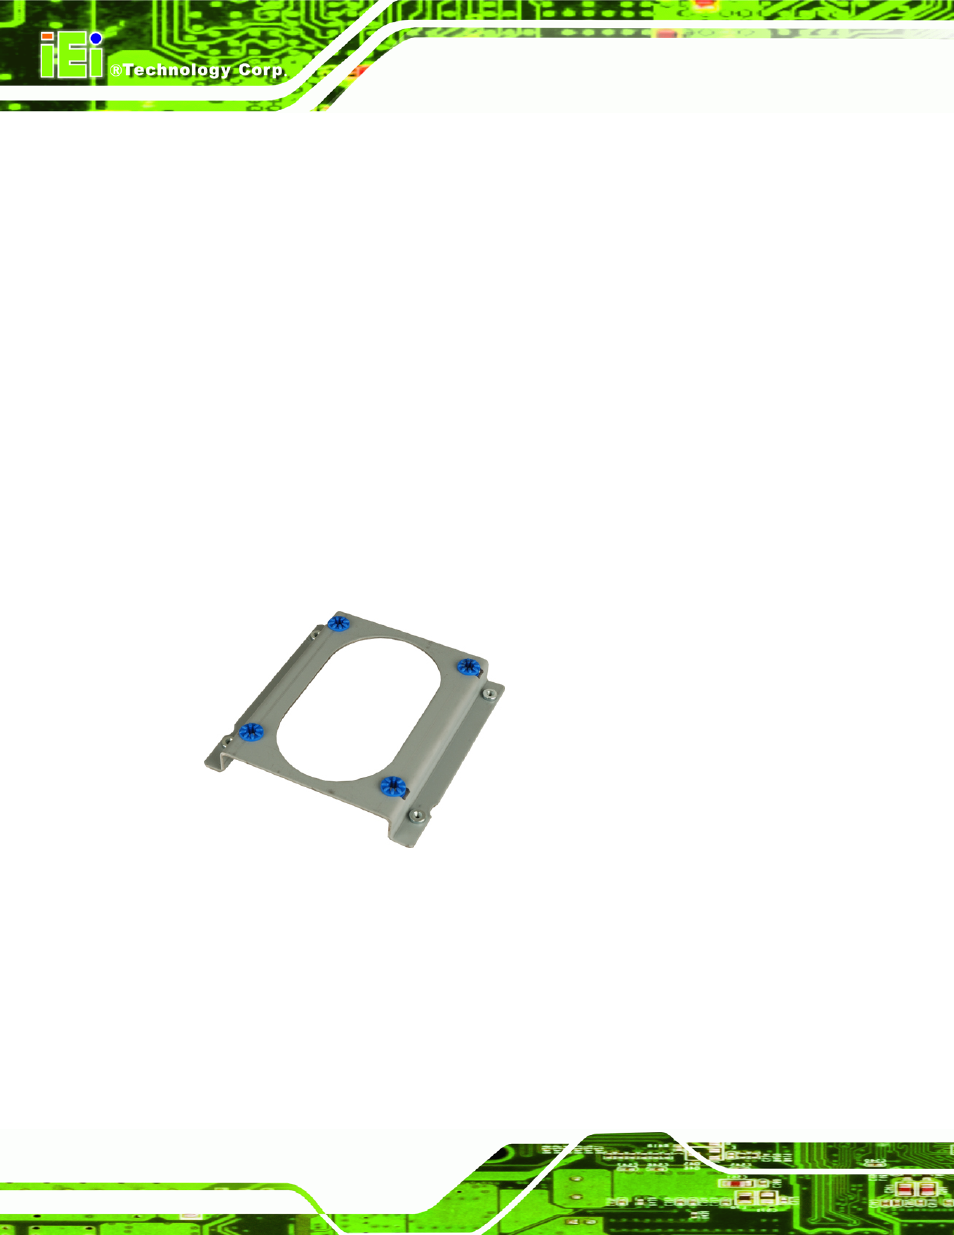
4.2.5 Hard Drive Installation
One 2.5” SATA hard drive supported. The SATA drive is installed into a hard drive bracket
attached on the inside of the bottom panel (
754H754H754H
Figure 4-2).
Figure 4-2: Hard Drive Bracket
To install the hard drive into the system, please follow the steps below.
Step 1:
Remove the bottom surface See Section
755H755H755H
4.2.3.
Step 2:
Remove the hard drive bracket from the bottom surface by removing the four
retention screws that secure the bracket to the bottom surface. (
756H756H756H
Figure 4-3)