Arc top load rebuild procedure – Warner Electric ARC 2000 User Manual
Page 11
Warner Electric • 800-825-9050
P-2016 • ARC 11
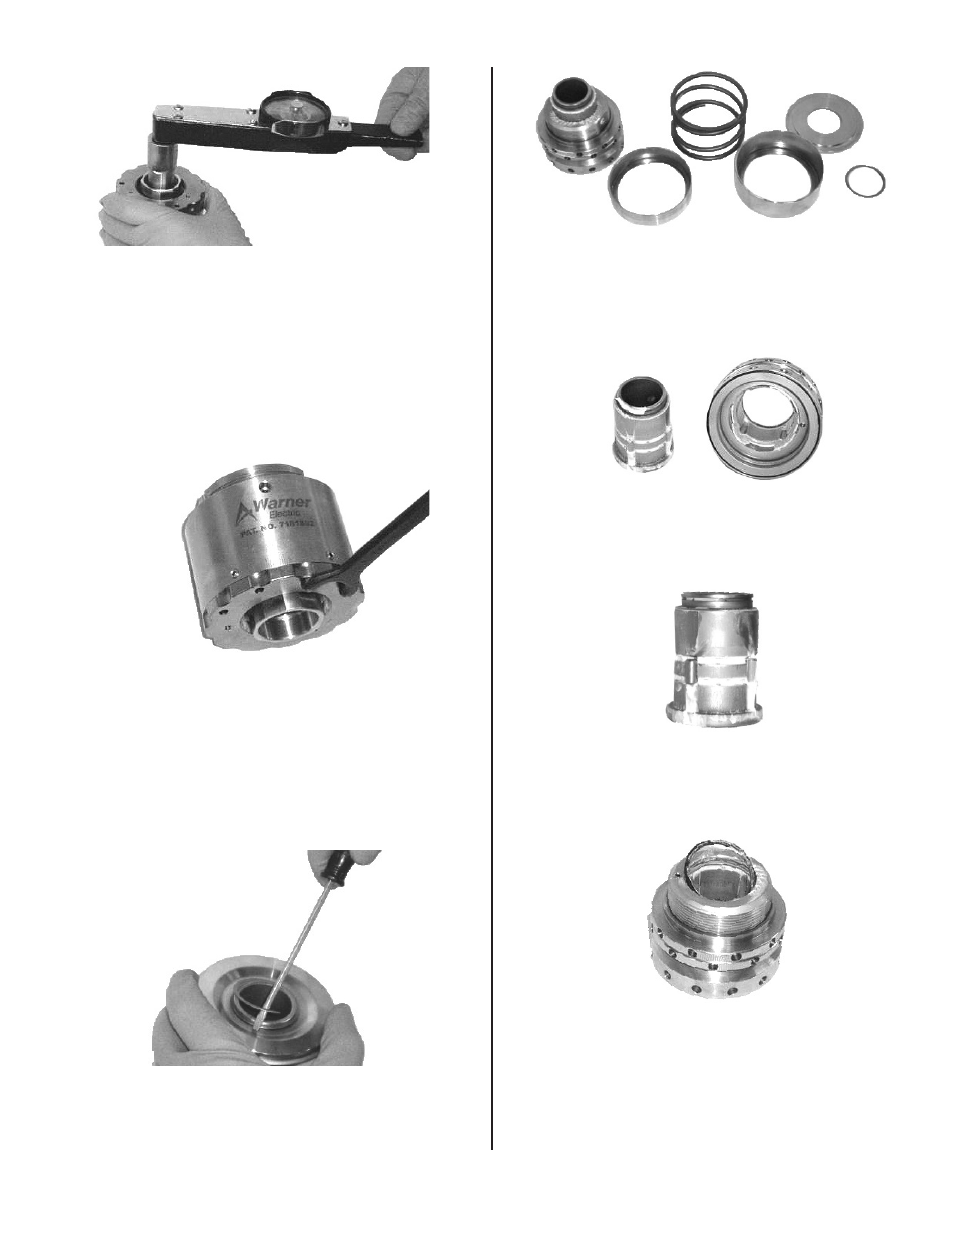
Using FIX-0007 or FIX-0010 and a torque wrench,
check to make sure the torque is smooth and
reaching the specified maximum torque. If torque
is not smooth or is very high, disassemble clutch
to look for mechanical rubbing or parts assembled
incorrectly. Check the epoxy over the magnet
screws for signs of rubbing. If the epoxy is rubbing,
carefully trim the epoxy down to specification. See
Figure 50.
Figure 50
Set torque to desired setting using face spanner
wrench (YTL2-0002) and tighten set screws. See
Figure 51. Tighten set screws to 8-10 lb-in. Over
tightening is not necessary and will strip the screws
or possibly damage the housing body.
Figure 51
ARC
Top Load Rebuild Procedure
Using a small standard screwdriver remove snap
ring. See Figure 52.
Figure 52
Remove spring plate, upper spring cover (if
applicable), spring, and lower spring cover (if
applicable) from top-load assembly. See Figure 53.
Figure 53
Remove internal shaft and inspect for wear, replace
as necessary. Clean all parts. See Figure 54.
Figure 54
Install new pins, apply a thin layer of grease to
internal shaft and pins. See Figure 55.
Figure 55
Remove seal and replace. See Figure 56.
Figure 56