General Tools and Instruments CMR35 User Manual
Page 12
USING THE RECEIVER WITH THE TRANSMITTER
Three buttons on the front panel of the transmitter must be pressed to prepare it to
wirelessly send readings to the receiver.
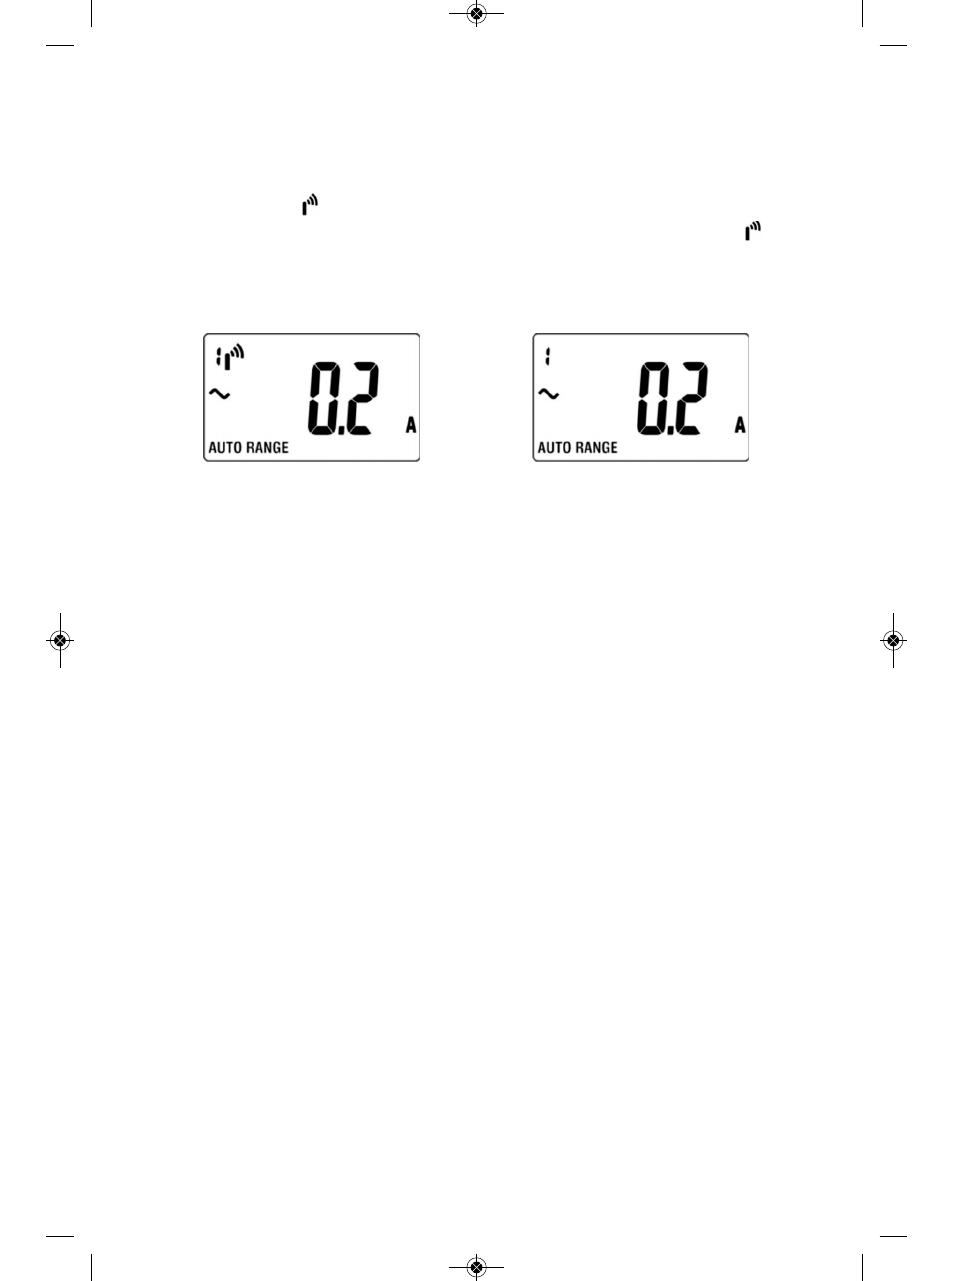
One is the TX ON button (callout 9 of Fig. 1). Pressing this button activates transmission
mode and causes the
symbol to appear at the upper left of the display, as shown in
the figure below. Pressing the button again ends transmission and causes the
symbol to disappear.
TRANSMITTING
NOT TRANSMITTING
SETTING THE TRANSMITTER’S TRANSMISSION SPAN AND ID CODE (CHANNEL)
The other two buttons are the FUNCTION and SET buttons to the right of the TX ON
button (callouts 10 and 11 of Fig. 1). They work together. Using the first of the following
two figures as a guide, first press the FUNCTION button for two seconds to enter
transmission span selection mode. Once in this mode, briefly press (but do not hold) the
SET button as many times as needed to set the transmission span (duration) to 2, 10,
30, 60 or 120 seconds. Then save the setting by pressing the FUNCTION button for two
seconds to return to measuring mode.
The next step is to set the ID code (Channel) of the transmitter to match the ID code
(Channel) of the receiver. Using the second of the following two figures as a guide, first
press the FUNCTION button for two seconds to enter transmission span selection mode.
Then press it again to enter ID code selection mode. Once in this mode, briefly press
(but do not hold) the SET button as many times as needed to set the ID code to 1, 2, 3,
4, 5 or 6 (corresponding to transmitter #1, 2, 3, 4, 5 or 6 on Channel 1, 2, 3, 4, 5 or 6).
Then save the setting by pressing the FUNCTION button for two seconds to return to
measuring mode.
12
CMR35 Manual FINAL4_020911:awb 2/9/11 11:54 AM Page 12