PERKO 1357 User Manual
PERKO Lighting
Cat. Nos. 1355-1358 Series Dimmer Capable
L.E.D. Surface Mount Dome Light
The above lights are not designed for navigational use.
MOUNTING INFORMATION
Read all instructions before proceeding.
1). These lights are supplied with the proper circuit for operation on a nominal 12
volt system.
2). These lights contain no user serviceable components.
3). Carefully pry off the lens. Place fixture against mounting surface and mark
through the screw holes in the back plate. (Screw holes are 2-3/8” center-to-
center).
4). Drill holes in the mounting surface for 2 #8 screws.
5). If supplied, the trim ring is held in place when the light fixture is fastened to the
mounting surface.
6). These fixtures can be dimmed using a marine grade wall mounted 12 volt D.C.
dimmer. Follow the connection instructions provided with the wall dimmer.
7). Attach supply connections to the light, making sure to wire in accordance with
both A.B.Y.C. Standard E-9* and U.S. Coast Guard Safety Standards for Boat
Electrical Systems (33CFR 183)* If supplied with two black leads, these lights
are not polarity sensitive; otherwise connect red to positive and black to
negative electrical supply.
8). Attach the light to the mounting surface using #8 mounting screws.
* The above referenced standards can be obtained from:
(1). American Boat & Yacht Council, Inc.
(2). U.S. Coast Guard
613 Third Street, Suite 10
Washington, D.C. 20593
Annapollis, MD 21403
(or your local C.G. office)
Perko, Inc.
16490 N.W. 13th Avenue
Miami, FL. 33164-5707
www.perko.com
12/08
1355INS1
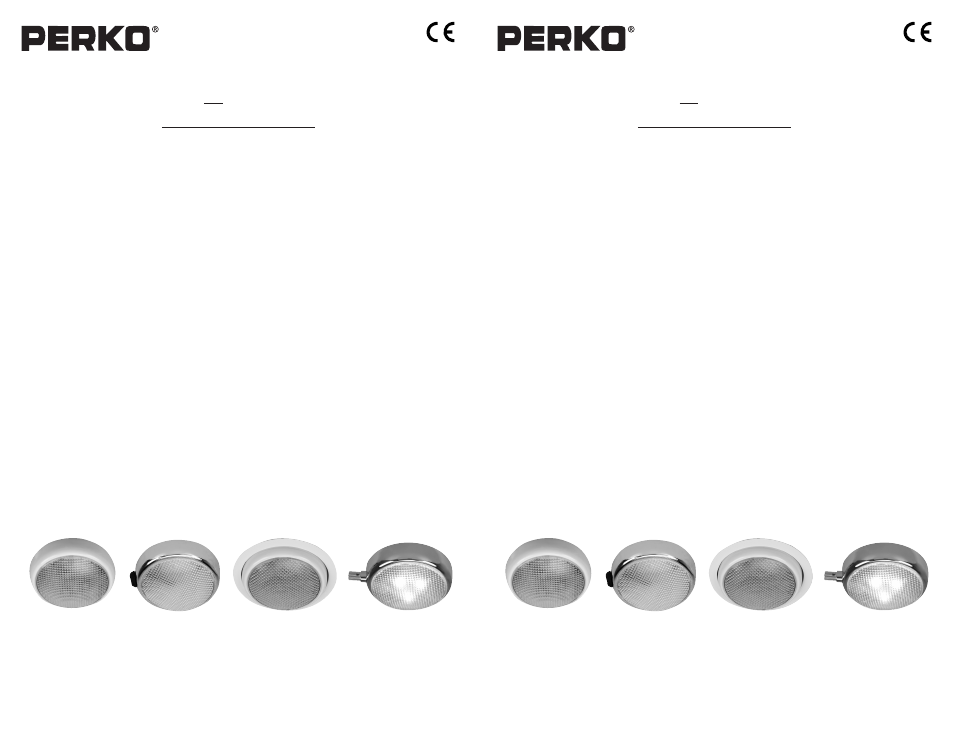
Fig. 1355
Fig. 1356
Fig. 1357
Fig. 1358
Cat. Nos. 1355-1358 Series Dimmer Capable
L.E.D. Surface Mount Dome Light
The above lights are not designed for navigational use.
MOUNTING INFORMATION
Read all instructions before proceeding.
1). These lights are supplied with the proper circuit for operation on a nominal 12
volt system.
2). These lights contain no user serviceable components.
3). Carefully pry off the lens. Place fixture against mounting surface and mark
through the screw holes in the back plate. (Screw holes are 2-3/8” center-to-
center).
4). Drill holes in the mounting surface for 2 #8 screws.
5). If supplied, the trim ring is held in place when the light fixture is fastened to the
mounting surface.
6). These fixtures can be dimmed using a marine grade wall mounted 12 volt D.C.
dimmer. Follow the connection instructions provided with the wall dimmer.
7). Attach supply connections to the light, making sure to wire in accordance with
both A.B.Y.C. Standard E-9* and U.S. Coast Guard Safety Standards for Boat
Electrical Systems (33CFR 183)* If supplied with two black leads, these lights
are not polarity sensitive; otherwise connect red to positive and black to
negative electrical supply.
8). Attach the light to the mounting surface using #8 mounting screws.
* The above referenced standards can be obtained from:
(1). American Boat & Yacht Council, Inc.
(2). U.S. Coast Guard
613 Third Street, Suite 10
Washington, D.C. 20593
Annapollis, MD 21403
(or your local C.G. office)
Perko, Inc.
16490 N.W. 13th Avenue
Miami, FL. 33164-5707
www.perko.com
12/08
1355INS1
Fig. 1355
Fig. 1356
Fig. 1357
Fig. 1358