Fluid Components International ST75 PDA Software User Manual
Page 10
FLUID COMPONENTS INTERNATIONAL LLC
ST50/ST75 PDA SOFTWARE
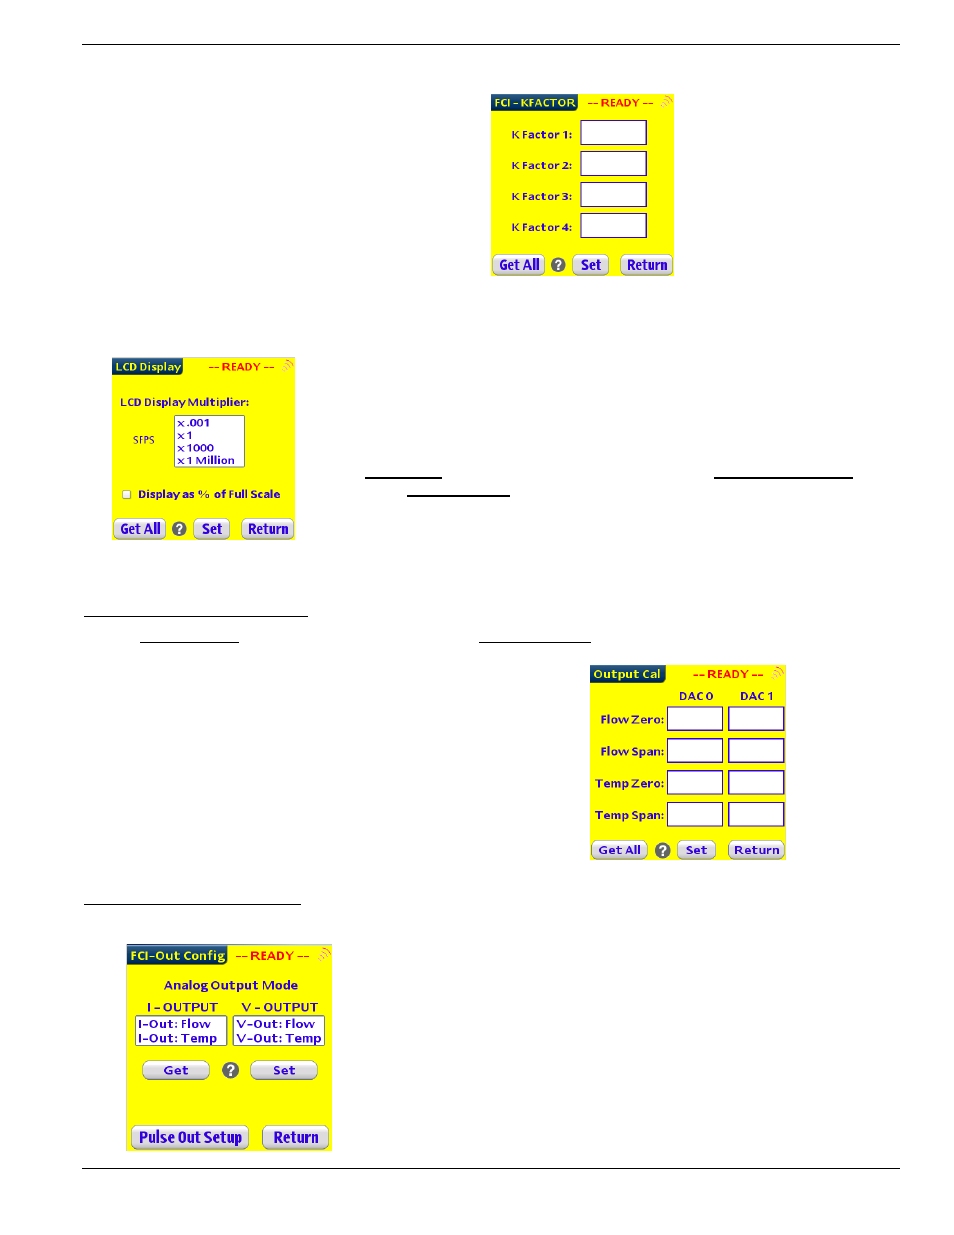
Reading and Setting the KFactors
• From the Setup Menu tap on the “Kfactor”
button to open the setup screen for the Kfactors.
• Tap On the “Get All” button to read the current
setup of the ST50/ST75.
• Select the fields you want to change, enter the
new values.
• Tap on the “Set” button to down load the
Parameter Values to the ST50/ST75.
Local Display Setup
• From the Setup Menu tap on the “LCD” button to open the setup screen for the ST50/ST75 Local Display.
• Tap On the “Get All” button to read the current setup of the ST50/ST75.
• Choose the new multiplier by taping on the desired selection.
• If you want to change the display to % of full scale, tap on the check box for
“Display as % of full scale”.
• Remember any changes that you make here need to be followed by a change
on the display stickers, to reflect the new display mode.
• Tap on the “Set” button to down load the configuration data to the ST50/ST75.
Configuring and Setting up the Analog Outputs
Zero and Span Analog Trim Setting
• The Zero and Span setting for Flow and Temperature are set at the factory, and in most cases there is no need to adjust
them in the field.
• From the Setup Menu, tap on the “Output Cal” button to
open the setup screen for the Zero and Span settings of the
two analog output channels. Each of the 2 channels gets 2
sets of Zero and Span values that correspond to Flow and
Temperature.
• Tap On the “Get All” button to read the current setup of the
ST50/ST75.
• Select the fields you want to change, enter the new values.
• Tap on the “Set” button to down load to the ST50/ST75 the
Parameters Values.
Assigning a Signal to the 2 DAC’s
• Typically the Factory Sets DAC 0 (I-OUTPUT) to Flow and DAC 1 (V-OUTPUT) to Temperature.
• From the Setup Menu tap on the “Output Config” button to open the
setup screen for the ST50/ST75 Analog Channel selection, and the
Pulse Output channel setup.
• Tap On the “Get All” button to read the current setup of the
ST50/ST75.
• Choose the signal to be assigned to DAC 0 or “I-OUTPUT”.
• Choose the signal to be assigned to DAC 1 or “V-OUTPUT”.
• Tap on the “Set” button to down load the configuration data to the
ST50/ST75.
This page is subject to proprietary rights statement on last page.
8 06EN003372
Rev.
A