Analog Way OPS200 User Manual
Page 26
The
[STANDBY]
button allows users to put the
OPS200
into sleep
mode, and startup again. The
[STANDBY]
button does not replace
the ON/OFF switch at the rear of the unit, and is implemented
essentially for ease of use in rackmount situations.
--> Hold for 3 seconds for stand-by mode
The Menu Screen of the
OPS200
is the visual interface to your
OPS200
menu. It gives users a constant indication of available menu
options, parameters of any selected object, system information, and
everything you need to know to control the device.
The Menu scroll knob allows users to quickly scroll through menu
items and increase or decrease any modifiable value in the
OPS200
menu. Simply scroll to the desired menu item, and press the
[ENTER]
button to confirm your choice.
The
[EXIT/MENU]
button and the
[ENTER]
button in the Control
section of the
OPS200
allow users to respectively enter and exit the
OPS200 menu, and confirm selected menu items.
The Layer Selection section allows to select which type of layer to
work with: Background Frame (non positionable, non resizable static
background), Background Live (non positionable, non resizable
animated background), a PIP (positionable, sizable floating window),
or a Logo (positionable, key sensitive layer).
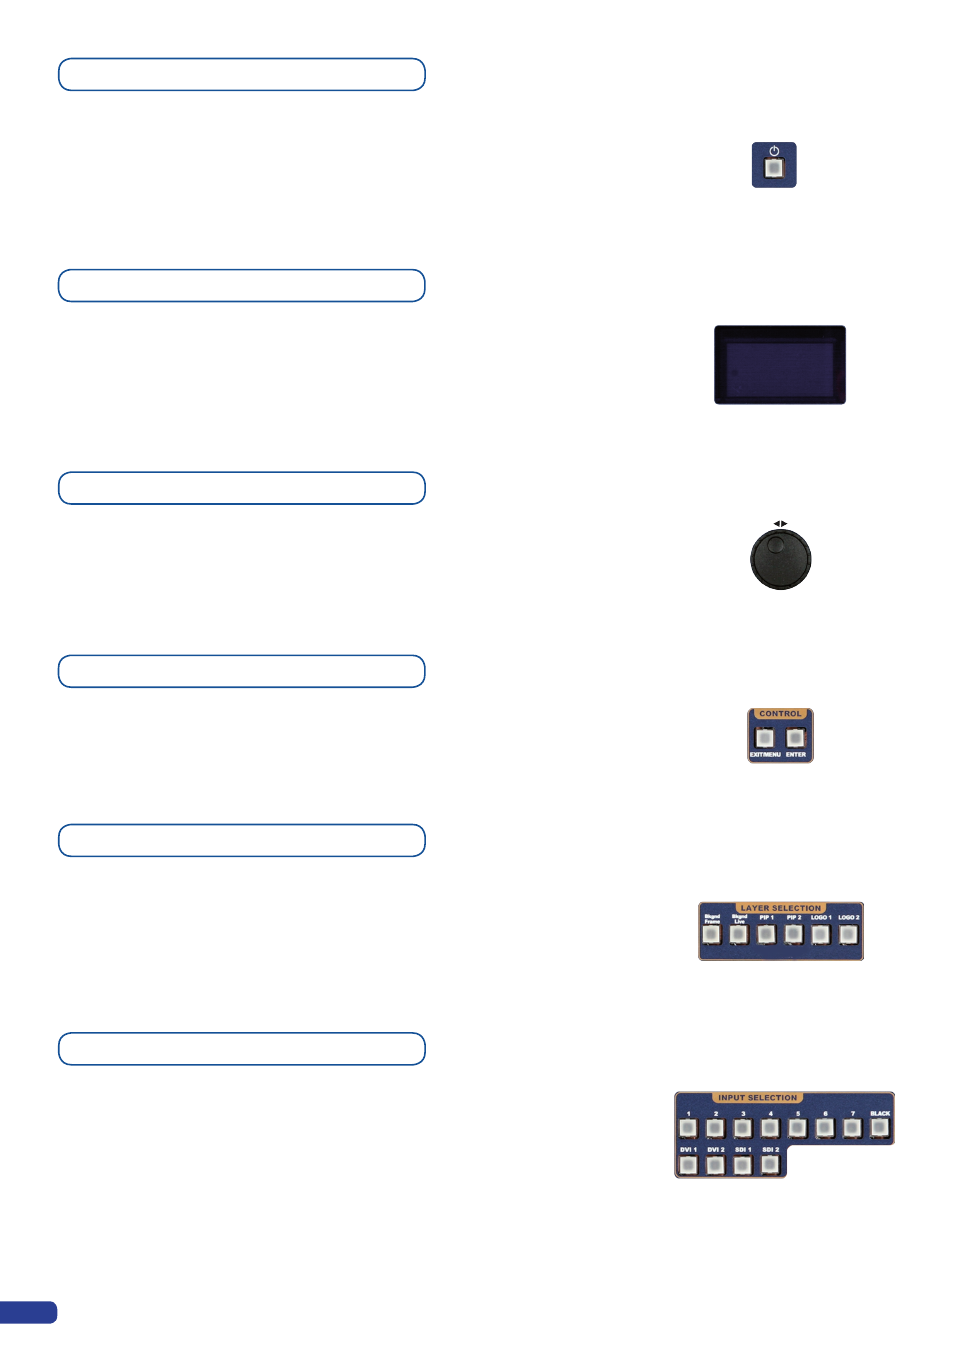
The Input Selection section allows to select which input (#1 to #11)
to display in a selected layer. Select one of 11 simultaneous inputs
(7 analog inputs, 2 DVI-D inputs, 2 SDI inputs) by simply pressing
one of the Input buttons.
The [BLACK] button allows users to remove layer content on
screen.
On/Off button
Menu screen
Menu scroll knob
Control section
Input selection section
Layer selection section
24