Lost factory calibration – B&K Precision 9130 - Manual User Manual
Page 9
9
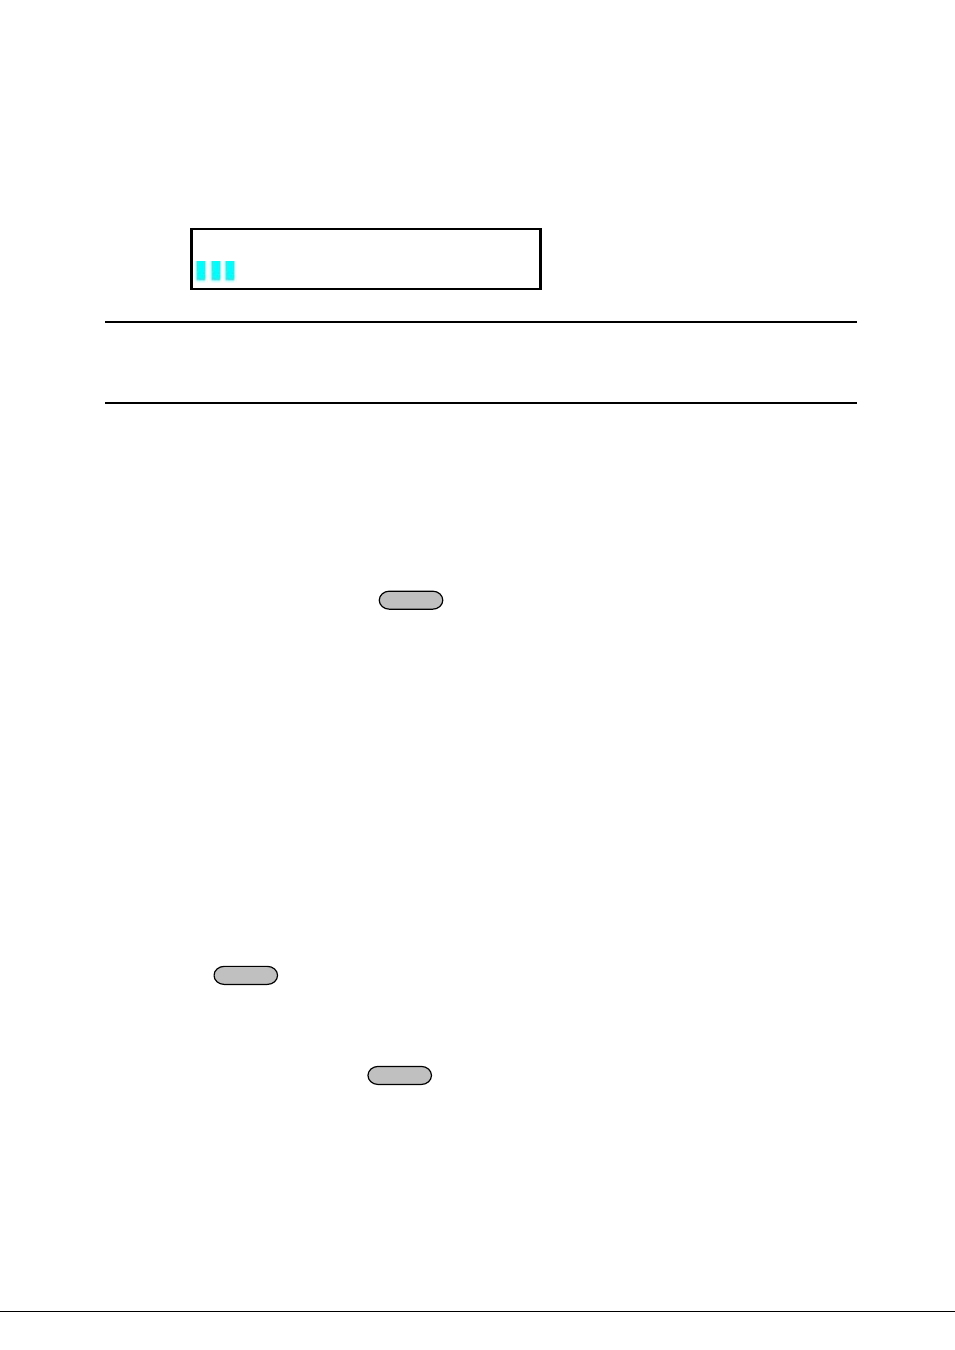
Note: “X” denotes the channel for which calibration data was lost.
If the calibration data in the EEPROM is corrupted or the factory calibration values are lost, the VFD will display
the following:
Lost Factory Calibration
Note: You will see a “?” on the VFD, in case of any errors are encountered during the self
test routine.
4.Output Verification
The following procedures verify that the power supply outputs the correct voltage and current levels and properly
responds to entries from the front panel.
• Voltage Output Checkout
The following steps verify basic voltage functions without load.
1) Turn on the power supply.
2) Turn on the outputs using the
On/Off
key
Note: Flashing voltage values indicates that the power supply is in “Set mode, ‘‘Set mode’’ means that
the VFD display shows the set values for voltage and current. In “meter mode” the display will
indicate the actual output voltage and current.
3) Check that the front-panel voltmeter properly responds to number key entries
Enter a different voltage value and wait a few seconds until the meter mode activates. Verify that the
actual output value voltage is identical to the set value. Also verify that the displayed current value is
close to zero.
4) Ensure that the voltage level can be adjusted from zero to the maximum rated value.
5) Verify channels 2 & 3 according to steps 1) – 4)
• Current Output Current
The following steps check basic current functions with a short across the power supply’s output.
6) Turn on the power supply
7) Turn the output off
Press
On/Off
key to ensure that the outputs are off. (bottom row indicates “OFF”)
8) Connect the (+) and (-) output terminals of channel 1 with a short, insulated test lead. Use a wire size
sufficient to handle the maximum current.
9)
Set the voltage value with 1V
10) Turn on the output using the
On/Off
key.
11) Adjust the current value
Enter a different current value, wait until the instrument is in meter mode, then make sure that the
displayed current value (actual output value) is the same as the set value.
12) Ensure that the current can be adjusted from zero to the maximum rated value.
13) Turn off the power supply and remove the short wire from the output terminals.