Window blanking menu, Blanking submenu, Top submenu – Extron Electronics MVP 104GX User Guide User Manual
Page 29: Bottom submenu, Left submenu
MVP 104GX Operation
3-11
corner of the LCD panel. Press the Next button to return to the Picture
Controls menu, or press the Menu button to exit the Color submenu and
advance to the Window Blanking menu.
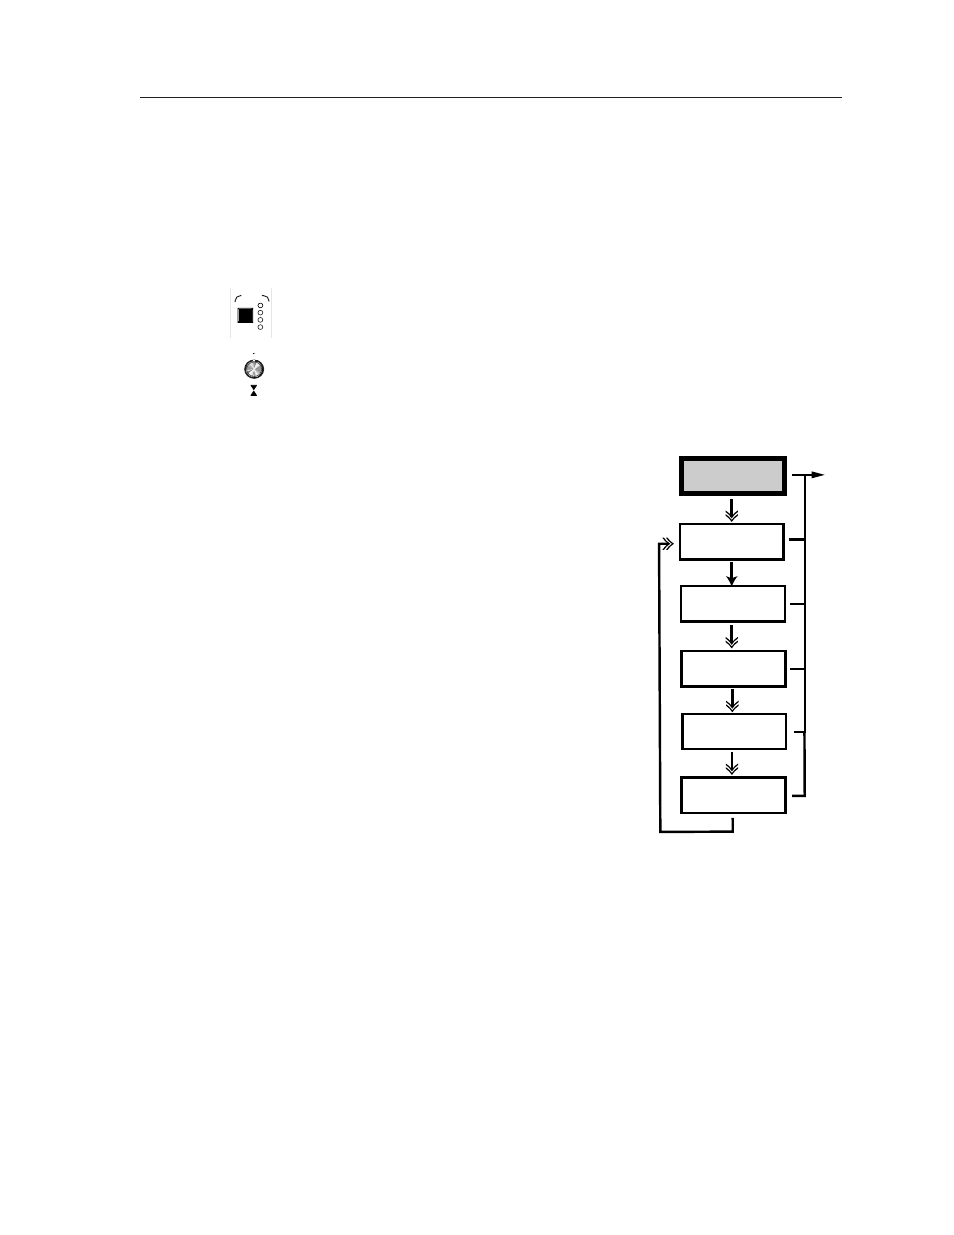
Window Blanking menu
Remove unwanted information/noise from the edges of each displayed image by
adjusting the blanking. After selecting a window by pressing the Active window
selection
button (1, 2, 3, or 4), the Window Blanking menu adjusts the top, bottom,
left, and right blanking of each output window by rotating the Vertical sizing knob.
The selected window number is displayed in the upper right corner of the LCD
panel. The window blanking setting is displayed on the bottom of the LCD panel.
Press the Next button to advance to the Blanking submenu, or press the Menu
button to exit the Window Blanking menu and advance to the Audio Configuration
menu.
Blanking submenu
Rotate the Vertical sizing knob to select
button to advance to the Top submenu, or
press the Menu button to exit the Blanking
submenu and advance to the Audio
Configuration menu.
Top submenu
Increase or decrease the Top blanking from 0
to 16 by rotating the Vertical sizing knob
until the unwanted information no longer
appears. The selected window number (1, 2,
3, or 4), designated by pressing the Active
window selection
button, is displayed in the
upper right corner of the LCD panel. Press
the Next button to advance to the Bottom
submenu, or press the Menu button to exit
the Top submenu and advance to the Audio
Configuration menu.
Bottom submenu
Increase or decrease the Bottom blanking
from 0 to 16 by rotating the Vertical sizing knob until the unwanted
information no longer appears. The selected window number (1, 2, 3, or 4),
designated by pressing the Active window selection button, is displayed in
the upper right corner of the LCD panel. Press the Next button to advance to
the Left submenu, or press the Menu button to exit the Bottom submenu and
advance to the Audio Configuration menu.
Left submenu
Increase or decrease the Left blanking from 0 to 16 by rotating the Vertical
sizing
knob until the unwanted information no longer appears. The selected
window number (1, 2, 3, or 4), designated by pressing the Active window
selection
button, is displayed in the upper right corner of the LCD panel.
Press the Next button to advance to the Right submenu, or press the Menu
button to exit the Left submenu and advance to the Audio Configuration
menu.
Window
Blanking
Top
Bottom
Left
Right
1 – 4
1 – 4
1 – 4
1 – 4
000 – 016
000 – 016
000 – 016
000 – 016
Blanking
Auto
4
3
2
1
ACTIVE