Later, See “setting up the pc for, Ip communication with an ipl 250 – Extron Electronics IPL 250 Reference Manual User Manual
Page 33: Later in this chapter for step-by-step
3-7
IPL 250 • Software-based Configuration and Control
3.
Set the IPL for the new IP address by doing one of the following.
•
Enter SIS command
E X1$
CI
}
, where
X1$
is the new IP address (
chapter 4
, “SIS
™
Programming and Control”) to set the IP address.
•
Enter SIS command
1DH
}
to enable DHCP.
4.
After changing the controller’s IP address, change your PC’s TCP/IP settings
back to their original configuration.
Setting up the PC for IP communication with an IPL 250
You need a Windows-based (Windows 2000, XP, or higher) PC equipped with an
operating network adapter. For your PC to work with Extron Ethernet-controlled
products, the TCP/IP protocol must be installed and properly configured.
When setting up the IPL for network communication via a Web browser or Telnet
connection, you must change the IP address of the PC to one that is on the same
subnet as the IPL.
If you use an existing Ethernet LAN intranet, your network administrator can
provide you with a unique IP address for the controller or confirm whether you
need to set up the IPL 250 for DHCP (Dynamic Host Configuration Protocol) to
have an address assigned automatically when you sign on.
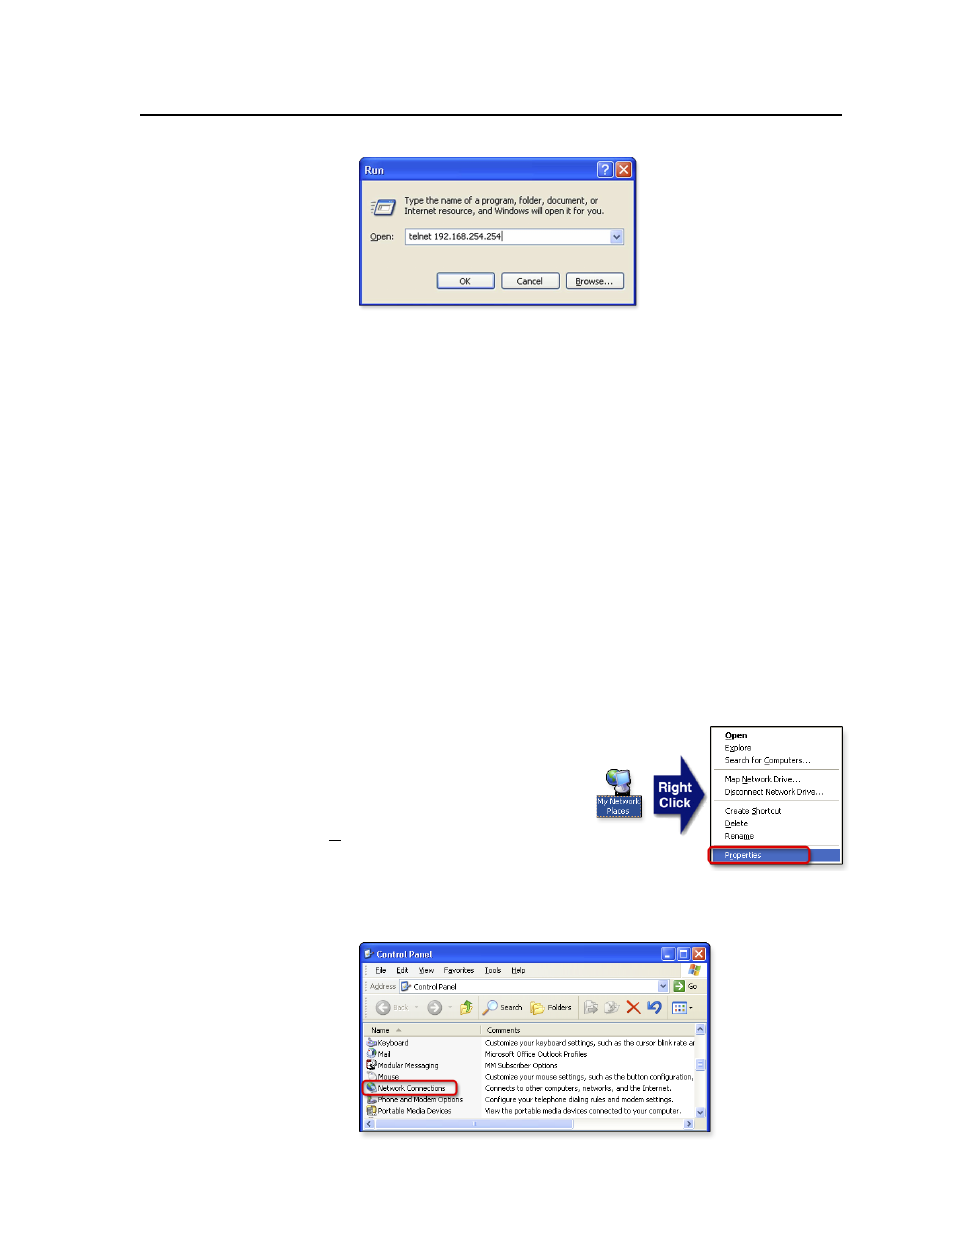
1.
Open the Network Connections page as follows:
•
Locate and right-click on My
Network Places
on the Windows
(2000, XP, or higher) desktop,
then click on Properties.
or
•
Click on the Start menu,
click on Settings (if needed),
click on Control Panel to open the Control Panel window,
double-click on Network and Dial-up Connections (Windows 2000) or
Network Connections
(Windows XP, shown below).