En-17 cd-11 indicator, 6 print menu – Ohaus CD-11 Indicator Manual multi User Manual
Page 23
EN-17
CD-11 Indicator
Procedure
To select any of the items in the Print menu, proceed as follows:
NOTE: If entering from the preceeding menu, disregard the first step.
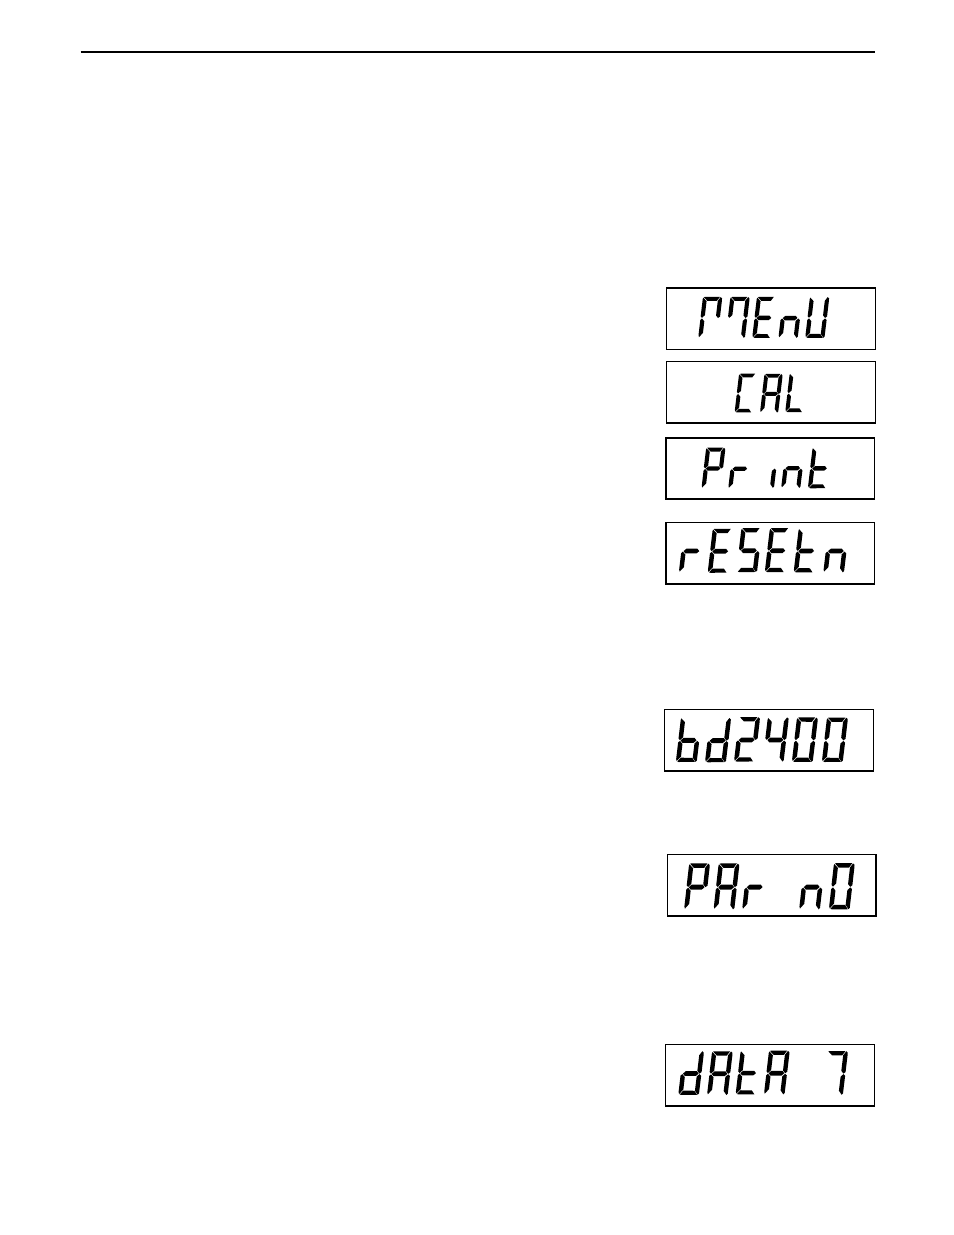
With the Indicator ON, press and hold the G/N/T/Menu button until MEnU is
displayed. When the G/N/T/
Menu button is released, CAL is displayed, then
press the PRINT/Units button until Print is displayed.
Press the G/N/T/
Menu button, rESEtn is displayed. This allows resetting the
Print menu to factory defaults. rESETn = no, does not reset settings.
rESETy=yes, will reset the entire Print menu to factory defaults as follows:
Baud rate =2400, parity =none, data length=7, stop bit=2, Auto
Print=AP OFF, if interval is selected=.0001, Stable Print= StbOFF.
Press the PRINT/
Units button for selections N or Y.
Press the G/N/T/
Menu button, bd2400 displayed. This is the baud rate setting.
Selections are: 1200, 2400, 4800, 9600 and 19,200. 2400 is the default
setting.
Press the PRINT/
Units button until the desired baud rate is reached.
2.6.6 Print Menu
The Print menu provides data communication settings. It contains 9 submenus: Reset, Baud rate, Parity, Data
Length, Stop Bits, Auto Print, Interval, Stable and Save.
Press the G/N/T/
Menu button, PAr nO is displayed. This is the parity bit setting.
Selections are:
PAr nO=none (this is the default setting)
PAr Odd=odd
PAr E=even
Press the PRINT
Units button until desired parity bit setting is reached.
Press the G/N/T/
Menu button, dAtA 7 is displayed. This is the data length
setting.
Press the PRINT/
Units button for selections dAtA 7 or dAtA 8. Default setting is
dAtA 7.