ZyXEL Communications ZyXEL ExpWave 240B User Manual
Page 46
ExpWave 240B Secure Outdoor Ethernet Radio Link
5-4
Wireless Setup
Figure 5-3 Menu 3 - LAN DHCP Setup
From menu 3, select the submenu option TCP/IP and DHCP Setup and press [ENTER]. The screen now displays
Menu 3.2 — TCP/IP and DHCP Ethernet Setup
,
as shown next.
Figure 5-4 Menu 3.2 - LAN DHCP Ethernet Setup
Follow the instructions in the next table on how to configure the DHCP fields.
Table 5-3 DHCP Ethernet Setup Menu Fields
FIELD
DESCRIPTION
EXAMPLE
DHCP
This field enables/disables the DHCP server.
If set to Server, your ExpWave will act as a DHCP server.
If set to None, the DHCP server will be disabled.
If set to Relay, the ExpWave acts as a surrogate DHCP server and relays
requests and responses between the remote server and the clients.
When set to Server, the following items need to be set:
Server
Configuration:
Client IP Pool
Starting
Address
This field specifies the first of the contiguous addresses in the IP address
pool.
192.168.1.
33
Size of Client
IP Pool
This field specifies the size, or count of the IP address pool.
32
Primary DNS
Server
Secondary
Type the IP addresses of the DNS servers. The DNS servers are passed
to the DHCP clients along with the IP address and the subnet mask.
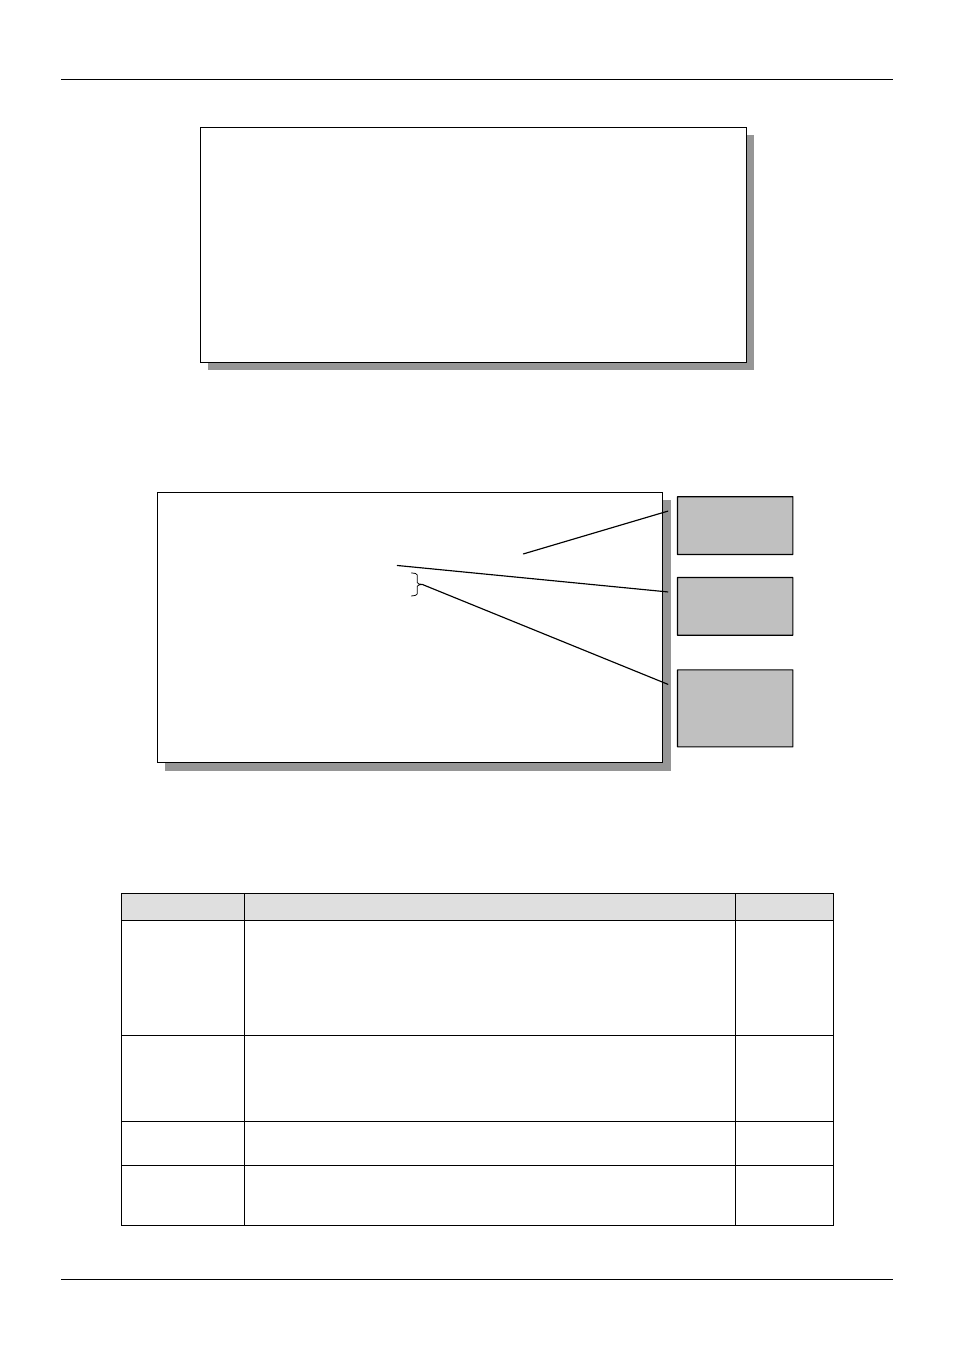
Menu 3 - LAN Setup
1. LAN Port Filter Setup
2. LAN DHCP Setup
Enter Menu Selection Number:
Menu 3.2 - TCP/IP and DHCP Ethernet Setup
DHCP= Server
Configuration:
Client IP Pool Starting Address= 192.168.1.33
Size of Client IP Pool= 32
Primary DNS Server= 0.0.0.0
Secondary DNS Server= 0.0.0.0
DHCP Server Address= N/A
TCP/IP Setup:
IP Address= 192.168.1.1
IP Subnet Mask= 255.255.255.0
RIP Direction= Both
Version= RIP-1
IP Policies= 2,7,9,11
Press ENTER to Confirm or ESC to Cancel:
IP addresses
of the DNS
servers
Size of the IP
Pool
First address
in the IP Pool