11 threshold setting (cont.) – Toshiba B-SA4TP SERIES User Manual
Page 76
2.PRINTER SETUP
ENGLISH VERSION EO1-33048
2.11 Threshold Setting
E2-63
2.11 Threshold Setting
(Cont.)
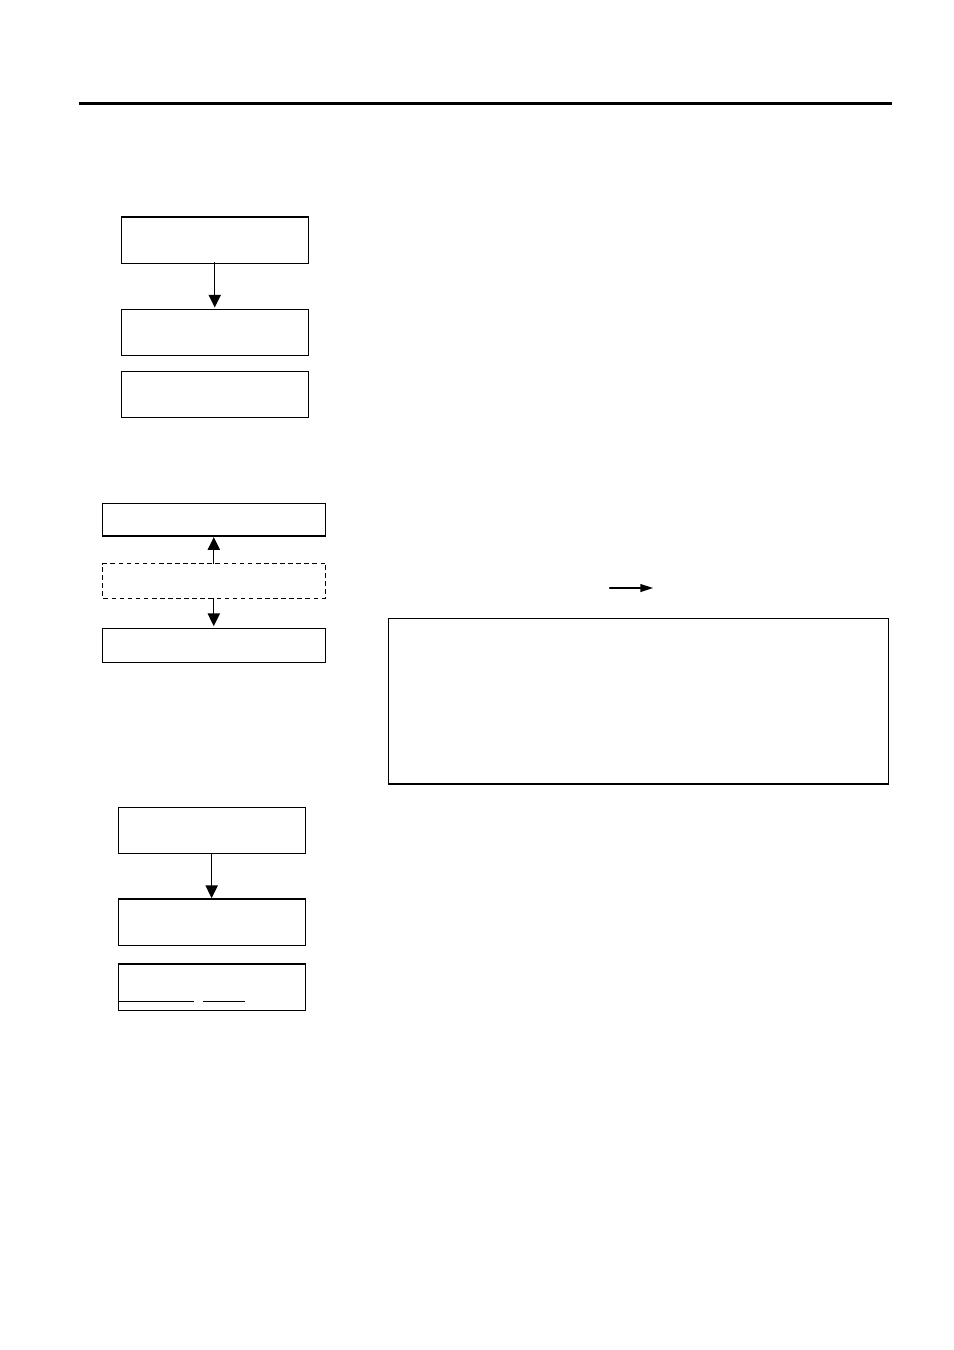
(3) Press and hold the [RESTART] or [FEED] key for about 3 seconds
aligning a blank part of print area with the Black Mark Sensor.
(4) When storing a “media level” voltage is completed, an asterisk “*”is
displayed on the right side of a voltage. Press the [PAUSE] key.
(5) A real-time voltage being detected by the Feed Gap Sensor is
displayed.
When using the Feed Gap Sensor
(1)Measure a voltage at a blank part of label and a label gap, respectively.
At this time, write down the midpoint of both voltages. (This value is
used later for a threshold setting.)
(Example)
Print area = 2.4V, Gap = 4.0V
Midpoint = 3.2V
(3) Press and hold the [RESTART] or [FEED] key for about 3 seconds
aligning a blank part of print area with the Feed Gap Sensor.
(4) When storing a “media level” voltage is completed, an asterisk “*”is
displayed on the right side of a voltage. Press the [PAUSE] key.
(5) The display changes as shown on the left.
<5>SENSOR ADJ.
[REFLECT] 3.5V
<5>SENSOR ADJ.
[REFLECT] 4.8V*
<5>SENSOR ADJ.
[TRANS.] 2.4V
NOTES:
1. When measuring a voltage at a blank area, be careful not to align a
pre-print with the sensor by mistake.
2. Confirm that there is at least 0.7V difference between the two values.
If the difference in voltage is less than 0.7V, a print start position
cannot be detected. In that case, please consider changing the media
type.
3. Make sure that the Top Cover is closed when measuring the voltages.
<5>SENSOR ADJ.
[TRANS.] 2.4V
<5>SENSOR ADJ.
[TRANS.] 2.4V*
<5>SENSOR ADJ.
[PE]R0.1V T4.8V
Voltage at a label gap
Voltage at a print area
Midpoint (Threshold voltage)