Remote control, Display device - configure, Diagnostics an – Runco CINEWIDE VX-6000D User Manual
Page 85: E diagnostics, Diagnostics, Pre l iminar y
Runco VX-6000d Installation/Operation Manual
69
L
IMINAR
Y
Remote Control: Select Remote Control from the Service menu to change the following
settings related to remote control operation.
• Remote Code: Select Remote Code from the Remote Control menu to set the
infrared (IR) code set to which the VX-6000d will respond. By default, it is set to 17. You
can change this setting if either:
• Another device in the theater (a DVD player, for example) is responding to
commands from the VX-6000d remote control (Figure 2-5) in ways that are
unpredictable or undesirable.
• You have multiple DHD Controllers and want to control them independently, as
opposed to broadcasting commands from a single remote to all of them. In this
scenario, you can use multiple remotes programmed to use different IR codes. Or,
you can use a single remote and change the IR code as needed to address a
specific DHD Controller.
When you change a remote code on the VX-6000d, you must re-program the
VX-6000d remote control to send that same code. To do this:
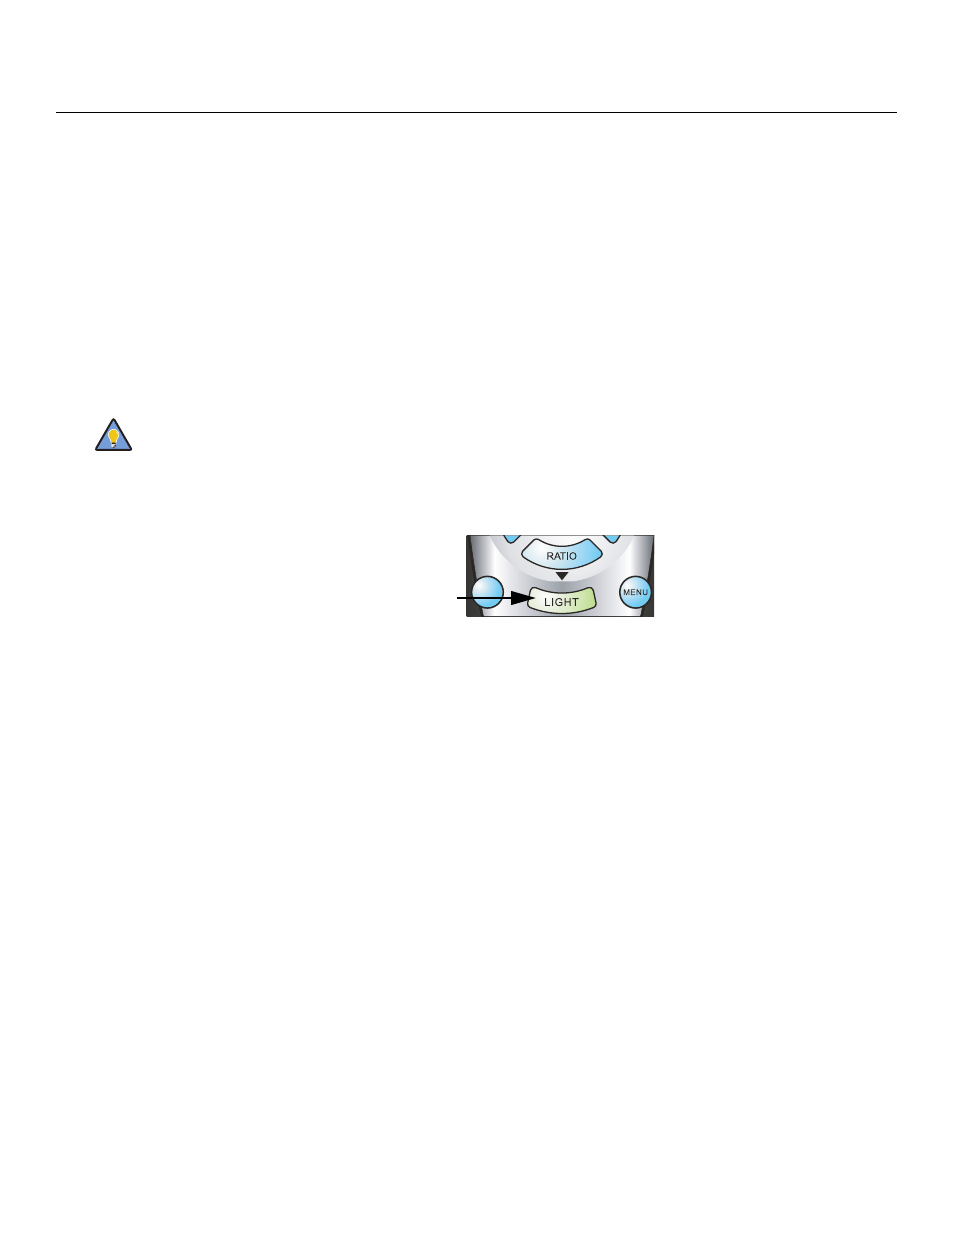
1. Press and hold the LIGHT button on the
remote control for approximately three
seconds, or until the LED on the remote lights
solid red.
2. Enter a new two-digit code between 00 and 31
inclusive. Include a leading zero for single-digit
codes; for example, enter 9 as “09.”
3. The LED turns off to confirm the code change. If you enter an invalid code, the LED
flashes for three or four seconds. Try again, entering a valid code.
• COMP Key Source: Select COMP Key Source from the Remote Control menu to
assign the COMP remote control button to either the Component or SCART input.
Display Device - Configure: The options in the Display Device - Configure menu allow
you to change the picture orientation, perform lens adjustments or access other,
display-device specific functions.
• Installation – Orientation: Select Installation from the Display Device - Configure
menu, then select Orientation to change the picture orientation to suit the method of
installation (Floor Front, Floor Rear, Ceiling Front or Ceiling Rear).
• Lamp Info.: Select Lamp Info. from the Display Device - Configure menu to obtain
information about the currently-installed lamp: its serial number and number of hours in
use.
• Diagnostics: Select Diagnostics from the Display Device - Configure menu, then
select Red, Green, Blue, Yellow, Cyan or Magenta to display only that color channel
(simulating a filter of that color). This can be useful for calibration or measurement
purposes.
To restore the normal picture (all colors), select White.
Use the DHD Controller front-panel keypad to change the IR code to
which the controller will respond. Then, change the code sent by the
remote to match as described below.
Tip
EXIT
RETURN