Adjusting the image density, P.82 “adjusting the, Image density – Ricoh AP305 User Manual
Page 112: Menu> j ipdl-c menu l, Menu> j maintenance l, Maintenance> j 1.toner selectl, Maintenance> j 2.toner level l, Toner level> j cyan l
Troubleshooting
82
6
D
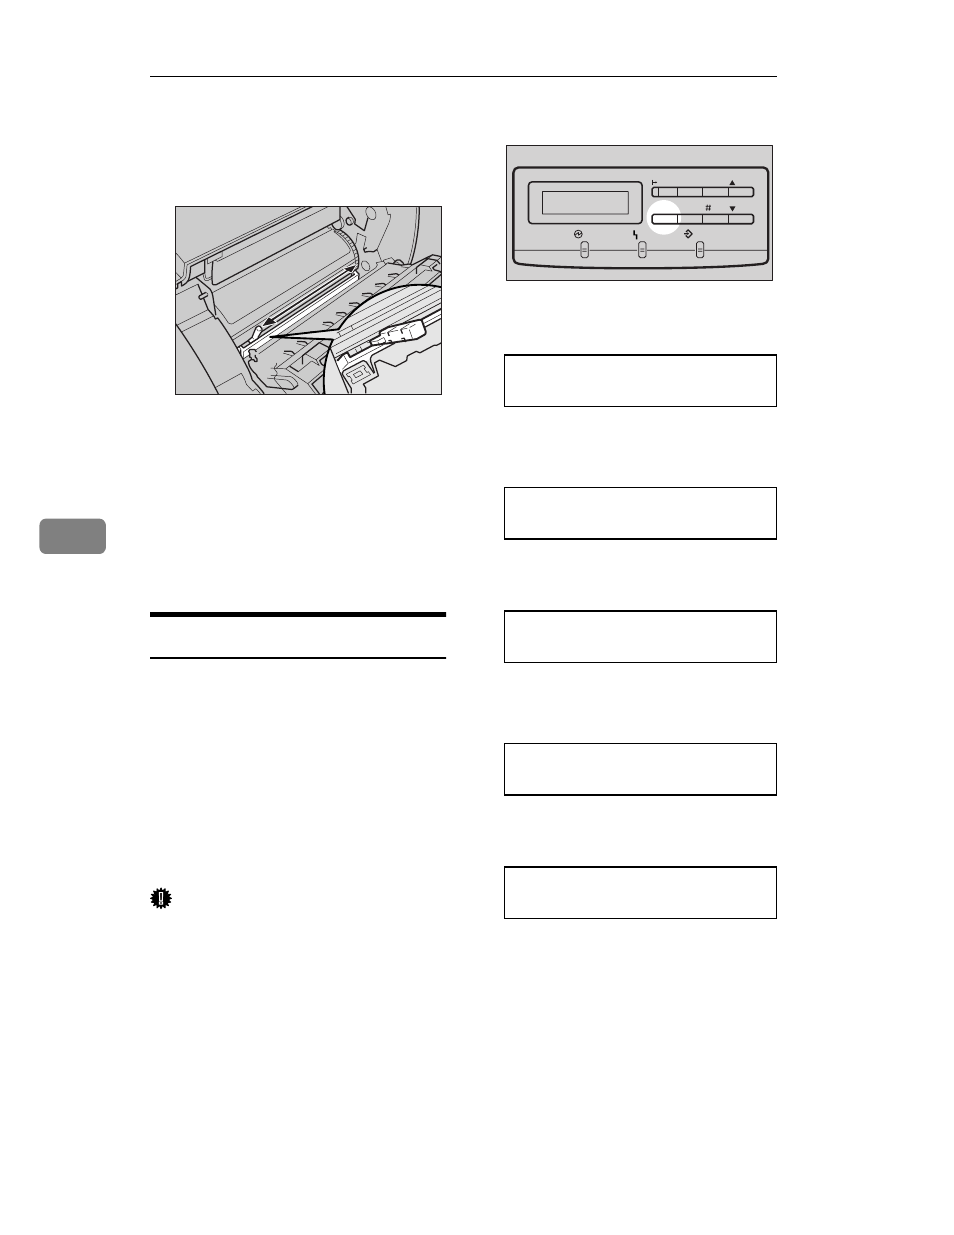
Insert the cleaning brush into the
back of the guide (light blue) un-
til it stops, and then move it left
and right 4 or 5 times.
E
Return the cleaning brush to its
original position.
F
Hold the inset grips (green part)
of the photoconductor unit, and
push the photoconductor unit to
its original position.
G
Close the front cover.
Adjusting the Image Density
Changing the image density setting
might cause a deterioration of color
balance. We recommend that you
normally leave the image density at
its factory default setting.
The following procedure describes
how to change the magenta image
density. You can use the same proce-
dure to change the image density for
the other toner colors as well.
Important
❒ Extreme settings may create out-
put that appears dirty.
❒ Image density settings should be
made from your application or the
printer driver whenever possible.
A
Turn on the printer's power
switch.
B
Press
{{{{
Menu
}}}}.
The following message appears on
the panel display.