Adjusting the printing margins (function 95) – Ricoh FAX2050L User Manual
Page 154
Key Operator Settings
74
7
Adjusting the Printing Margins
(Function 95)
Follow these steps if you wish to ad-
just the top and left margins on print-
ed messages.
You can choose the site of margins in
steps of about 0.5 mm.
If the upper and lower margins do not
match, change the paper in the lower
cassette.
Note
❒ Do not change the margins too
much, or no margin will be used
and print quality might deterio-
rate.
A
Press
{Function} {6} and enter the
access code
{2} {2} {2} {2}. Press
{9} {5}, and then the {Yes} key.
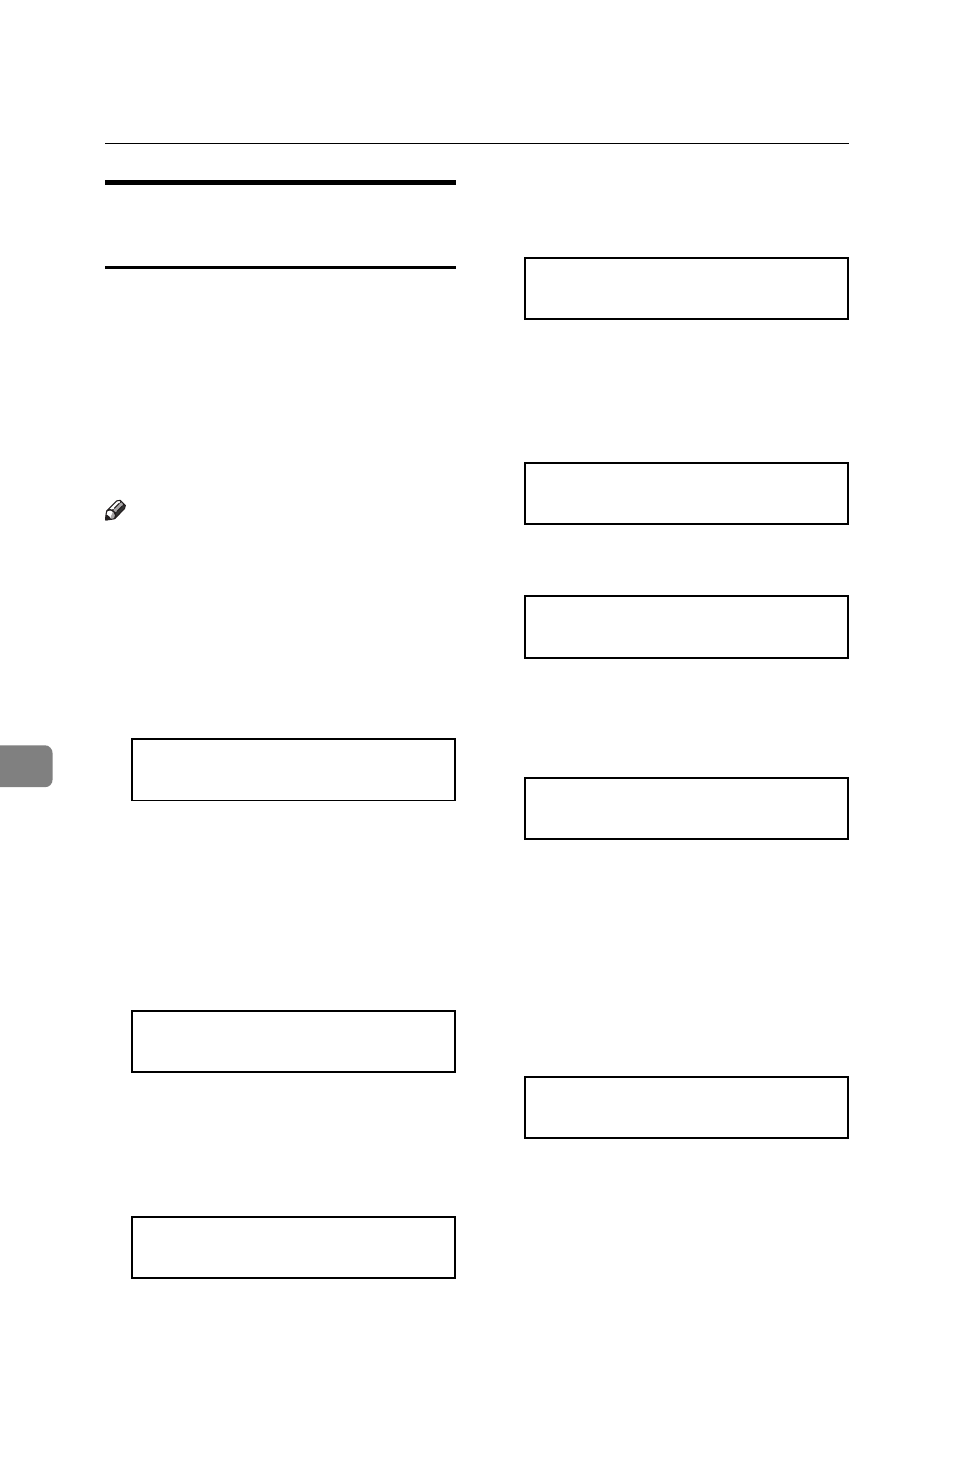
Y/N/hi
MAIN CASSETTE
B
If the cassette whose paper mar-
gins you wish to adjust is not dis-
played, press the
W and V key
until it appears.
C
Press the
{Yes} key. If the top
margin is OK, go to step
F.
TOP MARGIN Y/N/hi
- * +
D
Press the
W and V key to adjust the
size of the margin. The position
of the asterisk indicates the cur-
rent size.
TOP MARGIN Y/N/hi
- * +
E
Press the
{Yes} key. If the left
margin is OK, go to step
I.
TOP MARGIN Y/N/hi
PROGRAMMED
F
Press the
W and V key to adjust the
size of the margin. The position
of the asterisk indicates the cur-
rent size.
LEFT MARGIN Y/N/hi
- * +
G
Press the
{Yes} key.
LEFT MARGIN Y/N/hi
PROGRAMMED
H
If you wish to make a test print,
press the
{Start} key. To skip the
test print, press the
{No} key.
START
TEST PRINT
I
Press the
{Function} key to return
to standby mode.
You have two options:
• To adjust the margins for anoth-
er cassette, return to step
B.
• To return to standby mode,
press the
{Function} key.
READY 100% 10:00AM
SET DOC. OR DIAL NO.