Timer recording, Timer recording (manually), Changing/ deleting a timer recording – Philips DVDR3435H User Manual
Page 40: Continued)
E
n
g
lis
h
40
41
Timer recording (manually)
A
Turn on the TV power. Select the
correct Video In channel at the TV.
l
If you are recording directly to a
DVD disc, insert the DVD recordable
disc before proceeding to step
B
.
B
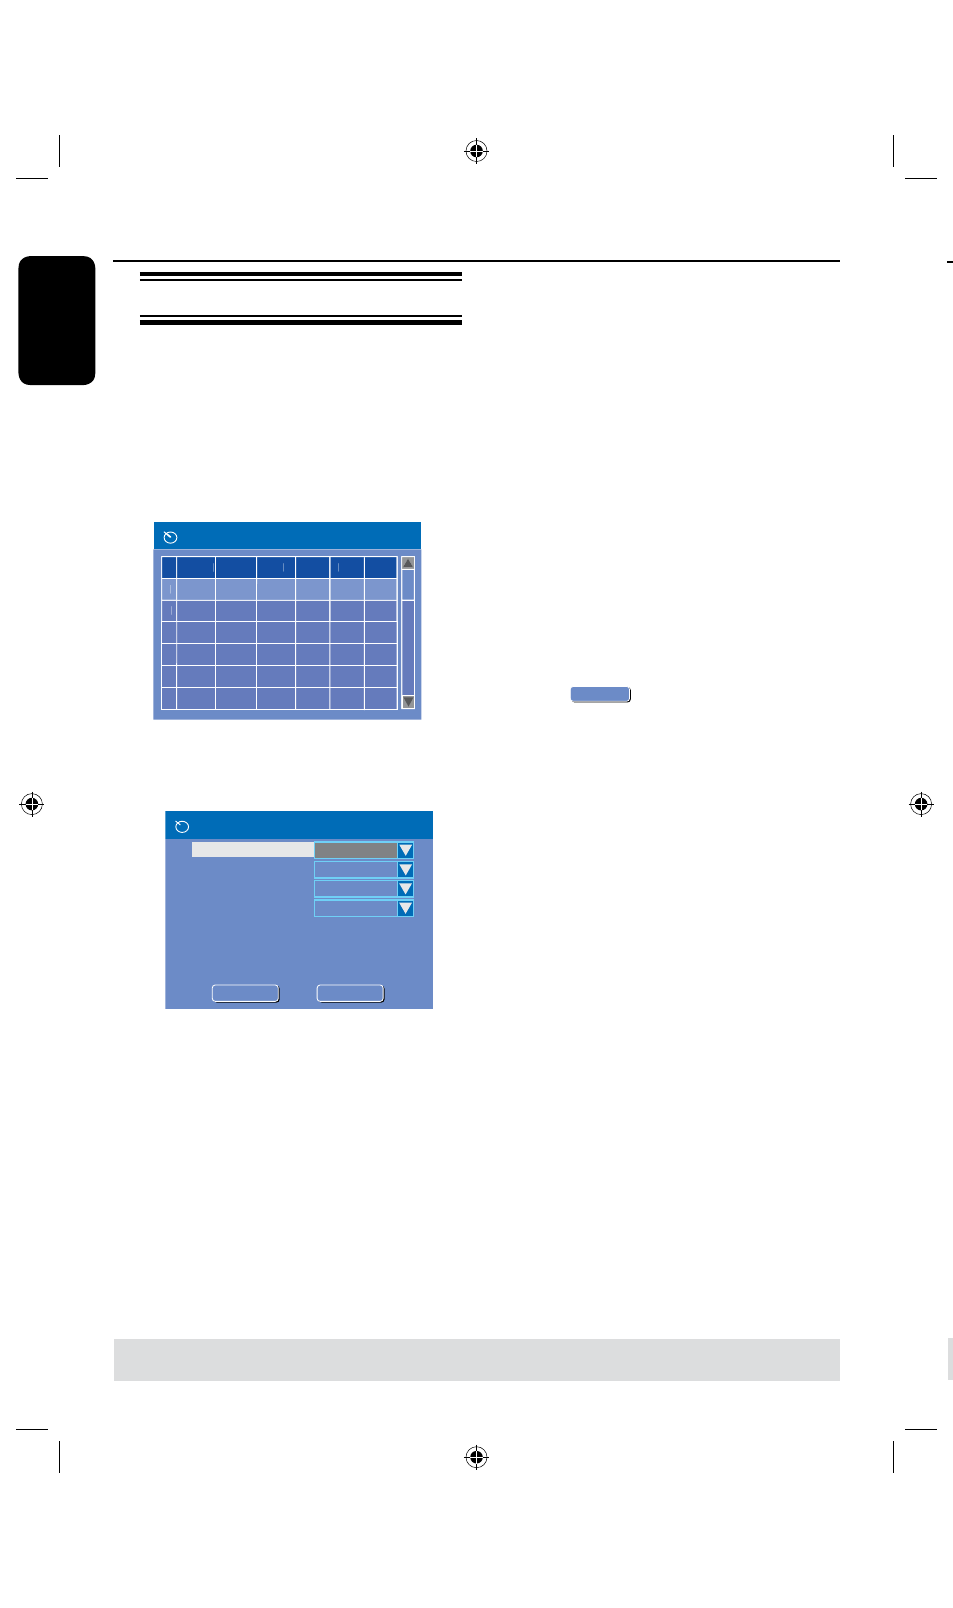
Press TIMER on the remote control.
The timer schedule list appears.
1
2
3
4
5
6
Source Rec Mode Date
Start End Rec To
Timer Schedule
C
Use keys to highlight the next
available empty slot and press OK.
The timer editor menu appears.
Timer Editor
Rec To
Mode
Date
Start
End
HDD
Once
Source
Ch003
31 / 01 / 0 5
21 : 3 3
22 : 0 3
Title
M y T i t l e 0
Rec Mode
SP
OK
OK
OK
CANCEL
D
Use keys to select an entry in the
menu and press to enter its options.
{
Source }
– Use keys to select the recording input
source.
{ Rec To }
– Use keys to select { HDD } or
{ DVD } to enter the recording destination.
{ Rec Mode }
– Use keys to select your option.
{ Mode }
– Use keys to select {
Once
},
{ Daily } , { Weekly } { Weekend }, { Mon-
Fri }, { Mon-Sat } recordings.
{ Date }
– Use keys or the numeric keypad
0-9 to enter the date for recording.
{ Start }
– Use keys or the numeric keypad
0-9 to enter the start time of recording.
{ End }
– Use keys or the numeric keypad
0-9 to enter the end time of recording.
{ Title }
– Use keys to select the
alphanumeric options to enter the title of your
recording.
E
Select
OK
OK
in the menu and press
OK.
The system will store the timer entry
and return to the timer schedule list.
l
To cancel the above timer setting, press
ADD/CLEAR on the remote control.
G
Press TIMER to exit the menu.
H
Press STANDBY-ON
2
to turn off
the recorder.
If the recorder is not in standby mode,
a warning message will appear three
minutes before the recording starts.
The ‘
timer
’ icon will light up on the
display panel if a timer recording is set.
Helpful Hint:
– Set the timer recording one minute ahead
of the program’s start time. This helps
ensure the entire program is recorded as
the disc requires about 30 seconds to
prepare for recording.
TIPS:
Set the appropriate mode of record quality for HDD recording, the same record quality will be transferred
from HDD to a recordable DVD.
Timer Recording
(continued)
Setting a timer recording from an
external Cable Box/
Satellite Receiver
If you have a Satellite Receiver/Cable Box
connected to this recorder via the
VIDEO (CVBS) (see page 0,) follow the
steps described below to program the
recordings.
A
Select the channel you want to record at
the Satellite Receiver/Cable Box.
B
Program the recording with the required
information. Follow the steps
A
~
D
of
“Timer Recording (manually)” on the
previous page.
l
When selecting options for {
Source }
choose {RP-CVBS} as the input channel
and press OK to confirm.
C
Keep the Satellite Receiver/Cable Box
switched on for the recording.
D
Press STANDBY-ON
2
to turn off
the recorder.
Changing/ Deleting a timer
recording
A
Turn on the TV power. Select the
correct Video In channel at the TV.
B
Press TIMER on the remote control.
The timer schedule list appears.
1
2
3
4
5
6
Source Rec Mode
Date Start End Rec To
Timer Schedule
CH003
SP
31/01/05 21.33
HDD
FP-CVBS
CH008
EP
SP
25/04/05
30/01/05
16.00
10.00
DVD
HDD
22.03
17.30
11.15
C
Use keys to select a timer program
which you want to change/ delete.
TIPS:
Set the appropriate mode of record quality for HDD recording, the same record quality will be transferred
from HDD to a recordable DVD.
Timer Recording
(continued)