Cleaning the printhead lenses – Lexmark C520 User Manual
Page 83
Cleaning the printhead lenses
83
Maintaining the printer
To replace the transfer belt, see the Replacing the transfer belt sheet that comes with a replacement transfer belt.
Cleaning the printhead lenses
Clean the printhead lenses when print quality problems become apparent as mentioned in Solving print quality problems
in the Troubleshooting chapter.
Warning:
To avoid overexposing the photoconductor units to light, do not leave the inner door open longer than
10 minutes.
1
Turn the printer off.
2
Open the upper door and the inner door. The lower door comes open with the inner door.
3
Remove all four toner cartridges. If help is needed, see the illustration on page 32.
4
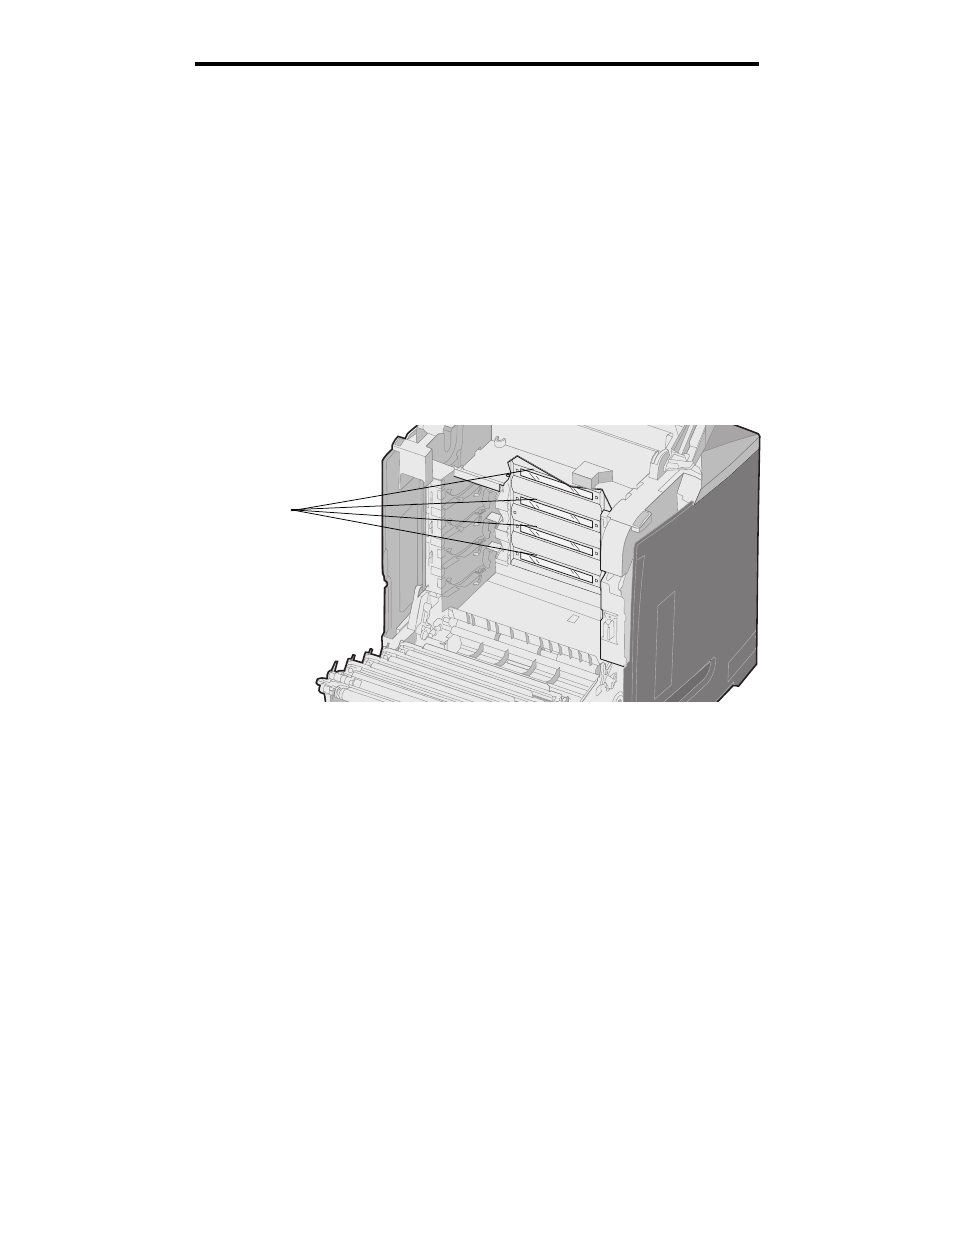
Locate the four printhead lenses as shown.
5
Clean the lenses using a can of compressed air (same as the compressed air used to clean a camera lens).
Warning:
Do not touch the printhead lenses or they may be damaged.
6
Install the four toner cartridges.
7
Close the doors.
8
Turn the printer on.
Printhead lenses