Lexmark 4227-X00 User Manual
Page 70
Repair Information
4-7
4227-X00
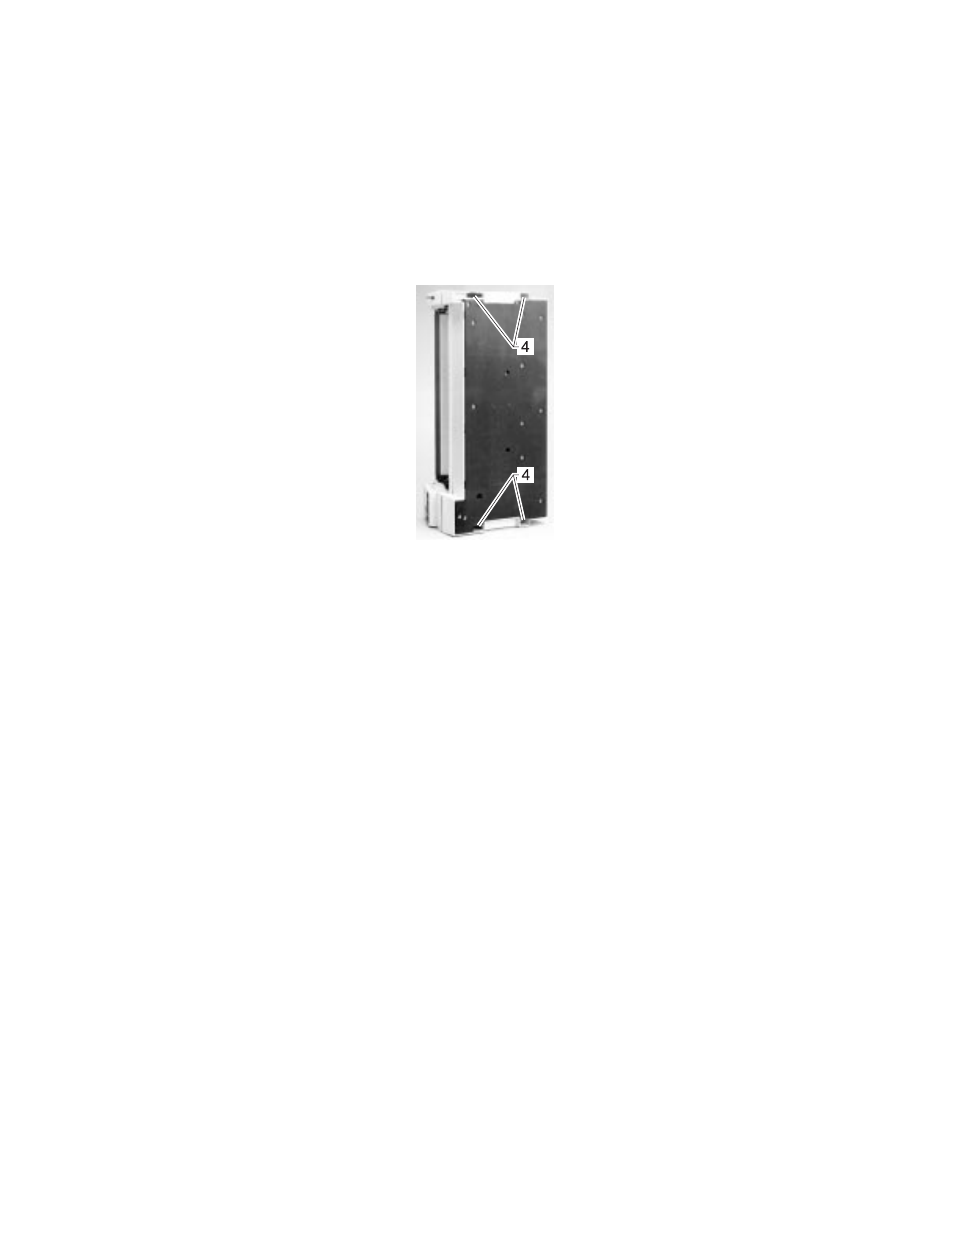
7. Place the printer on its left side. Insert a flat blade screwdriver
into the two slots [4] and release the cover by prying down on
the left side latches and up on the top cover.
8. Place the printer on its right side and release the two right side
latches.
9.
Place the printer on its feet and release the remaining two top
cover latches.
10. While lifting the top cover slightly, disconnect the operator panel
cable from the main logic board and then remove the top cover.
Reinstallation:
Be sure that the operator panel cable is correctly aligned and
inserted securely.
WARNING: Damage to the operator panel cable may cause failure
of other electrical components of the printer. Be sure not to crimp or
pinch this cable while reinstalling the top cover.
CAUTION: Be sure to unplug the power cord whenever you are
working on the printer with one of the covers removed.
- E260d (142 pages)
- 6600 Series (173 pages)
- 10N0227 (1 page)
- Z12 (2 pages)
- 301 (144 pages)
- NO. 35 (1 page)
- Z65n (111 pages)
- dn2 (217 pages)
- 10E (144 pages)
- Z2300 (54 pages)
- 230 (213 pages)
- 310 Series (2 pages)
- PRO700 (24 pages)
- C 720 (18 pages)
- C520 (145 pages)
- X656 MFP (104 pages)
- Prospect Pro207 (27 pages)
- 337 (258 pages)
- OptraImage 242 (207 pages)
- T64x (6 pages)
- C524 (146 pages)
- 4098-001 (70 pages)
- 1200 Series (21 pages)
- X650 Series (8 pages)
- 5300 (179 pages)
- 302 (274 pages)
- 4549 (235 pages)
- 202 (320 pages)
- 4076-0XX (89 pages)
- 10N0016 (1 page)
- 5025 (171 pages)
- 1361760 (1 page)
- C 546dtn (6 pages)
- Interpret S400 (40 pages)
- x6575 (2 pages)
- 27S2156-001 (2 pages)
- MENUS AND MESSAGES C522 (55 pages)
- Z35 (101 pages)
- Z25 (24 pages)
- series x5100 (77 pages)
- Z82 (105 pages)
- 2500 Series (76 pages)
- 1200 (208 pages)
- Z33 (114 pages)
- 7600 Series (181 pages)