Savin 1075 User Manual
Page 63
Delivery Procedure
59
5
C Press [OK].
The name of the destination ap-
pears in the destination display
area on the upper side of the
screen.
Note
❒ Press [U
U
U
UPrev.] or [T
T
T
TNext] to
select the destination.
❒ Pressing the {{{{Check Modes}}}}
key lets you verify the select-
ed destinations.
D To enter more than one desti-
nation, repeat steps
C.
Checking selected destinations
A Use the destination field at the
top of the scre en to check
which destinations are select-
ed.
Note
❒ When multiple destinations
are selected, the selected des-
tinations are displayed in or-
der they were selected by
pressing [
U
U
U
UPrev.] or [T
T
T
TNext].
❒ Pressing the {{{{Check Modes}}}}
key on the control panel lets
you verify the list of selected
destination(s).
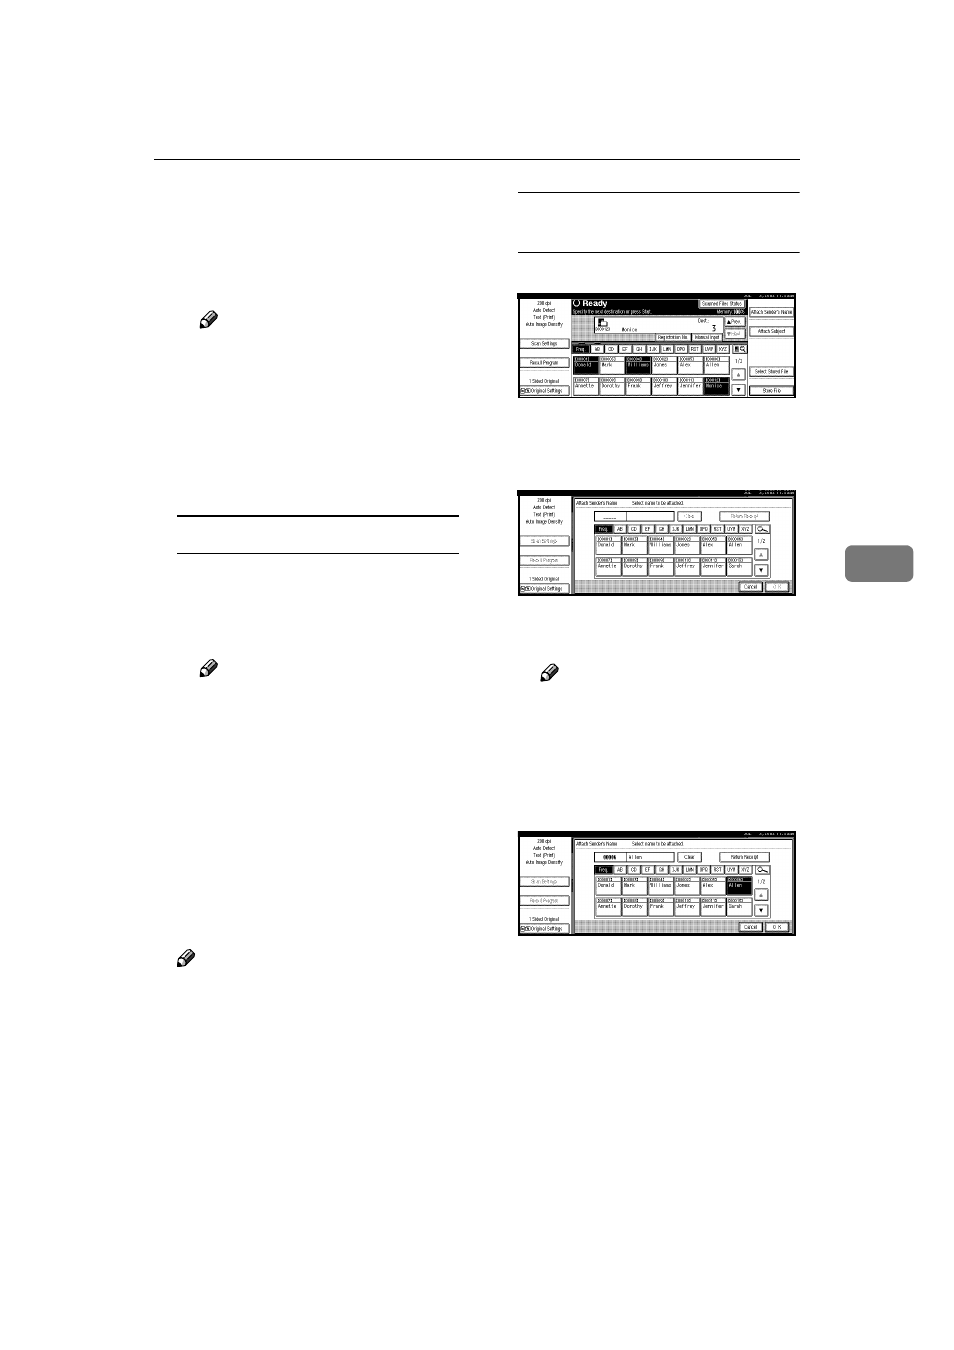
HHHH
Specify the sender (scan data de-
livery source).
Note
❒ When a sender has been speci-
fied, this information is added
to the scan data file. Select a
sender from the senders pro-
gramed in the delivery server.
Three methods are available for se-
lecting a sender: select the sender
from the list, enter the 5-digit short
ID number of the sender with the
number keys, and search for the
sender and select it.
When selecting a sender from the
list
A Press [Attach Sender’s Name].
A list of senders registered in
the delivery server is displayed.
B Select the sender.
The selected sender and its
short ID number are displayed.
Note
❒ When using ScanRouter V2
Professional, [Return Receipt]
appears when a sender is se-
lected.
To verify receipt, press [Return
Receipt]
.
C Press [OK].
The sender is displayed above
[Attach Sender’s Name]
.