Juniper Networks EX4200 User Manual
Page 161
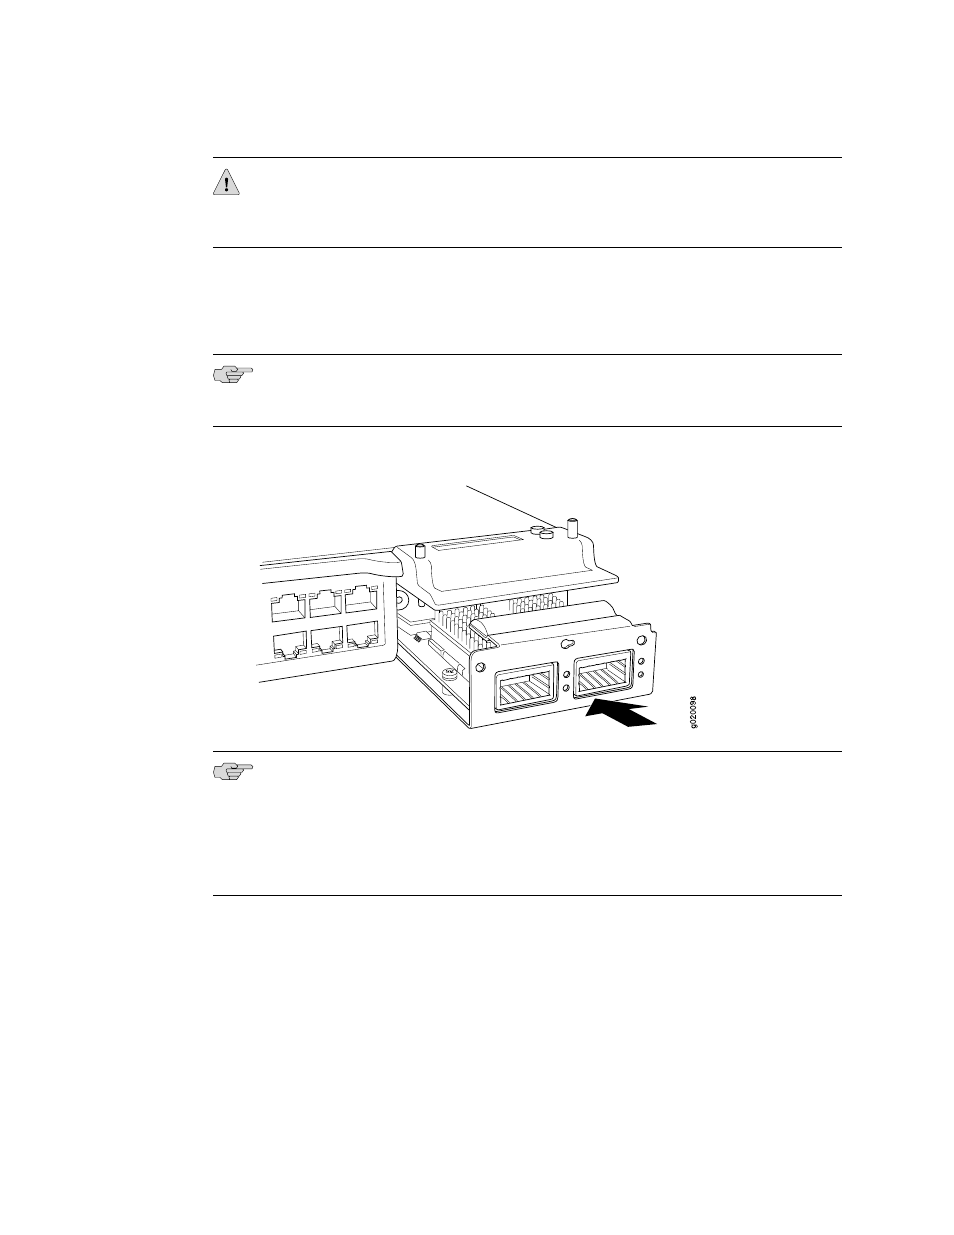
CAUTION: Before you slide the uplink module into the slot on the switch chassis,
ensure the uplink module is aligned correctly. Misalignment might cause the pins to
bend, making the uplink module unusable.
4.
Using both hands, place the module in the empty slot and slide it in gently until
it is fully seated.
5.
Flip the door down and tighten the screws by using the cross-head screwdriver.
NOTE: If the switch does not detect the uplink module, see “Troubleshooting Uplink
Module Installation or Replacement on EX3200 and EX4200 Switches” on page 192.
Figure 49: Installing an Uplink Module in an EX3200 or EX4200 Switch
NOTE: If you have a Juniper J-Care service contract, register any addition, change,
or upgrade of hardware components at
can result in significant delays if you need replacement parts. This note applies if
you change the type of power supply or add a new type of uplink module. It does
not apply if you replace these components with the same type of component.
Related Topics
■
Troubleshooting Uplink Module Installation or Replacement on EX3200 and
EX4200 Switches on page 192
■
Removing an Uplink Module from an EX3200 or EX4200 Switch on page 175
■
Installing a Transceiver in an EX Series Switch on page 136
■
Installing and Removing EX3200 and EX4200 Switch Hardware Components on
page 129
■
Configuring Gigabit Ethernet Interfaces (CLI Procedure)
Installing an Uplink Module in an EX3200 or EX4200 Switch
■
135
Chapter 10: Installing Switch Components