Setting the clock (initial setting), Setting the clock in the [initial setting] screen, Changing the time after initial setting – JVC GY-HM700CHE User Manual
Page 29
25
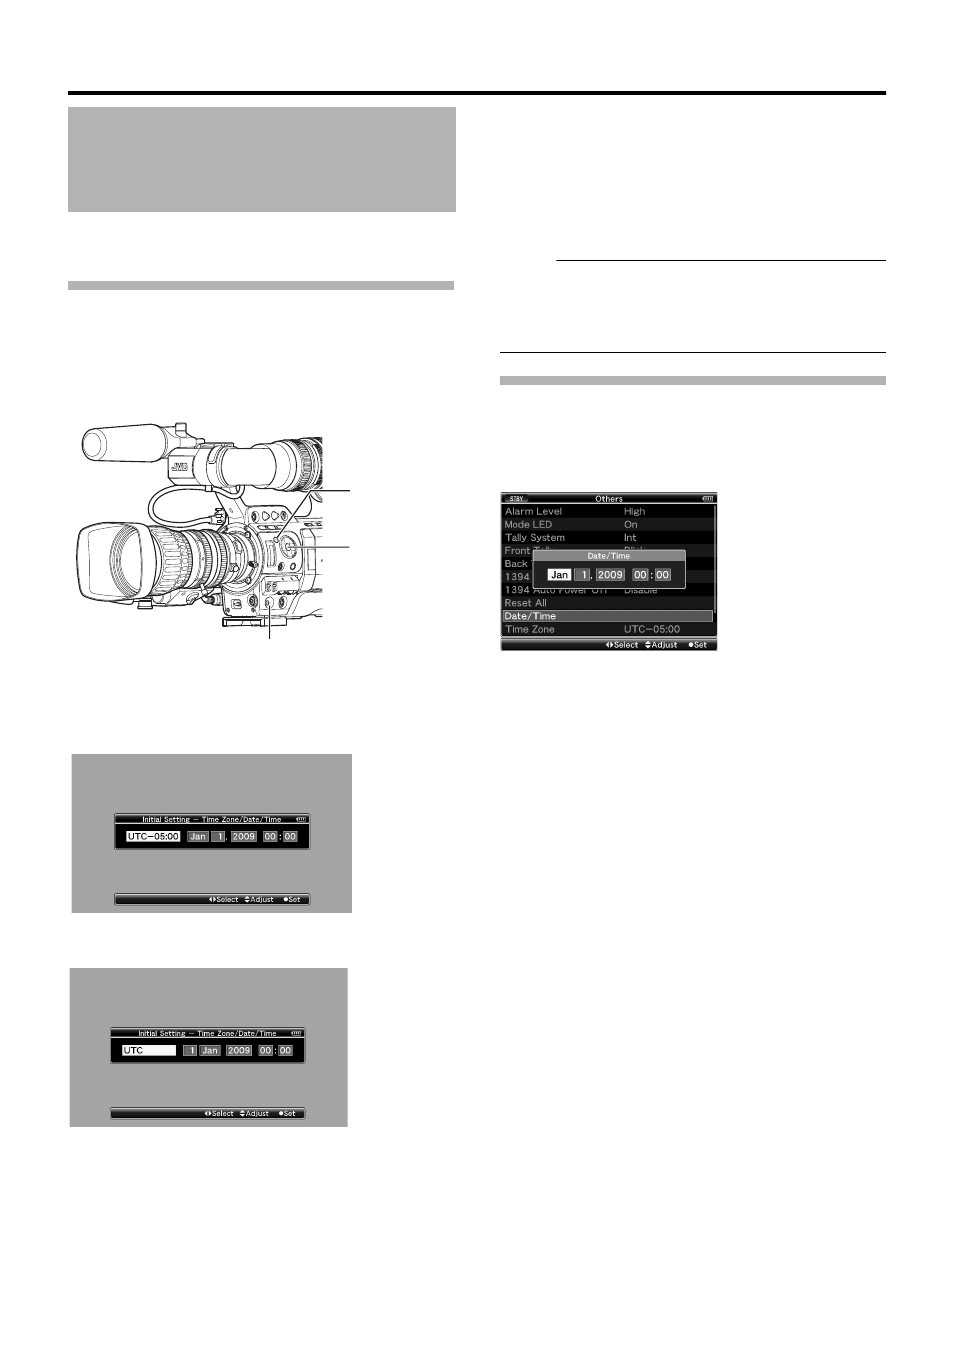
Set the date/time of the built-in clock in the [Initial Setting]
screen. The configured date/time data is saved in the built-in
rechargeable battery even if the power is turned off.
Setting the Clock in the [Initial Setting]
Screen
The [Initial Setting] screen appears when the power is turned
on for the first time and when the built-in battery is turned on
again after being fully discharged.
All operations are disabled until initial settings are complete.
1
Set the [POWER] switch to
AONB.
The [Initial Setting] screen appears.
Ⅵ For GY-HM700CHU/GY-HM700U
Ⅵ For GY-HM700CHE/GY-HM700E
2
Specify [Time Zone] and [Date/Time].
A
Move the cursor with the cross-shaped button (
H
I
) and
select the setting item.
B
Change the values with the cross-shaped button (
JK
).
3
Press the Set button (
R
) after setting is complete.
The clock is set to 0 seconds of the input date/time.
Memo:
● The configured date/time data can be displayed on the
LCD monitor and viewfinder and be recorded to the SDHC
card.
● The value of the year can be set in the range of A2000B to
A2099B.
Changing the Time after Initial Setting
Ⅵ Setting the date/time (A Page 88)
1
Select [Others]B[Date/Time].
The [Date/Time] setting screen appears.
2
Set the date and time.
A
Move the cursor with the cross-shaped button (
H
I
) and
select the setting item.
B
Change the values with the cross-shaped button (
JK
).
3
Press the Set button (
R
) after setting is complete.
The clock is set to 0 seconds of the input date/time.
Setting the Clock (Initial
Setting)
[MENU] Button
Cross-Shaped
Button (
JKH I),
Set button (
R)
[POWER] Switch