3 uninstall, 4 windows 2000, 1 for local printing – FujiFilm PICTOGRAPHY 3500 User Manual
Page 22
3. INSTALLATION
20
7.
Choose either
[Yes] or [No]. Click the [Next] button.
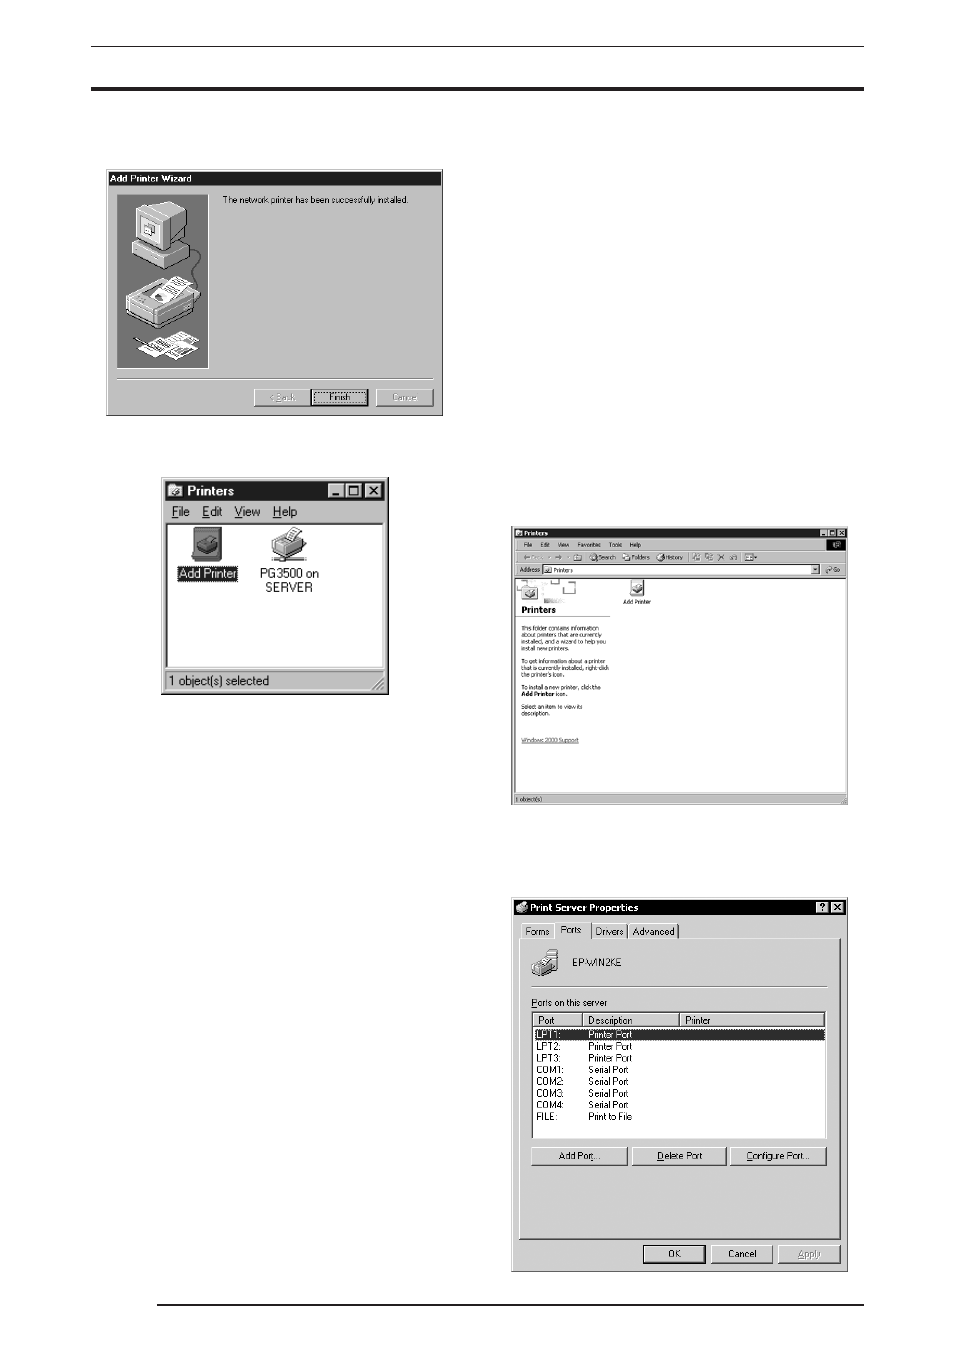
The following appears:
8.
Click the
[Finish] button.
If installation of the printer driver is complete, the icon for the
new printer will appear in the
[Printers] folder window.
9.
Restart the computer.
3.3.3
Uninstall
The printer driver uninstall procedure is described below:
1.
Delete the printer.
Click to select
[Setting] > [Printer] from the [Start] menu.
The
[Printers] folder window is displayed.
2.
Click the
[FUJIFILM PICTROGRAPHY3500] icon, then click
[Delete] from the [File] menu.
You will be prompted to confirm the delete. Click the
[Yes] but-
ton.
3.
Delete
[PICTRO SCSI Port].
In the
[Printers] folder window, click [Server Properties] from
the
[File] menu.
The
[Print Server Properties] dialog box is displayed.
4.
Click the
[Ports] tab.
Click
[PICTRO SCSI:] from the list of [Ports on this Server],
then click the
[Delete Port] button.
You will be prompted to confirm the deletion. Click the
[Yes]
button.
3.4 Windows 2000
Note the following when installing the printer driver in Windows
2000:
*
You must be logged on as a user assigned to the Administrators’
Group.
*
In the
[File signature verification] field in the [Driver Signing
Option] dialog box, check to make sure that either [Ignore-In-
stall all file, regardless of file signature] or [Warm-Display
a message before installing an unsigned file] is specified.
To display the
[Driver Signing Option] dialog box, click the
[Control Panel] > [System] > [Hardware] tabs, then click the
[Driver Signing] button.
3.4.1
For Local Printing
To enable local printing, install the printer driver as follows:
1.
Insert the PICTROGRAPHY3500 Printer Driver CD-ROM into
the PC.
2.
Click to select
[Settings] > [Printers] from the [Start] menu.
The
[Printers] folder window is displayed.
3.
Install
[PICTRO SCSI Port].
Click
[File] > [Server Properties] in the [Printers] folder.
This displays the
[Print Server Properties] dialog box.
Click the
[Ports] tab.
The following appears.