Self-timer – LEICA M11 Monochrom Rangefinder Camera User Manual
Page 120

PHOTOGRAPHY ▸ SHOOTING MODES
120
Notes
•
appears on the LCD panel if the bracketing function is activated.
You can watch the effect of the function on screen during shooting
(brighter or darker).
• The sequence of shots: underexposure/correct exposure/overex-
posure.
• The working range for automatic bracketing may be limited de-
pending on the available shutter-speed/aperture combination.
• With automatic ISO sensitivity control enabled, the sensitivity cal-
culated by the camera automatically for the raw files will also be
applied to all other shots in the series, i.e. the ISO value will not
change during bracketing. This may mean that the slowest shutter
speed specified under
Shutter Speed Limit
is exceeded.
• The working range for automatic bracketing may be limited (de-
pending on the originally set shutter speed). The specified num-
bers of frames will be taken regardless. Several shots in a series
may consequently have the same exposure values.
• The function remains active until another function is selected from
the
Drive Mode
submenu. If no other function is selected, another
bracketing is taken each time the shutter button is pressed.
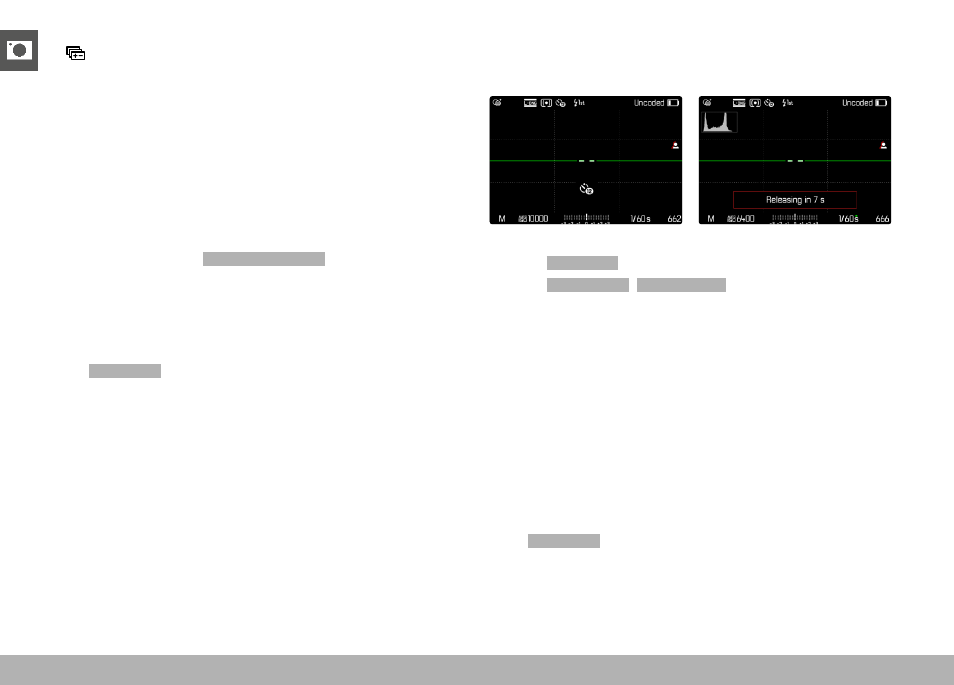
SELF-TIMER
The self-timer function allows shoot with a preset time delay. We
recommend that the camera is placed on a tripod.
▸
Select
Drive Mode
in the main menu
▸
Select
Self-timer 2 s
/
Self-timer 12 s
▸
Shutter release
• The remaining time until exposure is counted down on the LCD
panel. The self-timer LED at the front of the camera counts
down the delay time. It flashes slowly during the first 10 s, then
fast for the last 2 s.
• A running self-timer delay time can be canceled at any time by
pressing the
MENU
button and restarted by pressing the shutter
button.
Notes
• In self-timer mode, the exposure value is set just before shoot..
• The self-timer function is only available for single frame shootings.
• The function remains active until another function is selected from
the
Drive Mode
submenu.
