Step 3 save the sequence, Step 4 execute the sequence – IBM EGX-400 User Manual
Page 80
76
Chapter 5 - The Teaching Feature
5-2. Basic Steps for Creating and Executing a Sequence
Step 3 Save the Sequence
Next, you save the sequence you have created.
Procedure for Saving a Sequence
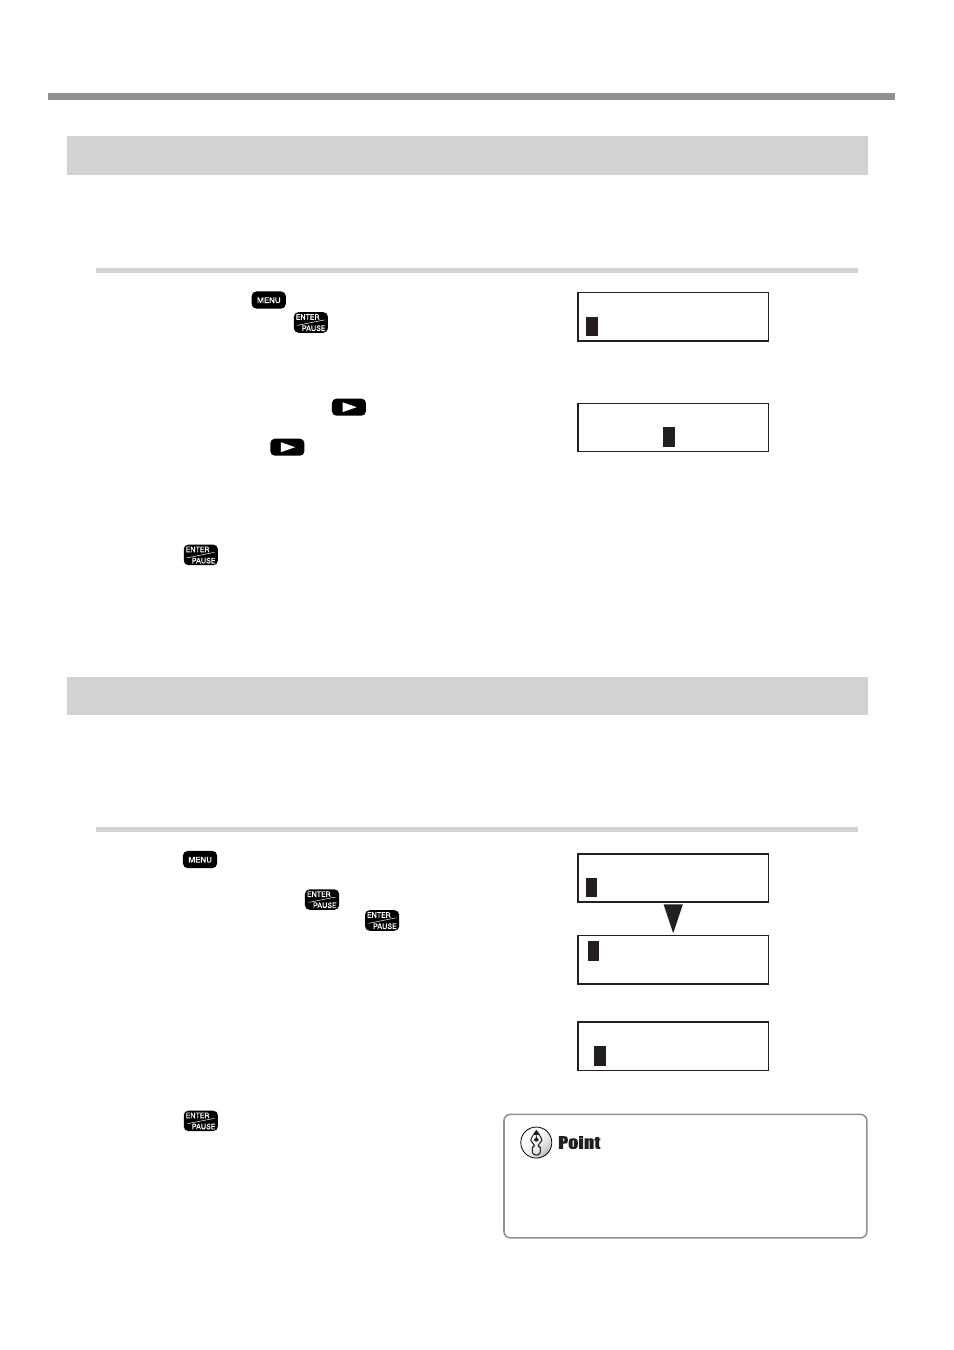
1
Press and hold
for a short while (1 sec-
ond or longer). Press
.
This quits the sequence editing screen and displays the
screen for saving a sequence.
2
Assign a file name. Press
to move the
blinking cursor. Turn the dial to select a char-
acter, then press
to move to the next
character.
You can repeat this to assign a file name of up to eight
characters.
3
Press
.
The sequence is saved and the machine returns to the
teaching menu.
Step 4 Execute the Sequence
Let's try executing the sequence you created. First, to verify the operation, let's execute it without installing a cutter or
loading a workpiece.
Procedure for Executing a Sequence
1
Press
several times to display the screen
shown at right, then move the blinking cursor
to [TEACHING]. Press
. Move the blink-
ing cursor to [RUN], then press
.
2
Call up the saved sequence. Turn the dial to
select it. Let's try selecting the [TEST] you cre-
ated earlier.
3
Press
.
Operation starts. The screen successively displays the
commands being executing.
The [Int.] to the left of the file name means the sequence
has been saved in the built-in memory. Sequences saved
on a memory card are displayed with [Ext.].
Save Sequence ?
Y
es No Cancel
Select File
Int. TES
T
I/O OTHERS
T
EACHING SELF
R
UN DELETE
EDIT SETTING
Select File
I
nt. TEST