Connecting the leads and cables to the printer – TA Triumph-Adler CLP 4416 User Manual
Page 20
1-10
Installation
+
5 - Connect the 220/240V mains extension lead for the printer to the mains outlet of the scanner.
Group together all the leads and cables connected so far on the back of the righthand column. Take the
cable sleeve, open it and fit the leads and cables in the sleeve. Position the assembled cable sleeve in
the 3 guide clips and lock the clips.
+
6 - Connect the USB cable of the memory card reader to the USB connector of the scanner.
Connecting the leads and cables to the printer
+
Open the duplex unit by lifting the lever at the
back and move the movable part as far out of
the way as possible.
+
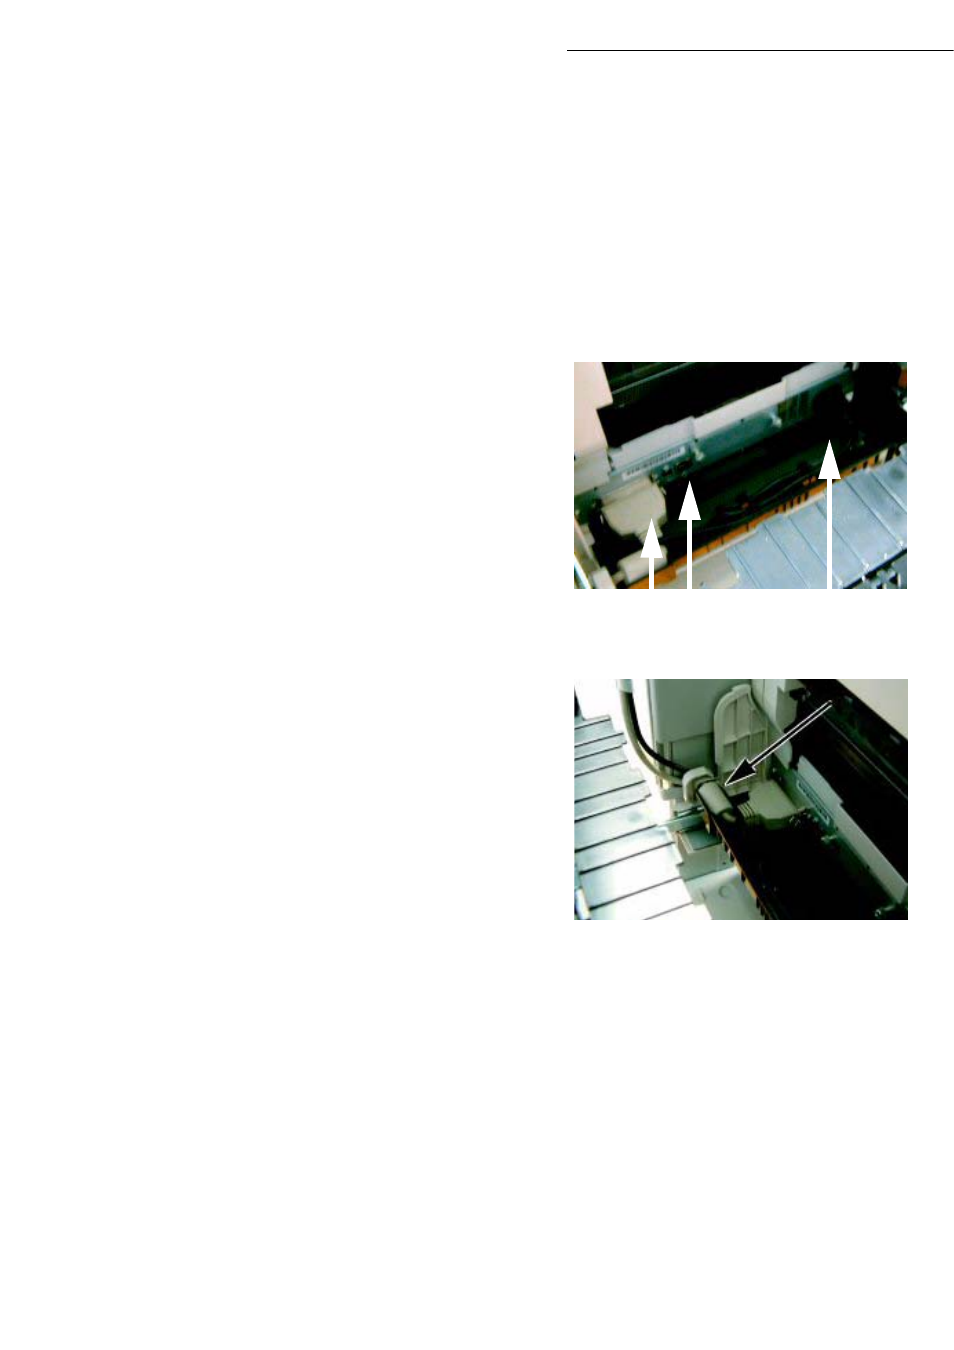
1 - Connect the Centronics cable to the printer
and lock it with the two metal clips.
+
2 - Plug the LAN cable (not supplied) into the
LAN network connector of the printer
+
3 - Connect the mains extension lead to the
mains socket of the printer.
+
Make a loop with the mains lead and insert it in
the cable holder, as shown in the illustration.
+
Position the mains lead and LAN cable (not
supplied) on the left side ot the printer as shown
in the illustration.
+
Close the duplex unit.
1
2
3