Resetting to default mode, Viewing recorded image data, Displaying recorded image data – Epson PhotoPC L-400 User Manual
Page 36: Advanced functions
36
ADVANCED FUNCTIONS
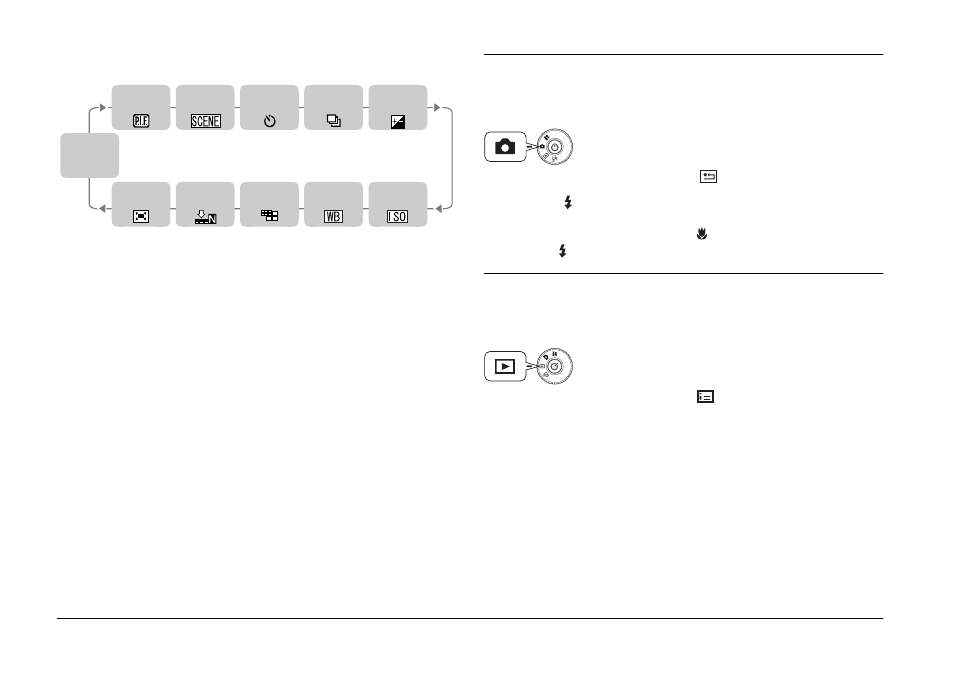
Every time you press the button, the function to be assigned changes in
order as listed below.
4.
At the step 2 screen, use ud directional buttons to turn the MENU
SHORTCUT feature OFF or ON.
In the ON position mode, the assigned functions are enabled.
When it is OFF, even though functions may have been assigned to the
ud l r buttons, they will not perform MENU SHORTCUTS.
HINT
How to use Menu Shortcuts
❏
P.I.F.
❏
Scene mode
❏
Self timer mode
❏
Continuous Shooting
See page 31
❏
Exposure adjustment
See page 34
❏
Sensitivity
See page 33
❏
White Balance
See page 33
❏
Resolution
❏
Compression
See page 19
❏
Digital Zoom
See page 18
RESETTING TO DEFAULT MODE
How to return all settings to the Default mode.
RESETTING TO DEFAULT MODE
1.
Press the MENU button and select
RESET DEFAULT using the
l r buttons.
When the FLASH button is pressed a message will appear on the
monitor.
2.
To reset to Default mode, press the
MACRO button to OK the reset.
Press the FLASH button to cancel the reset.
VIEWING RECORDED IMAGE DATA
How to view technical data of recorded images.
DISPLAYING RECORDED IMAGE DATA
1.
Press the MENU button and select
INFORMATION with the l r
buttons.
The image data will appear on the LCD monitor.
Press the l button to return to the MENU.
2.
Press the d button to review the rest of the data for this image.
Press the u button to view the previous data screen.
Not
Assigned
P.I.F.
Scene mode
Self timer
mode
Continuous
Shooting
Exposure
adjustment
Sensitivity
White
Balance
Resolution
Compression
Digital
Zoom
Turn the DIAL SWITCH to PHOTO MODE and then
turn the POWER ON.
Turn the DIAL SWITCH to PLAYBACK MODE and
then turn the POWER ON.