Replacing frames, Using the cd-rom downloading from the web, 29 english replacing frames – Epson PhotoPC L-400 User Manual
Page 29
ADVANCED FUNCTIONS
29
English
REPLACING FRAMES
In order to add or change the frames loaded in the camera’s memory you
must ready a memory card that already has replacement frames in memory.
Frames can be found in the included CD-ROM or on the EPSON website.
USING THE CD-ROM
ALERT
You will need a computer with a CD-ROM drive.
You will also need to have installed PRINT Image Framer Tool beforehand.
DOWNLOADING FROM THE WEB
ALERT
You will need a computer that is connected to the Internet.
You will need to install PRINT Image Framer Tool.
ALERT
The following instructions assume that you have already loaded frames from a SD
memory card into the camera's own memory.
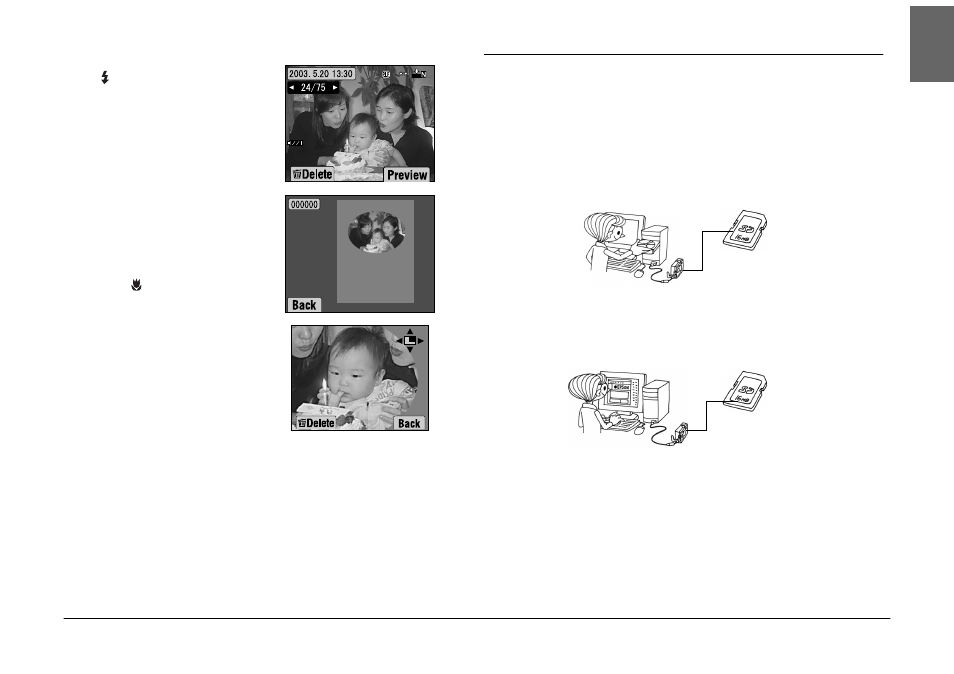
1.
Choose PREVIEW by using
the
FLASH button.
If there are no images with frames
attached, the PREVIEW menu will
not appear.
Press W on the ZOOM button in
order to view 6 images at a time.
2.
The image will appear with the
frame attached.
Note:
The frame cannot be changed at this
time, but it can be changed or deleted
before printing.(See page 42.)
Press the
MACRO button to
return to PLAYBACK mode.
HINT
Pressing the "T" zoom button will zoom in
on the picture, while pressing the "W" will
zoom out of the picture.
You may shift the portion of the picture
inside the frame using the udl r buttons.
Download to a
memory card.
For detailed information, refer
to the online help for EPSON
PRINT Image Framer Tool.
Download to a
memory card.
Detailed information can be
found through EPSON’s web
site online help.