Using the self timer, Standard operation – Epson PhotoPC L-400 User Manual
Page 20
20
STANDARD OPERATION
FYI
Slow Synchro Shutter Shooting
This technique allows you to sync the Flash with the Slow Shutter Shooting. In
most cases, if the flash is used in a very dark setting the background turns out dark,
but when using the Forced Flash settings the exposure time lengthens (Slow
Synchro Shutter Shooting) and brightens the background. The use of a tripod is
recommended to prevent blurring.
Main Functions Of The Flash Icons
Flash Range
ISO Sensitivity (See page 33.)
USING THE SELF TIMER
Use the self-timer when you are recording an image of yourself or a group
that includes you. Also, this feature will eliminate blurring.
1.
Press the MENU button and select SELF TIMER by using the l r
buttons.
2.
Select either 2 sec. or 10 sec. by using the ud buttons.
HINT
Short Self Timer
Shots taken at night, at sunset or in MACRO mode can easily become blurred. The
shot often becomes blurred when the camera moves (because the shutter is open)
while the shutter button is pressed down. When using the Short Self Timer the
shutter is set to release 2 seconds after the button has been pressed, helping you to
take photos that are not blurred. The light will flash quickly for 2 seconds before the
shutter goes off.
Note:
If you want to stop the process after pressing the shutter button in self timer mode,
just press the
MACRO button. EPSON recommends using a tripod or placing
the camera on a flat horizontal surface when using this mode.
Automatic Flash (default
setting)
The flash will automatically go off in a dark
setting. In a well lit setting, the flash will not
go off. This can be used for most settings.
No Flash
Turns off the flash even in dark scenes. Use
it for night scenes or wherever you are
prohibited from using a flash. Please note
that these shots may become blurred due
to very slow shutter speed. ’No Flash’ is the
automatic setting in CONTINUOUS or
VIDEO CLIP mode.
Auto red-eye reduction
Use this setting when recording with a flash
at night or indoors. The flash will go off
once and will go off again when the
picture is taken. This will help to reduce
red-eye phenomenon.
Forced Flash
The flash will go off at any time no matter
the brightness. Use it when the
background is bright or when you are
shooting against the sun. When used in
dark settings, the length of exposure
becomes longer, changing into Slow
Synchro Shutter Shooting. Please note that
these shots may become blurred.
ISO Sensitivity
Normal (Wide Angle)
Normal (Telephoto)
Standard Sensitivity
ISO 100
0.5 - 2.6m (1.6 - 8.5ft)
0.5 - 1.5m (1.6 - 4.9ft)
High Sensitivity
ISO 200
0.5 - 3.7m (1.6 - 12.1ft)
0.5 - 2.1m (1.6 - 6.9ft)
Super High Sensitivity
ISO 400
0.5 - 5.2m (1.6 - 17.1ft)
0.5 - 3.0m (1.6 - 9.8ft)
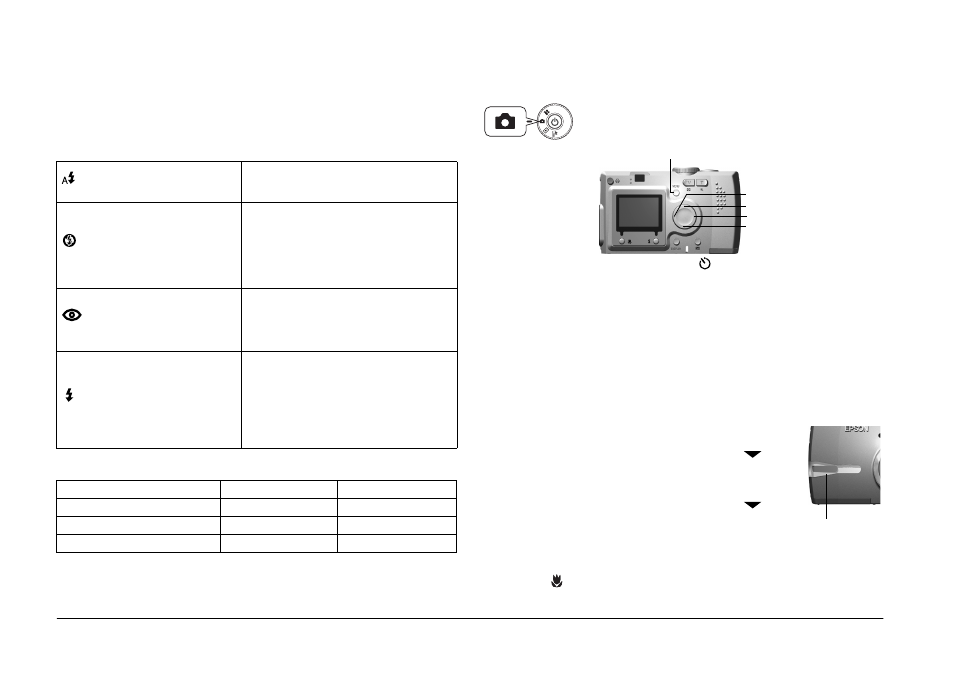
Turn the DIAL SWITCH to PHOTO MODE and then
turn the POWER ON.
3.
Center the image and press the
SHUTTER button.
In the 10-sec. mode, the light
flashes slowly for 8 seconds, then
faster for the last 2 seconds before
the shutter releases.
To turn on the self timer sound, see
page 47.
l button
u button
r button
d button
MENU Button
Light will flash slowly
for 8 seconds
Light will flash
quickly for 2
seconds
Shutter will release
illumination Light