Scene modes – Epson PhotoPC L-400 User Manual
Page 32
32
ADVANCED FUNCTIONS
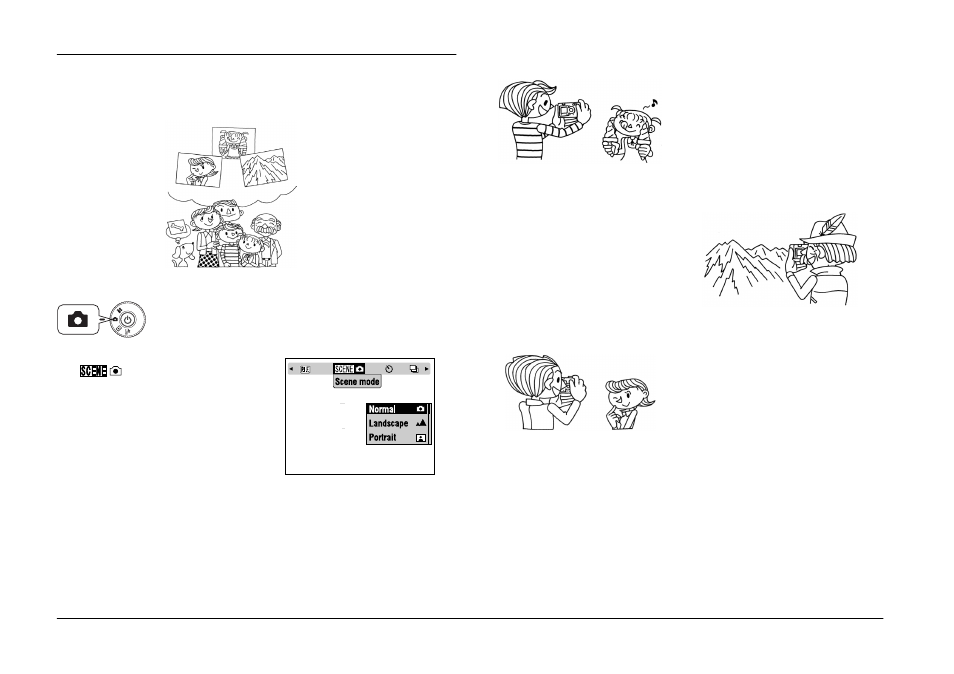
SCENE MODES
When using a programmed SCENE mode, the camera is automatically
configured to the best image capture settings for the situation.
SELECTING A SCENE MODE
Note:
FLASH control in SCENE mode
Any flash settings (See page 19.) can be used in SCENE mode. Please note that
using either the NO FLASH or FORCED FLASH settings in dark scenes will
lengthen the time of exposure (shutter speed) up to 1/2 sec. which may lead to
blurring. The use of a tripod is recommended to prevent blurring.
NORMAL MODE
LANDSCAPE MODE
PORTRAIT MODE
ALERT
When any SCENE mode is set, selecting MACRO shifts the camera settings to
NORMAL mode. If you cancel the MACRO, the camera settings remains in
NORMAL mode.
Turn the DIAL SWITCH to PHOTO MODE and then
turn the POWER ON.
1.
Press the MENU button and select
Scene mode using the l r
buttons.
2.
Use the ud buttons to select the
specific SCENE mode you desire.
Selecting the right mode
helps you take the best
photos automatically. And
when combined with P.I.M.
printing (See page 39.), the
result will be terrific.
Landscape Mode
Normal Mode
Portrait Mode
This mode is best for most shooting.
The FLASH works automatically based
on the available light on the subject.
The SHUTTER speed is also selected to
minimize blurring.
This mode is best for broad
landscapes. The FLASH is
deactivated and the depth of field is
increased. In low light the shutter
speed is slower so you can take night
scenes. Use a tripod to prevent
blurring.
This mode is designed for personal
portraits. The depth of field is reduced
(1-3m) and the FLASH is automatically
set to reduce red eyes.
When using the FORCED FLASH in
dark settings the SLOW SYNCRO
SHUTTER feature is set (See page 19.)
allowing you to take shots with a
brighter background. The use of a
tripod is recommended to prevent
blurring.