Epson Stylus Photo R300 Series User Manual
Page 84
84
Printing From Your Computer
8. Select and open more images, or click
Cancel
to close the Open PRINT Image
Matching II file window. (If you don’t want the window to remain on the screen after you
open a file, uncheck
Import consecutively
.)
9. Follow the steps in the next section to print your P.I.M. image.
To keep the P.I.M. header information intact for use in other P.I.M.-enabled programs, keep
the original file; don’t use the Photoshop
Save
command. Instead use
Save As
to rename the
file. It won’t contain P.I.M. header information, but will retain P.I.M. image quality, as long as
the file is saved with the ICC profile embedded.
Note: If you overwrite your original file, you will lose all P.I.M. header information.
Printing a P.I.M. Image
P.I.M. images are converted into the EPSON RGB 2001 color space. To retain P.I.M. quality
and enhancements, don’t change the color space.
1. Open the File menu, then:
Photoshop 7.0 or Elements: Select
Print Preview > Print Options
, or
Print with
Preview
. Then click
Show More Options > Color Management
.
Photoshop 6.0: Select
.
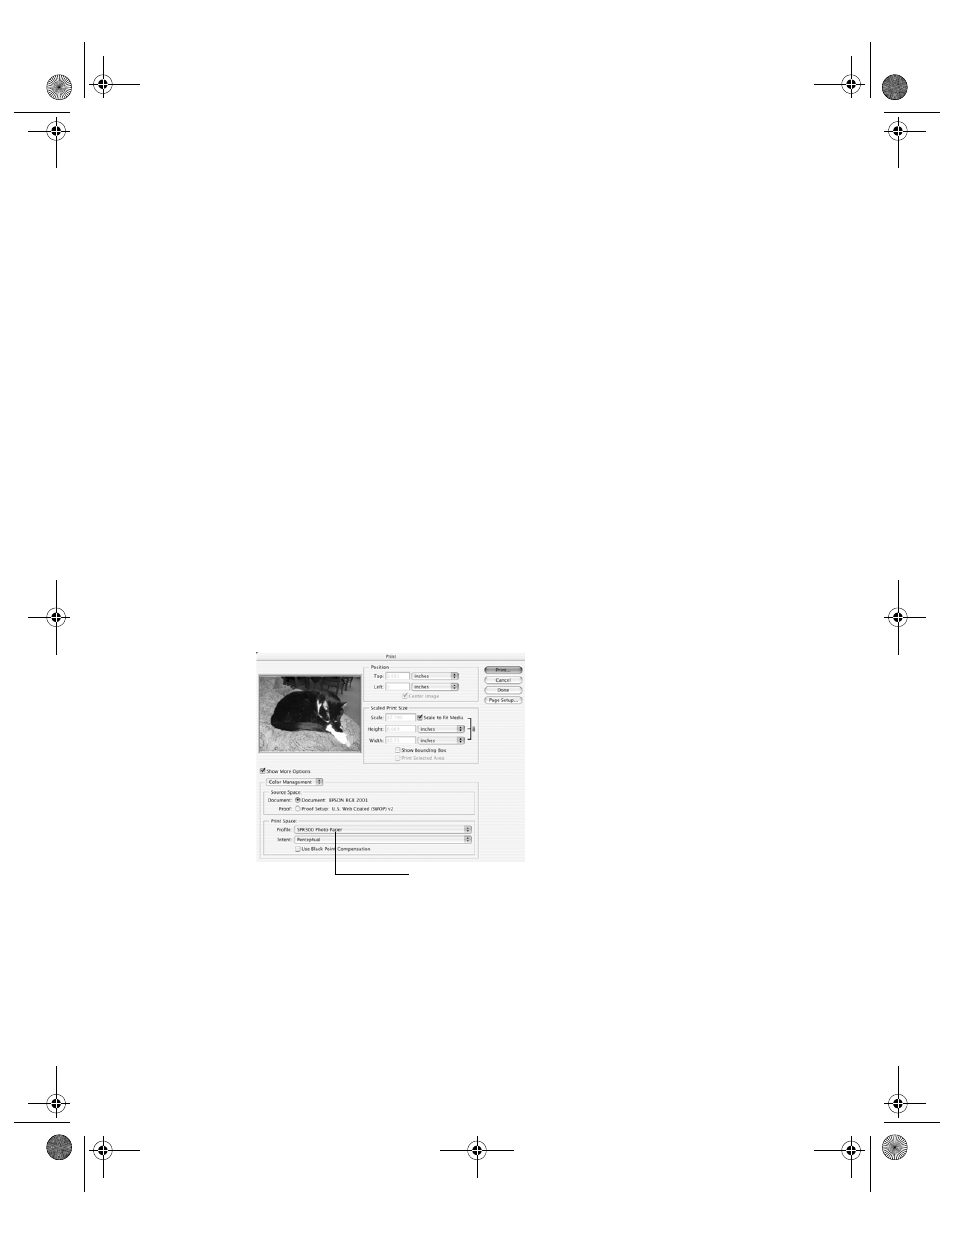
You see a window like this:
2. In the Print Space box, select the
Stylus Photo R300
profile for the paper you’re printing
on. We recommend
Perceptual
as the Intent setting.
3. Photoshop 7.0 or Elements: Click
. You see the printer settings window.
Photoshop 6.0: In Windows, click
Setup
, then select your printer and click
Properties
or
Preferences
. Go to step 5.
Select the profile for your printer and paper
Pbasics.book Page 84 Tuesday, June 1, 2004 1:31 PM