Adding photo information – Epson Stylus Photo R300 Series User Manual
Page 32
32
Printing Without a Computer
3. Choose an option and press
OK
. (Choose
Off
to turn off cropping.)
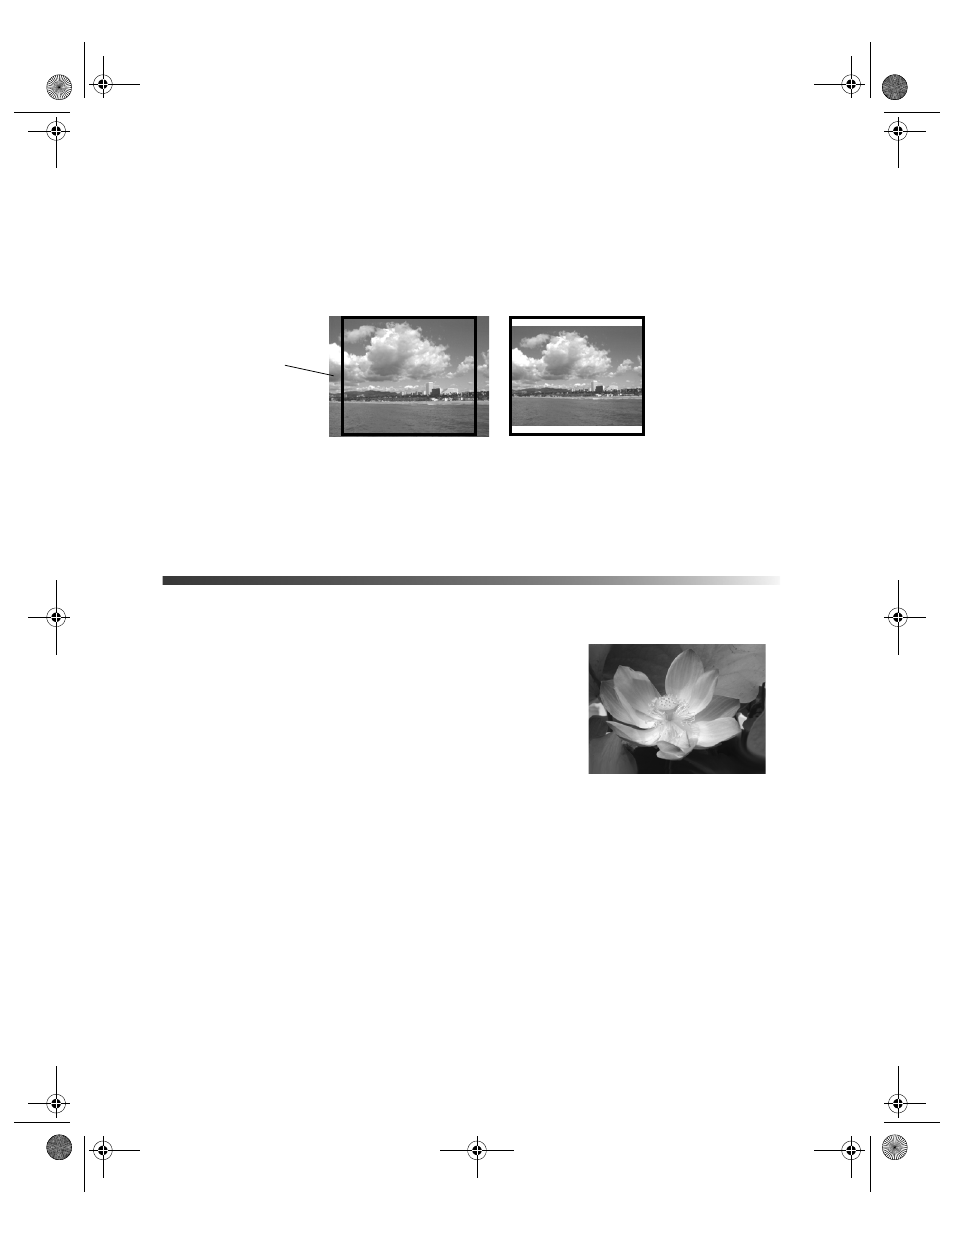
4. If your photo is too long or wide to fit inside the available space on your selected layout,
part of the image will be automatically cropped. If you want to turn off automatic
cropping (leaving white space at the edges of the photo), highlight
Fit to Frame
and press
OK
, then highlight
Off
and press
OK
.
Note: These settings are saved when you turn off the printer or choose a
different set of photos, so remember to turn off the settings when you’re done.
Adding Photo Information
You can print the date and time each photo was taken, as
well as the camera settings, in the lower right corner of your
photos.
1. Highlight
More Options
, then press
OK
.
2. To print the date, highlight
Date
, then press
OK
.
Highlight a month, date, and year formatting option,
then press
OK
.
3. To print the time, highlight
Time
, then press
OK
. Highlight
12-hour system
or
24-hour system
, and press
OK
.
4. To print your camera’s exposure time (shutter speed), F-stop (aperture), and ISO speed,
highlight
Photo Information
, then press
OK
. Highlight
On
, then press
OK
to activate
the setting.
When
Date
,
Time
, or
Photo Information
is turned on, the information prints on all photos
in any layouts for which they are allowed.
Note: These settings are saved when you turn off the printer or choose a
different set of photos, so remember to change the settings back to None or Off
when you’re done.
Fit to Frame turned on
Fit to Frame turned off
Cropped area
2002.02.04 10:36
Pbasics.book Page 32 Tuesday, June 1, 2004 1:31 PM