Selecting one photo, Selecting a set of photos – Epson Stylus Photo R300 Series User Manual
Page 24
24
Printing Without a Computer
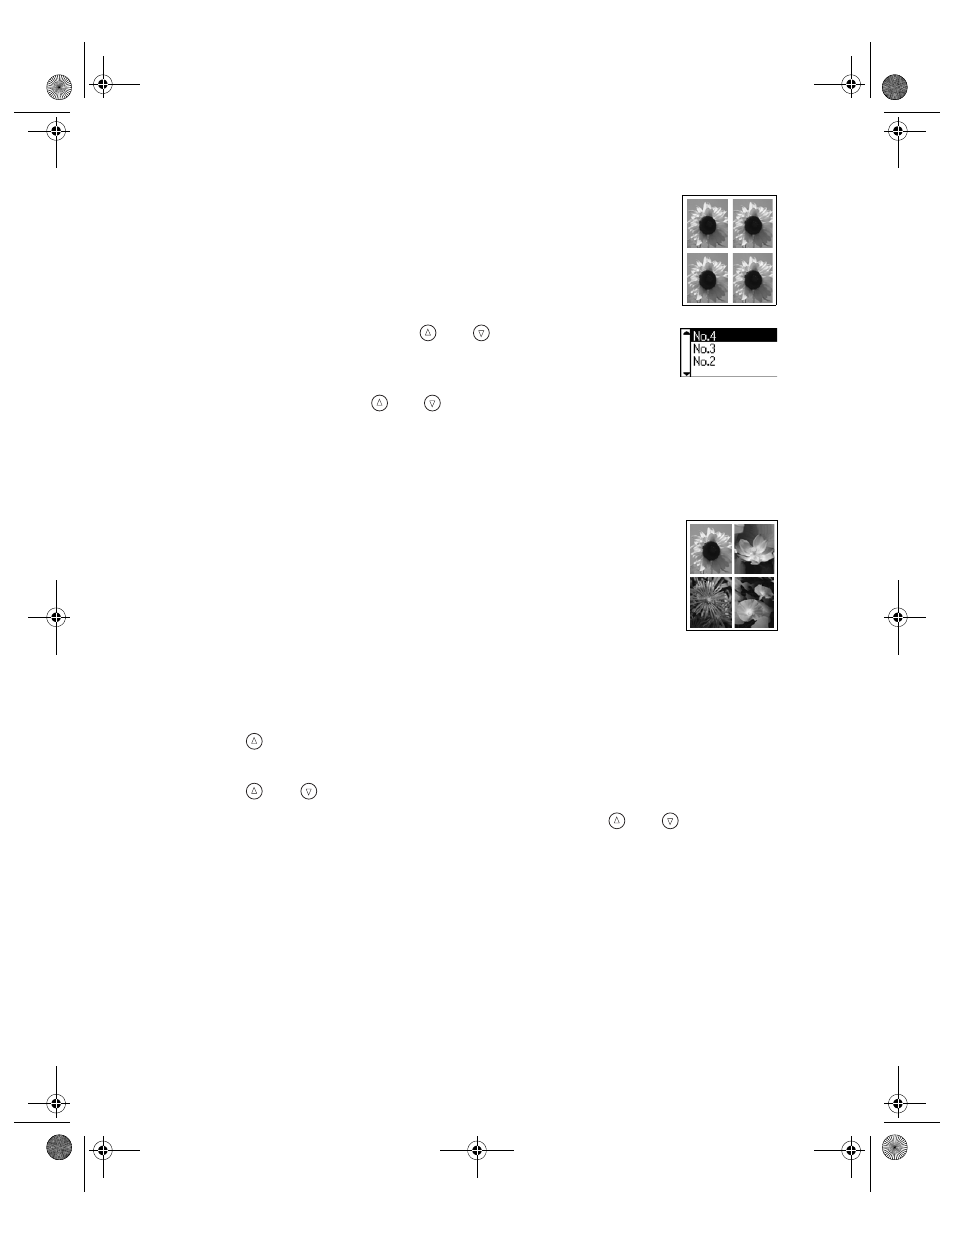
Selecting One Photo
You can select a photo, then print one or more copies of it on a page using a
variety of layouts. If your printer doesn’t have the preview monitor, first print
an index to identify the photos on the memory card (see page 23).
1. Highlight
Select Photo
, then press
OK
.
2. In the Select Photo menu, use the
and
buttons to highlight the
number of the photo you want to print, then press
OK
to select it.
3. If you want to print more than one copy of this photo, highlight
Copies
and press
OK
, then use the
and
buttons to select the desired number of copies and
press
OK
.
4. Continue with “Printing Your Selected Photos” on page 26 to finish laying out your
photos and setting up your print job.
Selecting a Set of Photos
You can select two or more photos, then print them as a group using a variety
of layouts. If you’ve selected more photos than can fit on a page, the printer
automatically prints additional pages as needed, using the same layout. If your
printer doesn’t have the preview monitor, first print an index to identify the
photos on the memory card (see page 23).
1. Highlight
Select Photo
, then press
OK
.
Note: To print all your photos, select All. To print a range of photos, see page 25.
2. Use the
button to highlight
Individual
, then press
OK
. (If you have the preview
monitor, it displays the first photo on your card.)
3. Use the
and
buttons to select the photo you want to print, then press
OK
.
4. If you want to print more than one copy of this photo, use the
and
buttons to
select the desired number of copies, then press
OK
.
5. Repeat steps 3 and 4 for each additional photo you want to print.
6. When you’re done, press
Back
.
7. To view a list of selected photos, highlight
Copies
and press
OK
. Then press
Back
.
Note: If you selected the wrong photo, you can remove it from the list of
selected photos. Simply change its number of copies to zero; see step 4.
8. Continue with “Printing Your Selected Photos” on page 26 to finish laying out your
photos and setting up your print job.
Pbasics.book Page 24 Tuesday, June 1, 2004 1:31 PM