Epson Stylus Photo R300 Series User Manual
Page 79
Using PRINT Image Matching
79
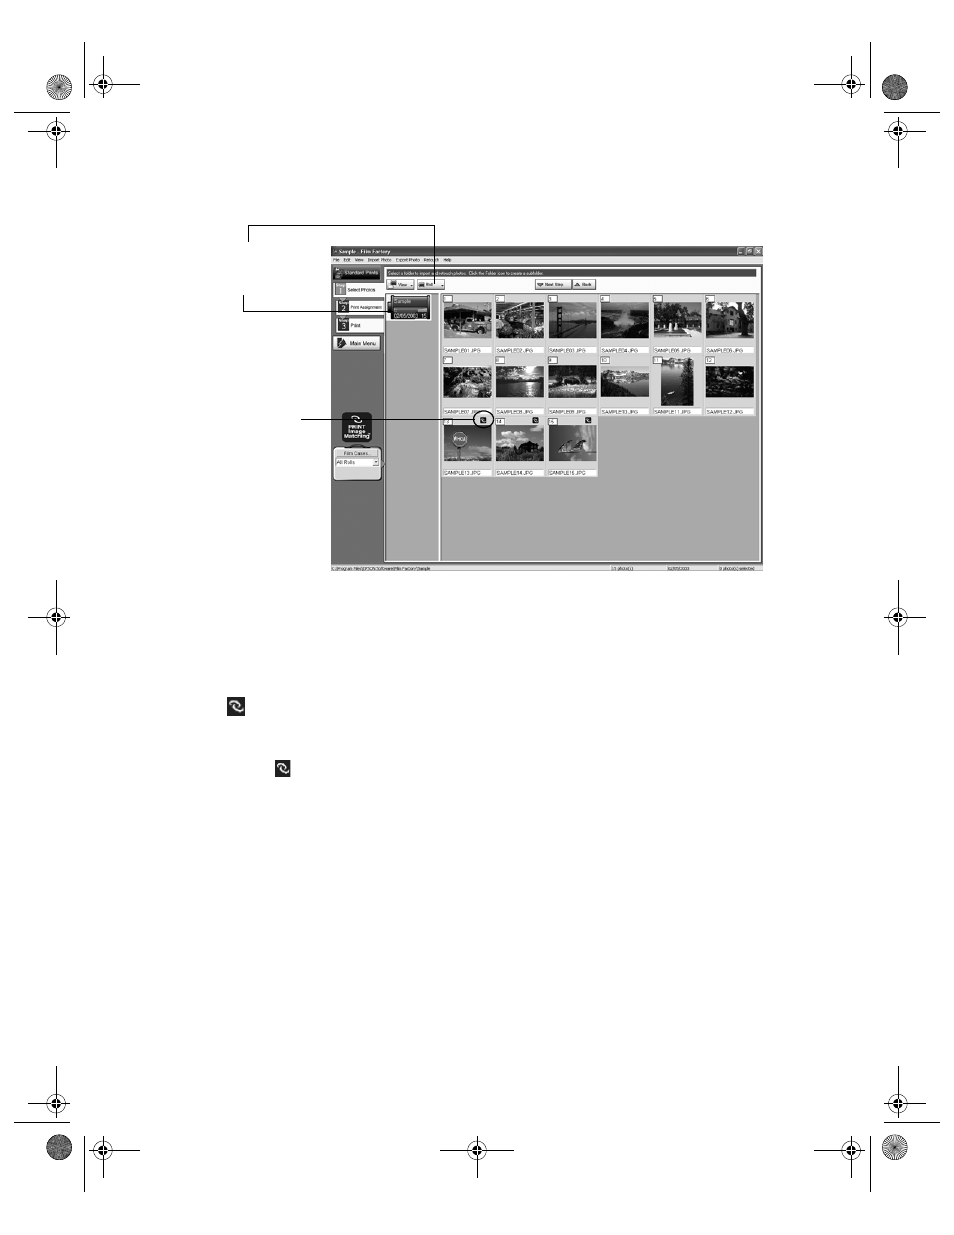
2. Click
View
, then choose
Roll
. You see a screen like the one below:
Note: If you need help with Film Factory, select it from the Help menu or check
the on-screen Getting Started Guide that was installed with Film Factory.
3. Select a “roll of film” or click the
Roll
button and select
New Roll
.
4. If your photos were taken with a digital camera that supports PRINT Image Matching,
the
P.I.M. logo appears in your photo thumbnails. Right-click (Windows) or
Ctrl
-click (Macintosh) a photo thumbnail to display information about the P.I.M.,
P.I.M. II, or Exif Print data in the photo file. (If you retouched a PRINT Image Matching
photo, the
P.I.M. logo may not appear.)
5. Click the photo you want to print, or click the
All
button at the top of the screen to select
all the photos in a roll. Then go to step 6.
6. To import a photo into Film Factory, click the
Import
button, then:
■
Click
From File
to import a photo from your computer’s hard drive.
■
Click
From Removable Media
to import a photo from a disk or CD-ROM.
■
Click
From PC Card
to import a photo from a PC card in a card reader.
■
Click
From Twain Device
to import a photo from a scanner or digital camera. If
your device is already selected, the software will open. If not, click
Import Settings
,
and select your scanner or digital camera.
Click Roll to create a
new roll, or . . .
click an existing roll
PRINT Image
Matching photos
are marked here
Pbasics.book Page 79 Tuesday, June 1, 2004 1:31 PM