Menu functions (shooting menu), 91 en – Olympus OM-D E-M1 Mark II User Manual
Page 91

91
EN
Menu functions (Shooting menu)
4
• If there is not enough charge left on the battery, the shooting may end partway through.
Make sure the battery is charged enough before shooting.
• Depending on your computer’s system environment, you may not be able to view [4K]
movies on your computer. More information is available on the OLYMPUS website.
Varying settings over a series of photographs ( Bracketing)
“Bracketing” refers to the act of varying settings automatically over a series of shots
or a series of images to “bracket” the current value. You can store bracket shooting
settings and turn bracket shooting off.
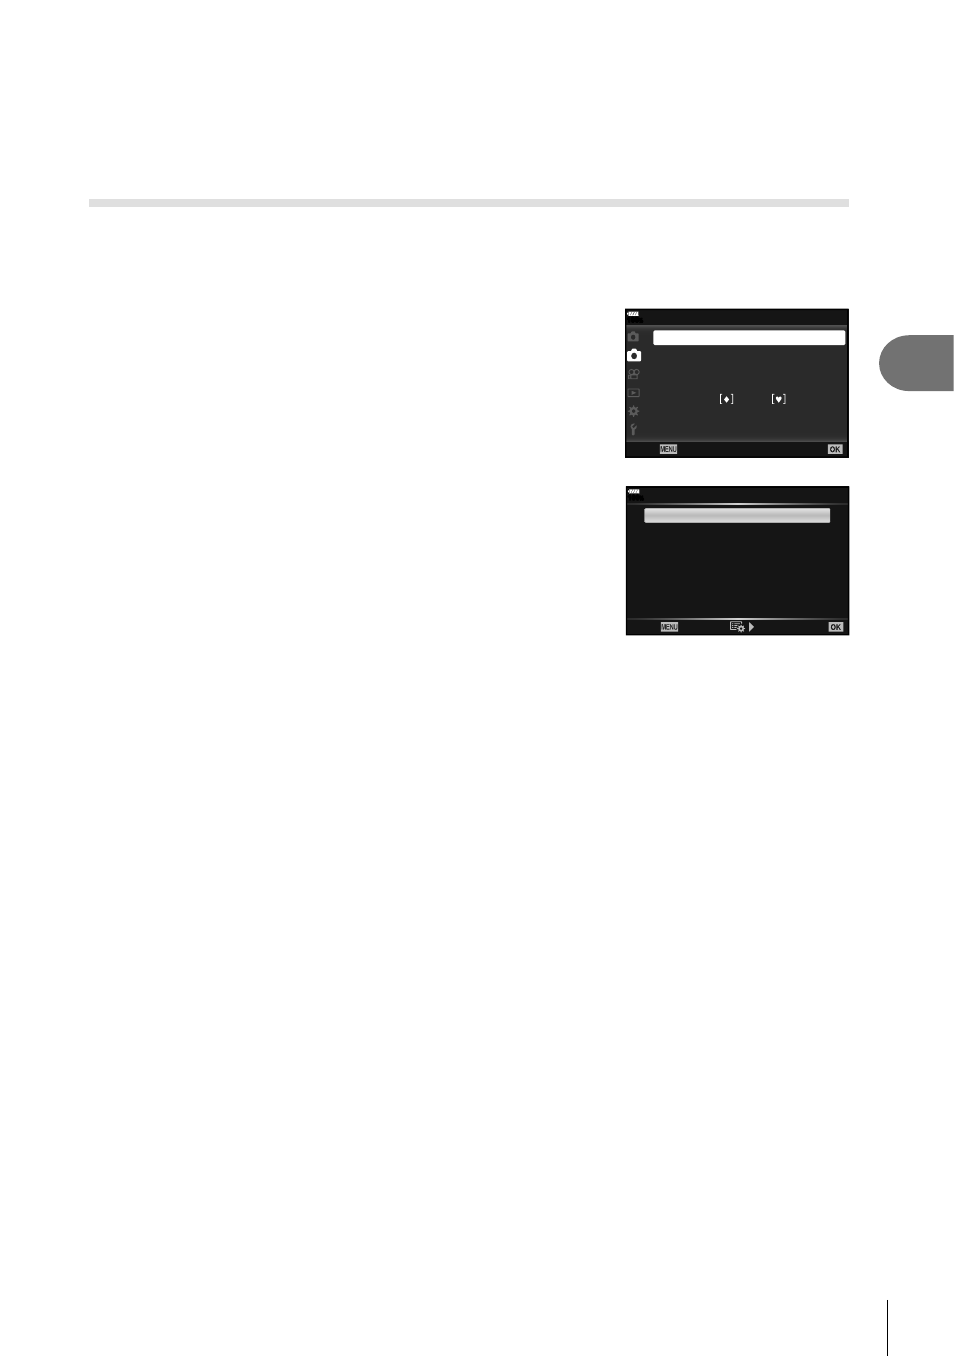
1
Select [Bracketing] in
X Shooting Menu 2 and
press the
Q button.
2
1
100
%
Shooting Menu 2
Bracketing
HDR
Multiple Exposure
Keystone Comp.
Anti-Shock /Silent
High Res Shot
#
RC Mode
Off
Off
Off
Off
Off
Back
Set
2
After selecting [On], press
I and select a bracket
shooting type.
• When you select bracket shooting, t appears on the
screen.
AE BKT
WB BKT
FL BKT
ISO BKT
ART BKT
--
--
Focus BKT
--
--
3f 1.0EV
A-- G--
100
%
Bracketing
Back
Set
3
Press
I, select settings for parameters such as the number of shots, and
then press the
Q button.
• Press the
Q button repeatedly until the screen returns to the one in step 1.
• If you select [Off] in step 2, bracket shooting settings will be saved and you can shoot
normally.
• Bracketing can not be combined with HDR, interval-timer photography, digital shift,
multiple-exposure photography, or high res shots.
• Bracketing is not available if there is not enough space on the camera’s memory card for
the selected number of frames.
%
Tips
• If you turn the Custom Menu [Switch v Function] (P. 113) [On], bracketing settings are
available with button operation. Set the
Fn lever to position 2 and rotate the dial while
pressing the j
YHDR button. You can select the bracket shooting type with the front
dial and the number of shots with the rear dial. After settings are complete, you can switch
between bracketing and normal shooting by pressing the j
YHDR button.
