Figure 19 – Grass Valley Maestro Master Control Branding Engine v.1.6.0 User Manual
Page 43
Maestro — Branding Engine Quick Start Guide
43
Branding Engine Board Installation
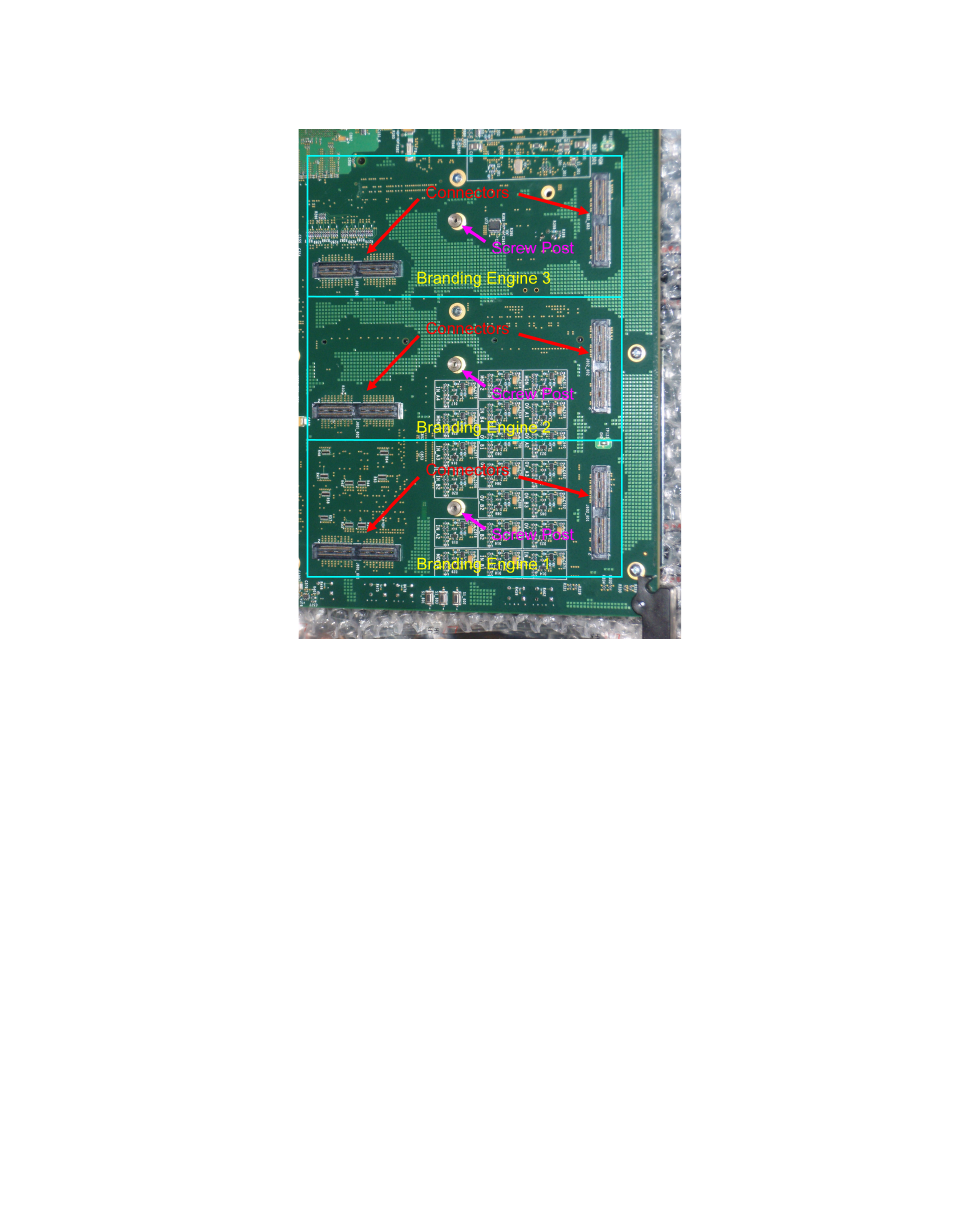
Figure 19. Branding Engine Mounting Location
With the board turned so the back side is facing up and the extractors and
compact flash slot at the bottom edge (see
mounting locations are in the bottom right corner of the board.
Note
The complete Branding Engine solution with support for still images, audio,
CG text, text crawls, animation sequences and motion video requires three
Branding Engine boards. The basic solution with support for still images and
audio files only requires just one Branding Engine board mounted in position
number one (1).
6.
Align the connectors and screw hole on the Branding Engine board
with the connectors and screw post on the Maestro processor board and
press firmly to interlock the connectors.
7.
Use the included mounting screw to fasten the Branding Engine board
in place on the Maestro Processor board.
illustrates a Branding Engine board installed in position number
one (1) on the Maestro Processor board.