Installing the rack rail assemblies, Installing the rack rail assemblies -7 – Grass Valley Intuition XG Installation v.5.0 User Manual
Page 46
Intuition XG Installation & Quick Start Guide
3-7
Installation instructions for the Intuition XG-3U/Dual
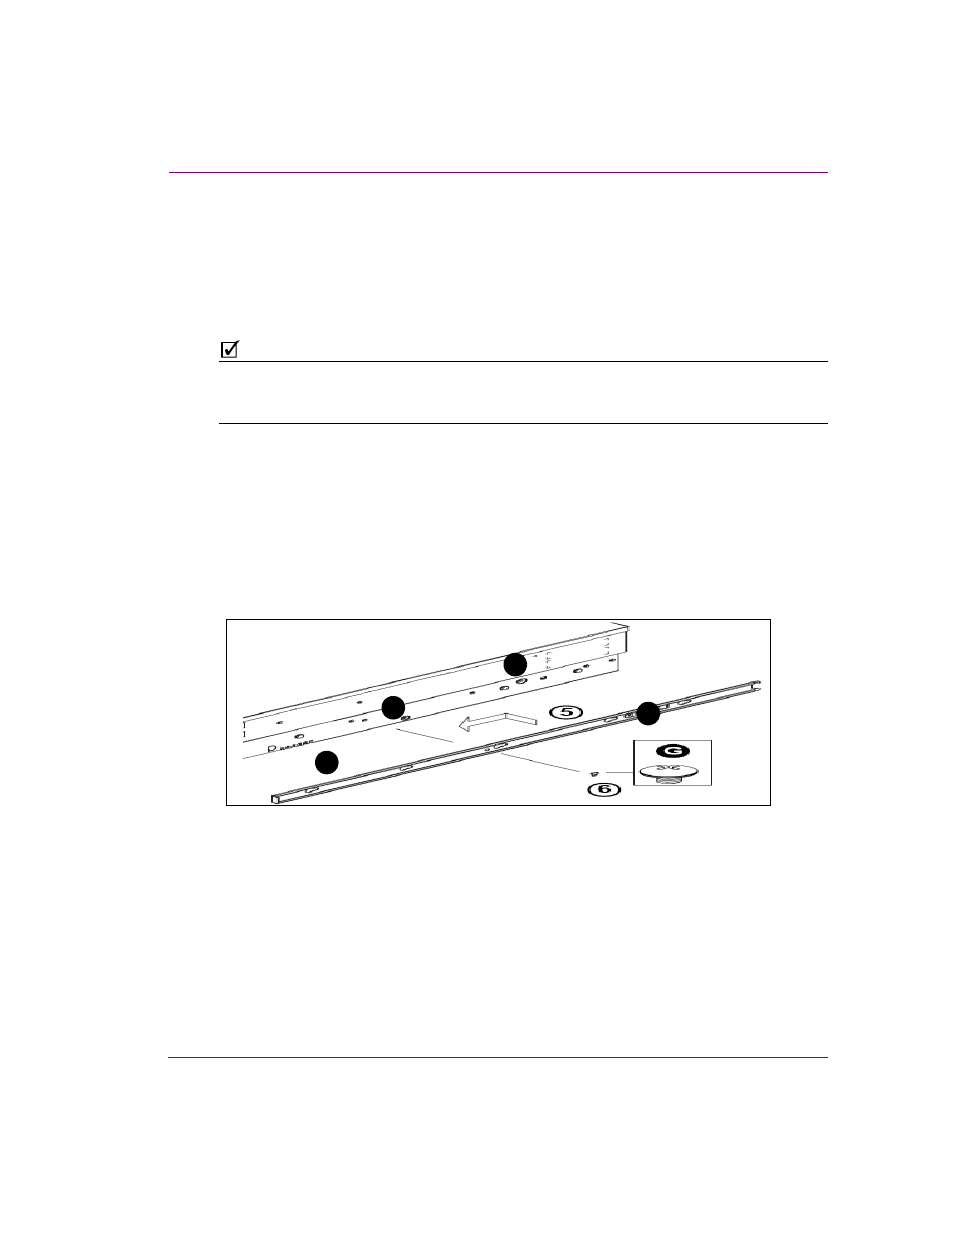
Installing the rack rail assemblies
Racks rail assembly attaches to the equipment rack structure and holds the chassis in
place. Each rack rail assembly consists of two interconnected sections, a bracket that will
be fixed to the rack’s structure and an extension rail that interlocks with the chassis rails.
The extension rails allow the Intuition XG chassis to extend between 30 inches and 33
inches beyond the rack structure’s facade.
N
OTE
The Intuition XG’s rack rail assemblies are designed for quick and easy installation into
equipment rack structures with square holes. To install the rack rail assemblies into a round-
hole / tapped hole style rack, use the rail adapters included in the Intuition XG shipment.
To install the rack rail assemblies:
1.
Secure the back end of the rack rail assembly to the equipment rack, using the screws
provided.
2.
Press the button where the two rack rails are joined to retract the extension rail.
3.
Hang the hooks of the rails onto the rack holes and if desired, use screws to secure the
front of the fixed rack rail onto the rack.
4.
Push the extension rail back into position within the fixed rack rail.
5.
Repeat steps 1-3 for the remaining rack rail assembly.
1
2
3
4