Airaid 300-106 User Manual
Installation instructions, Component identification, Idisconnect negative (-) battery cable
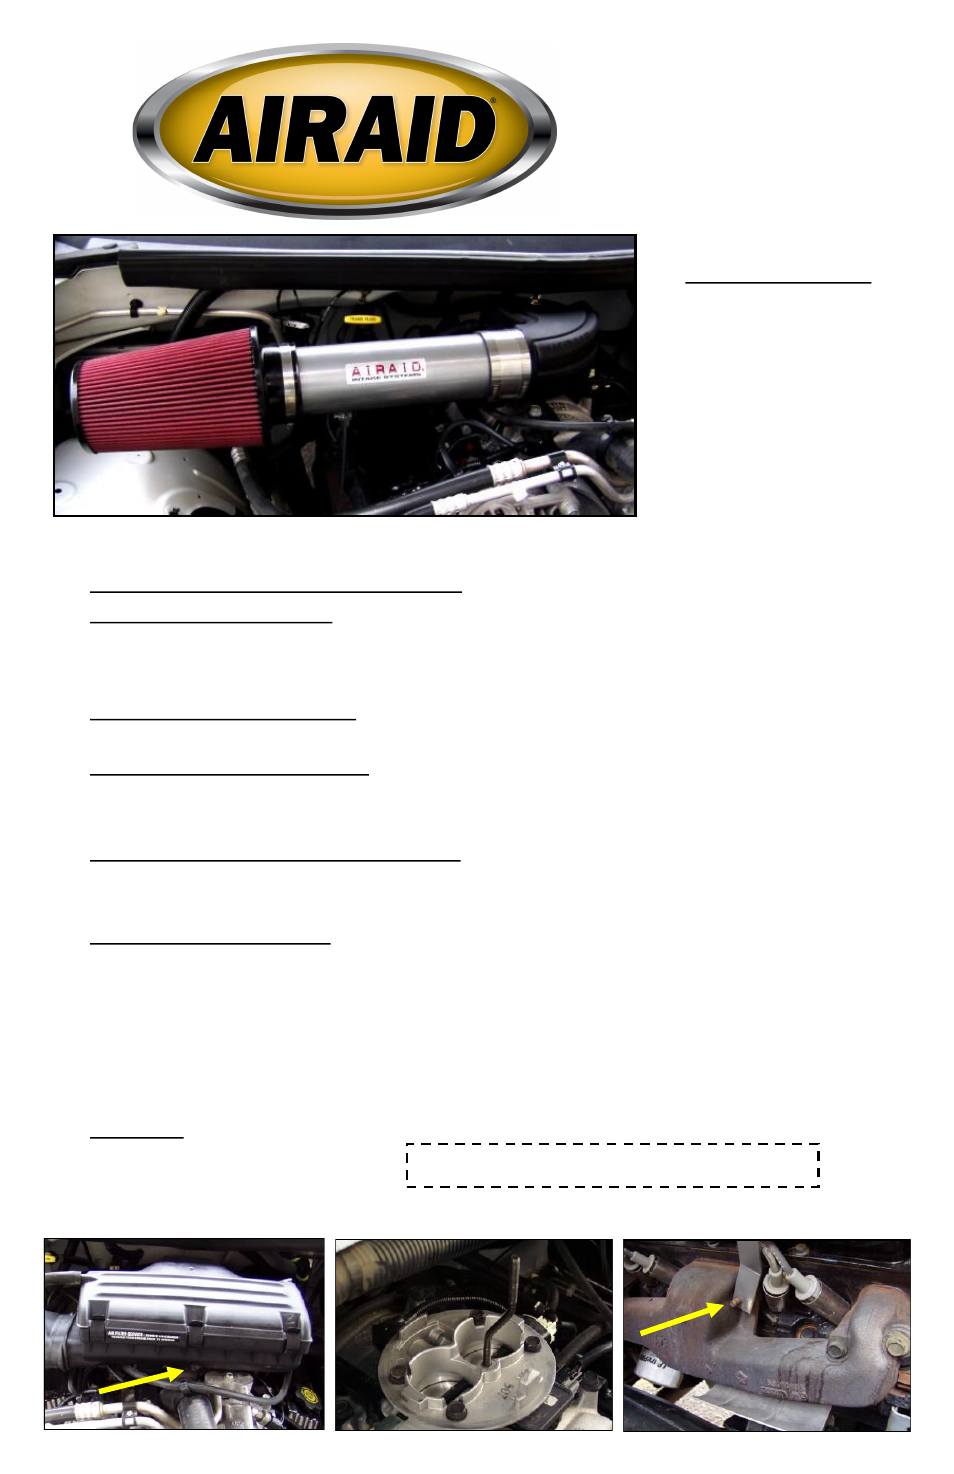
Installation Instructions
For Part Numbers :
300-106
700-420 Airaid Oiled Media Filter
301-106
701-420 SynthaMax Dry Media Filter - Red
302-106
702-420 SynthaMax Dry Media Filter - Black
303-106
703-420 SynthaMax Dry Media Filter - Blue
1994-01 Dodge Ram 1500/2500
3.9L V6, 5.2L & 5.9L V8
(Will not work in combination with Poweraid
#300-560 on the 3.9L)
Component Identification
1.
Airaid Premium Filter
1
2.
Plastic “Hat”
1
3.
13” x 3.5” Tube
1
4.
3.5” x 3.5” Coupler
1
5.
Silver Bracket
1
6.
Black Speed Clamp 1
7.
Bent Black Stud
1
8.
Black Rubber Cap
1
9.
Gasket
1
10.
Wing Nut
1
11.
5/16”-18 Nut
1
12.
¼” Serrated Nut
1
13.
5/16”-18x ¾” Bolt
1
Full color instructions can be viewed on our web site at Airaid.com. Use the Product Search function to find your part number, and click View Details.
I
DISCONNECT NEGATIVE (-) BATTERY CABLE
II
Remove Factory Intake Assembly
A) Disconnect the factory air tube from fender to the stock air cleaner box.
B) Loosen the clamp at the base of the factory air cleaner box using a flat blade screwdriver. See Fig#1
C) Disconnect the crankcase breather hose from the factory air cleaner assembly.
D) Remove entire factory air cleaner assembly from vehicle.
III
Install the Airaid Throttle Body Stud
A) Screw the “S” shaped threaded stud into the top of the throttle body. See Fig#2
IV
Mount the Airaid Intake System Brace
A) Locate & remove nut from exhaust manifold stud (not a bolt) with a ½” socket - leave the washer in place. See Fig#3
B) Position the brace so that the offset hole on the brace is bolted to the stud on the exhaust manifold.
C) Reinstall nut onto the stud and temporarily finger tighten.
V
Assemble the Airaid Intake System (Refer to Fig#5)
A) Slide the stainless steel clamp with rubber insert over the opening of the Airaid hat.
B) Insert the powder coated Airaid tube into the stainless steel coupler, connecting the tube to the hat.
C) Slip the Airaid Premium Filter onto the open end of the tube and tighten hose clamp.
VI
Airaid Intake System Installation
A) Pull away the weather seal on the firewall above the throttle body to expose the main wire loom. You may have to gently move the wire loom to allow clearance for the
Airaid hat.
B) Place the gasket on the top of the throttle body. Refer to Fig#2
C) Rotate the “S” stud facing forward to allow clearance for the Airaid hat. See Fig#2
D) Position Airaid Intake System and guide the “S” stud through the hole in the top of the hat. See Fig#4
E) After sliding the hat over the “S” stud, rotate the stud 180* so that the hat rests squarely over the throttle body and install the wing nut supplied onto the top of the “S” stud.
F) Connect the crankcase breather hose to the nipple on the hat and clamp down using the black speed clamp provided.
G) Install the rubber cap over the exposed nipple on the other side of the hat.
H) Align the tab on the tube with the end of the bracket attached to the exhaust manifold and fasten with the hardware provided.
I) IMPORTANT: DO NOT ALLOW MAIN WIRE LOOM TO REST ON THE HAT OR WINGNUT. SECURE THE LOOM SO THAT IT DOES NOT CHAFE
ANYWHERE.
VII Finishing Up
A) Tighten all clamps, brackets, nuts & bolts.
B) Inspect overall work and check hood clearance.
C) Ensure that no foreign objects are in the intake path!
D) Re-connect negative battery cable.
WARNING! DO NOT ALLOW MAIN WIRE LOOM TO REST ON HAT.
SECURE SO THAT IT DOES NOT CHAFE!
Fig#1
Fig#2
Fig#3