AEC OS Series Gravimetric Batch Blenders User Manual
Page 94
Page 93 of 118
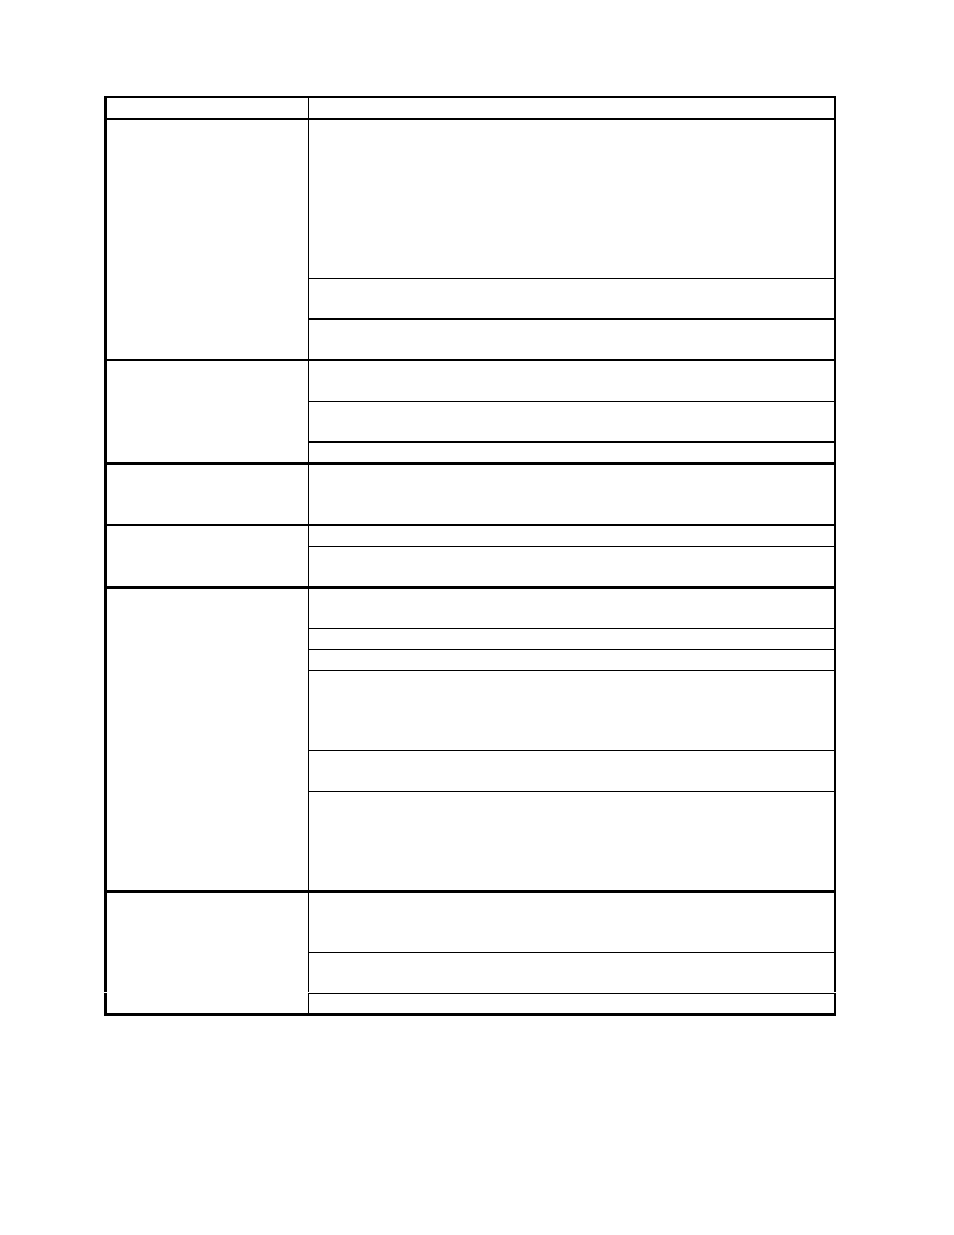
Problem
Possible solution
Blender intermittently
stops.
Check the input power. Verify that 110 volts (or 220 volts) are
±10%. This voltage must remain constant with all the motors
starting and stopping. Insure that the blender is on a “clean” circuit
that does not have other equipment on it. If the power is known to
be intermittent and have problems, set up the unit to run in
“AutoStart” mode. See the factory setup sheet at the end of this
manual. In this mode, if a short power interruption occurs, the
blender will automatically restart.
Check the DC power supply to ensure that it is outputting +5 VDC
to the CPU board. If not, adjust the pot on the power supply.
Check the voltage at the CPU board to ensure the wiring is not
loose.
Display has single black
line, no characters.
Check the power supply. Make sure that it has +5 VDC output to
the CPU board. Adjust to +5 VDC, ±0.1 volt.
Check the display ribbon cable connection to the CPU board and
the display. See the electrical chapter for more information.
Check the contrast adjustment located on the display board.
Display characters are
too light or too dark.
Check the display contrast adjustment located on the display
board. Turn the pot wheel clockwise to darken, counterclockwise to
lighten.
No keypad response.
Check keyboard ribbon cable connections.
Check the CPU board for “lockup”. To do so, reset the CPU board
by cycling the power off and on at the motor control panel.
Weigh hopper
occasionally overfills.
Check batch weight setting in the recipe menu. See the setup
chapter for more information.
Check the load cells and weigh hopper mounting for binding, etc.
Check to see that a pellet has not lodged under a load cell.
Check the ingredient supply hoppers to verify proper ventilation. If
a vacuum receiver has a leaking flapper valve and the supply
hopper is not vented, the blender computer can learn inaccurately
and cause an overfill condition on the next few cycles.
Check the load cell connections to the panel by putting the unit in
Diagnostics mode to check the load cell in the direct scale readout.
Check the +5 VDC power supply. This is done on wire number 100
& 101, and should be set to +5 VDC =/ -0.1 VDC. It should remain
constant and not vary. If necessary adjust the voltage level using
the voltage adjustment pot located on PS-1. Refer to the electrical
chapter for more information.
Material tends to
separate in the mixing
chamber.
Check the mix timer setting. This problem is normally due to over
mixing. See the mix timer section in the setup chapter. Reduce the
time until the problem is corrected.
Check the mixer drive to ensure that the agitator is turning
properly.
Check the high level switch in the mixer to lower the level slightly.