0 end caps installation, End caps installation – MicroE Mercury II 5000 User Manual
Page 68
End Caps Installation
IM-Mercury_II_PurePrecision_Scales Rev. 1
Page 27
©2014 MicroE Systems
Mercury II PurePrecision Tape and Glass Scales
Installation Manual and Reference Guide
Step
Action
4. Carefully remove the blue protective film from the marker surface.
TIP:
Use fingernails or plastic tweezers to remove blue protective film, but do not use a
hard metal object. Using a hard metal object might damage the grating on the scale or
the marker.
5. To apply left and right limit markers, repeat steps 1 through 4.
6.0 End Caps Installation
Perform the following steps to install optional End Caps on tape scale.
Step
Action
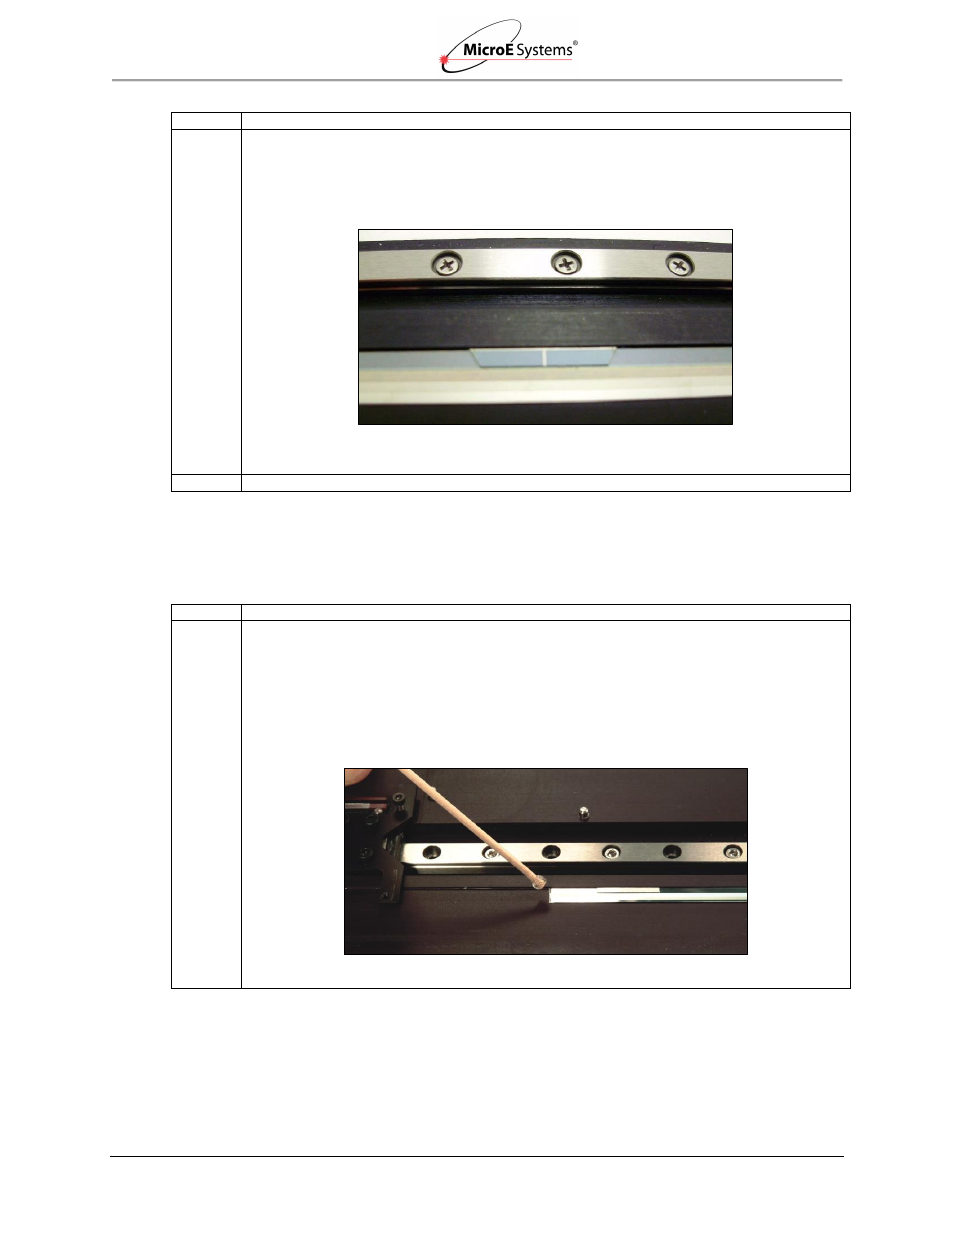
1. Epoxy Setup:
1. Mix the two-part epoxy and place it in a syringe or on the end of a stick. Do not use a
cotton swab to apply the epoxy.
2. Put epoxy on the end of the scale. Make sure that the epoxy touches both the mounting
surface and the scale across the width of the scale.
Note:
Only apply epoxy at the ends of the tape scale. Do not get any epoxy on the tape
scale in the measuring area.
Perform the next step immediately while the epoxy is still in a liquid state.
Attached Marker with Handle Removed