0 stick-on index and limit markers installation, 1 stick-on marker strips, 2 remove markers from strip – MicroE Mercury II 5000 User Manual
Page 65: Stick-on index and limit markers installation, Stick-on marker strips, Remove markers from strip
Stick-On Index and Limit Markers Installation
IM-Mercury_II_PurePrecision_Scales Rev. 1
Page 24
©2014 MicroE Systems
Mercury II PurePrecision Tape and Glass Scales
Installation Manual and Reference Guide
5.0 Stick-On Index and Limit Markers Installation
This section provides instructions for installing stick-on index and limit markers for PurePrecision
Laser Tape II Scales and Linear Glass Scales. The markers come in strips with the following
models names:
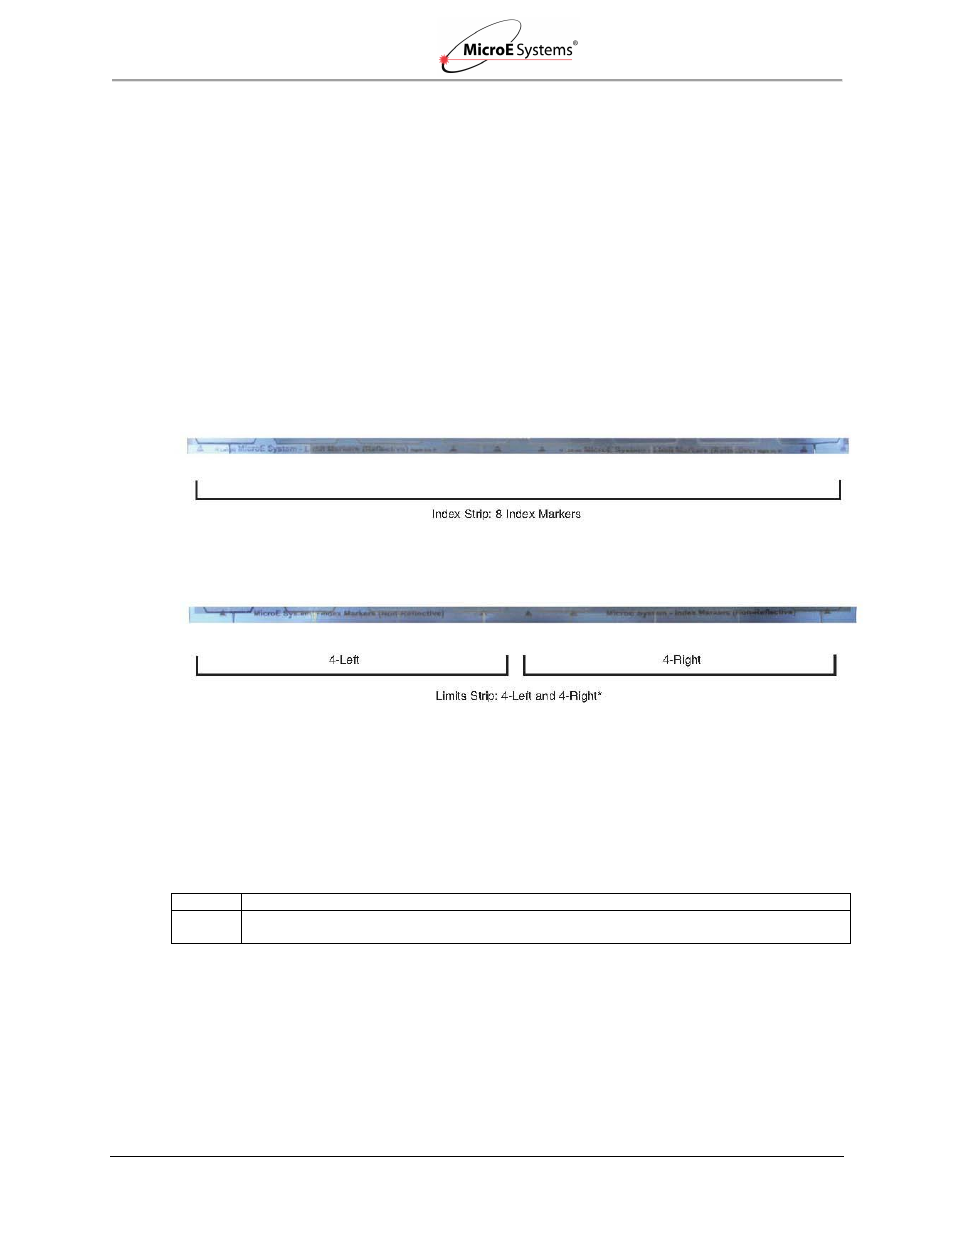
RIMS - Reflective Index Markers
RLMS - Reflective Limit Markers
Note: For tape scale, make sure the blue protective film is removed before installing markers.
5.1
Stick-On Marker Strips
Stick-On Index and Limit Markers for PurePrecision Laser Tape II (HPTS):
Note*: Limit markers have different reflectivity values for left and right markers.
5.2
Remove Markers from Strip
Index/limit markers must first be removed from the stick-on marker strip.
Note: Index marker is used in this procedure, but the procedure is the same for limit markers.
Note: Put on finger cots before starting the index and limit markers installation.
Step
Action
1. Begin by holding the Limit and Index Marker strip so that the blue protective film is on top and
the reflective surface is on the bottom.
Index Marker Strips, Model RIMS
Limit Marker Strips, Model RLMS