Microcom 814M Operators Manual User Manual
Page 16
12
6. Paper load sensor --Detects the front edge of paper.
7. Cutter
8. Power LED (Green) --Indicates whether the power is on.
9. Error LED (Red) --This LED is used to indicate the status of the printer. Normally, it isn’t lit. When
errors occur (for example, paper end), it will flash.
10. Paper end LED --When the printer is in paper end status, this LED blinks; if paper is available, Paper
End LED is off.
11. Reset button –When pressing down this button, the printer will execute its reset automatically and
clear the print data in the printer.
12. FEED button --Under normal status (no error), press to feed paper. Keep pressing for continuous
paper feeding. Turn on the power while pressing this button for one second to print self test page.
(Content in self test page changes with the configuration of the printer.)
Note: make sure that there is paper in the printer and the print head is not lifted before starting self test
page. (For self test page, please refer to Appendix 1 printer self test page).
13. CUT button --Press to cut paper under any condition (even if the printer has errors).
14. Power Switch (Green) –Press “—” to turn on the power, press “O“ to turn off the power.
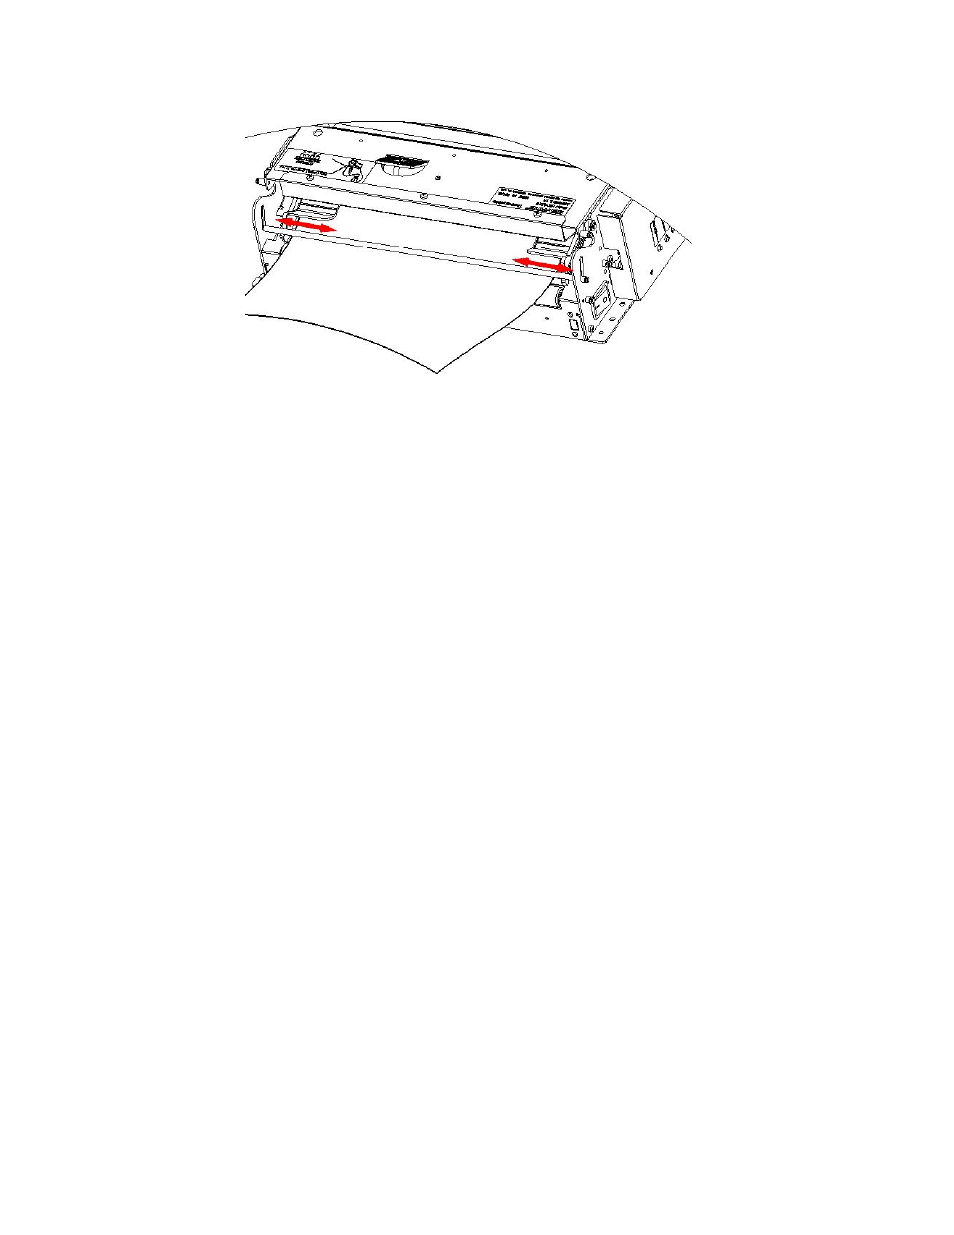
Figure 3-8 Paper Guide Module