Installing the switch & sense 8 – Measurement Computing SWITCH User Manual
Page 14
Switch & Sense 8 User's Guide Template
Installing the Switch & Sense 8
14
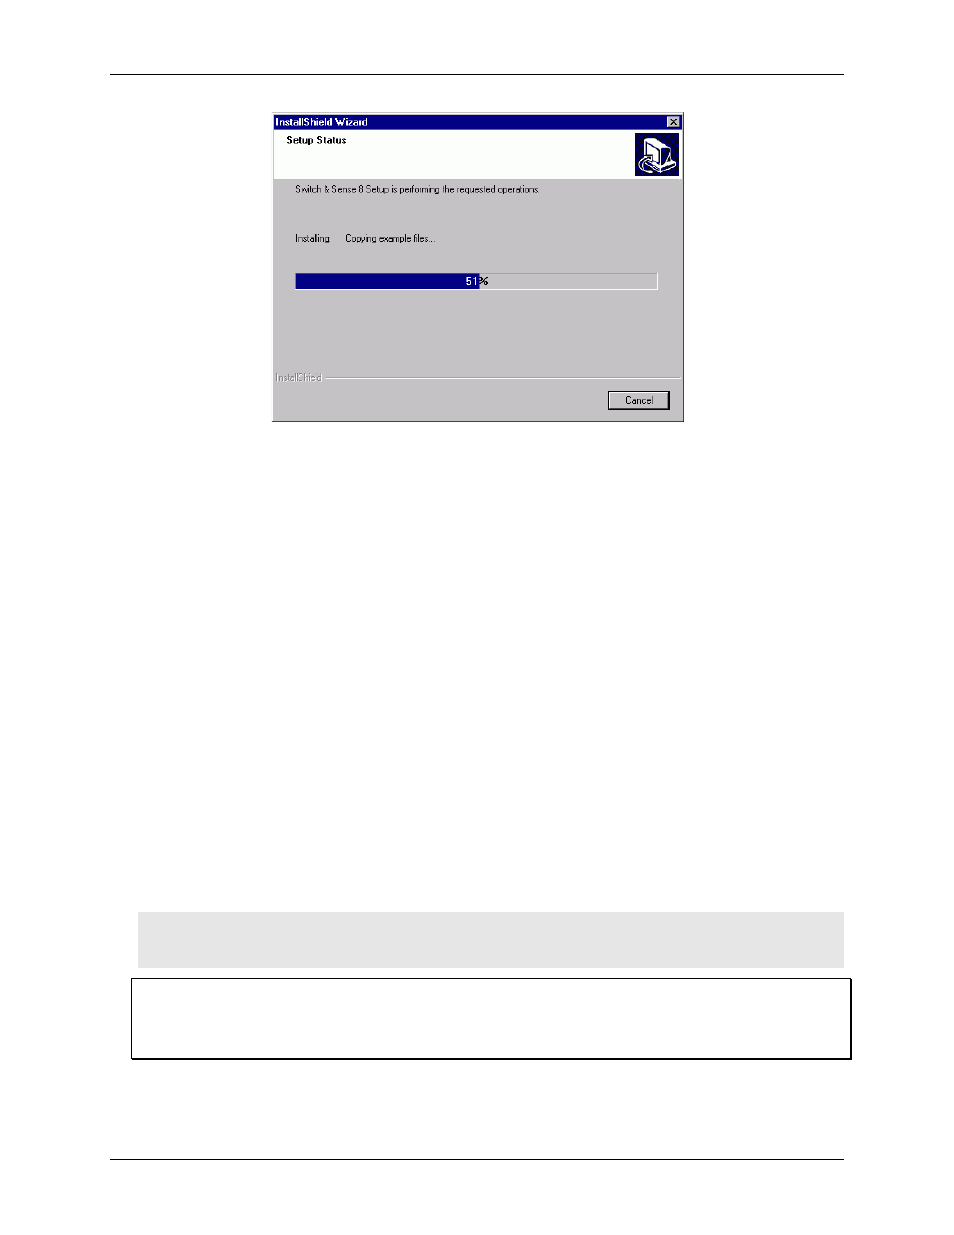
When this dialog closes, the software installation is complete.
9. From the main
USB CD
dialog, click on the
Exit
button.
Installing the Switch & Sense 8
To connect the Switch & Sense 8 to your system, follow the steps below.
1. Connect the 9 V DC power supply cord to the connector labeled
7.5-20 Vdc
on the back of the Switch &
Sense 8, and plug the other end into an electrical outlet.
2. Connect the USB cable to a USB port on your computer or to an external USB hub that is connected to
your computer. The USB cable provides communication to the Switch & Sense 8.
When you connect the Switch & Sense 8 to the computer for the first time, a
Found New Hardware
popup
balloon (Windows XP) or dialog (other Windows versions) appear as the Switch & Sense 8 is detected.
When balloon or dialog closes, the first of a series of
Found New Hardware Wizard
dialogs open.
3. From the
Welcome…
dialog, click the
Next
button.
4. Another dialog opens while the software sets up the Switch & Sense 8.
The dialog closes, and the
Completing…
dialog opens. The status LED on the Switch & Sense 8 lights up
and remains lit. This indicates that communication is established between the Switch & Sense 8 and your
computer
5. Click on the
Finish
button to close the dialog.
Caution! Do not disconnect any device from the USB port while the computer is communicating with the
Switch & Sense 8, or you may lose data and/or your ability to communicate with the Switch &
Sense 8.
If the status LED turns off
If the status LED is lit but then turns off, the computer has lost communication with the Switch & Sense 8. To
restore communication, disconnect the USB cable from the computer, and then reconnect it. This should restore
communication, and the LED should turn back on.