Configure channels, Configure channels…… 5 – Measurement Computing WaveView User Manual
Page 7
WaveView
03-05-02
WaveView, pg. 5
If WaveView cannot identify the hardware, and you have verified that the selected hardware
parameters are correct, exit WaveView and then use the “Test Hardware” feature of the
Daq* Configuration control panel. A discussion of System Testing is included in the
System Setup and Power Options chapters of WaveBook Manuals 481-0901 and 489-0901.
WaveView interrogates the hardware after it starts up to see what options and expansion modules are
actually connected to the WaveBook. The number of channels (shown on the configuration menu)
represents the number of channels actually connected to WaveBook.
Configure Channels
Once WaveView determines the options and expansion modules, the individual channels can be configured,
as described in the text that follows.
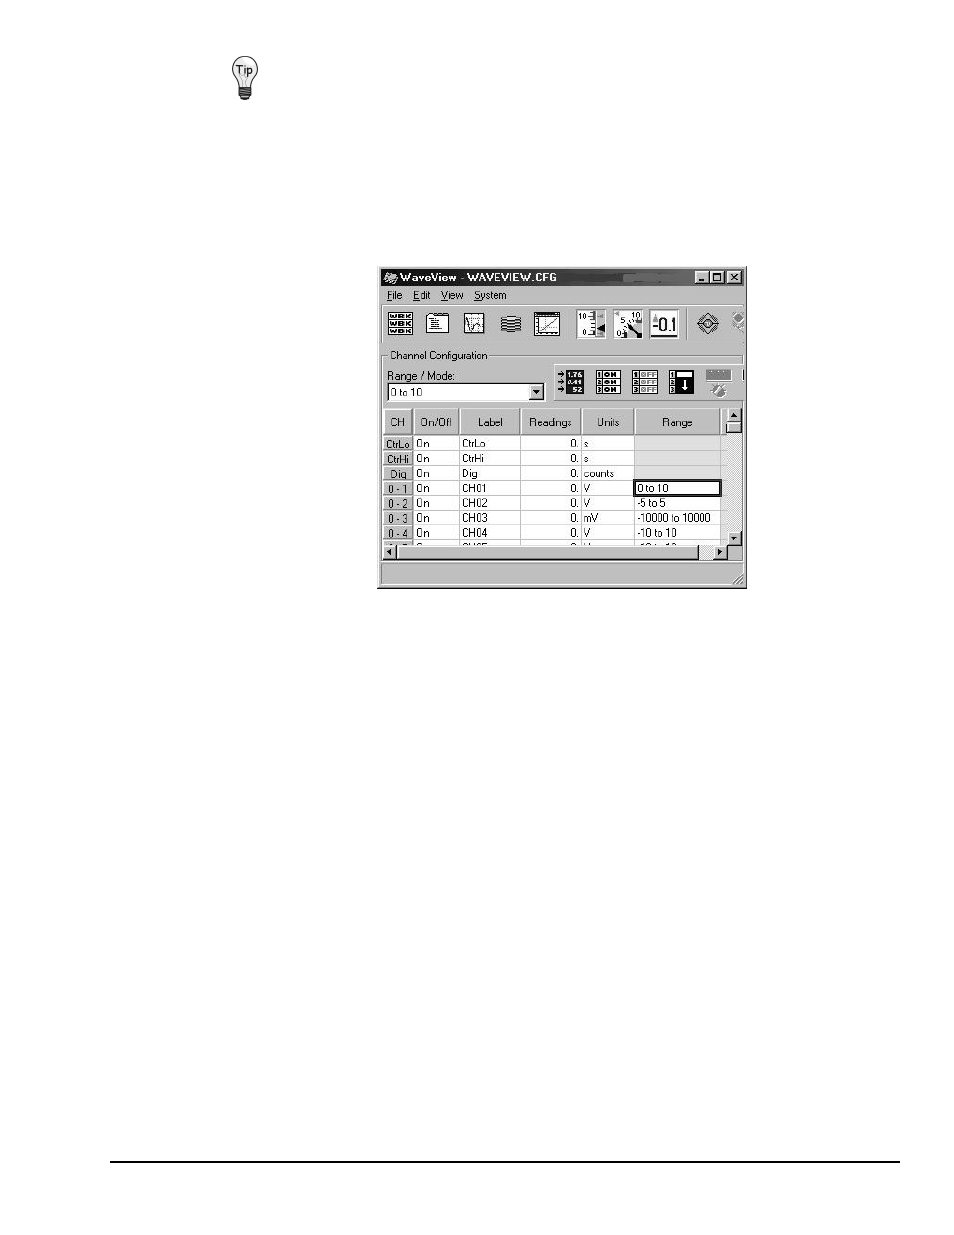
Configuring Channels from WaveView’s Main Window (Partial View)
•
On/Off - To acquire data with WaveView, channels must be properly connected to signal sources, and
must be enabled (On). Channels can be enabled as follows:
(1)
Click in a channel’s On/Off cell, then select "On" from the drop-down menu (that appears
above the range column), or
(2)
Double-click in a channel’s On/Off cell to toggle to “On.” Note that the on/off status will
change with each double-click, or
(3)
Click on the toolbar’s “On” button (Make All Channels Active) to turn all channels on. Note
that the “Off” button (Make All Channels Inactive) turns all channels off.
•
Label - Channels have default labels, such as CH05. You can change the label by clicking on the cell,
then typing in the new label. Labels must be unique, i.e., each channel must have its own label.
Attempts to use duplicate labels, or use no label will result in a warning message.
•
Readings - Not user configurable. This column displays values of enabled channels.
•
Units - Select a channel’s units in one of two ways.
(1)
Click in a channel’s Units cell, then select the desired units from the pull-down menu.
(2)
Double-click in a channel’s Units cell to cycle through the units. Note that when the mX+b
dialog box appears you need to click “OK” to continue cycling.
Note: You can enter user-defined units from the mX+b dialog box, and you can use the mX+b
equation to adjust a channel’s scale and offset. Refer to
on page 14 for more information
and an example of the
equation being used.
•
Range - Select a channel’s range in one of two ways.
(1)
Click in a channel’s Range cell, then select the desired range from the drop-down menu.
(2)
Continue to double-click in the applicable channel’s Range cell to cycle through the available
ranges. Stop double-clicking when the desired range is indicated.