A. drill ceiling rafter attachment points, A. determine pigtail lag screw (b) location, B. drill mounting board – Harken 7801 4-Point Storage System - 60 lb User Manual
Page 13: C. attach mounting boards to ceiling, D. attach 2" x 4" to mounting boards, Front view, Measure center-to-center distance between, 8 mm) holes completely through the mounting boards, Attach mounting boards using
13
STEP 2: INSTALL MOUNTING BOARDS; RAFTERS RUNNING SIDEWAYS
DIAGRAM 16. Attach board for mounting organizer using
5
/
16
"
(8 mm) 3
1
/
2
" (90 mm) lag bolts and washers (not included).
See Step 3A to determine distance between mounting boards.
A. DRILL CEILING RAFTER ATTACHMENT POINTS
LOCATE AND DRILL CEILING RAFTERS
Mounting boards must attach to ceiling rafters (see
Diagram 16). On finished ceilings, locate rafters using
stud finder. Follow manufacturer's instructions. Mark
center of ceiling rafters. Drill
7
/
32
" (5.5 mm) holes in a
straight line square to the rafters. Always wear safety
glasses. See Diagram 4 below.
STEP 3: INSTALL PIGTAIL LAG SCREWS; RAFTERS RUNNING SIDEWAYS
Pull vehicle into garage with object on car rack.
Disconnect automatic garage door.
2"
(50 mm)
Object width
2"
(50 mm)
Plumb lines
Ceiling
Plumb lines
Front view
Object
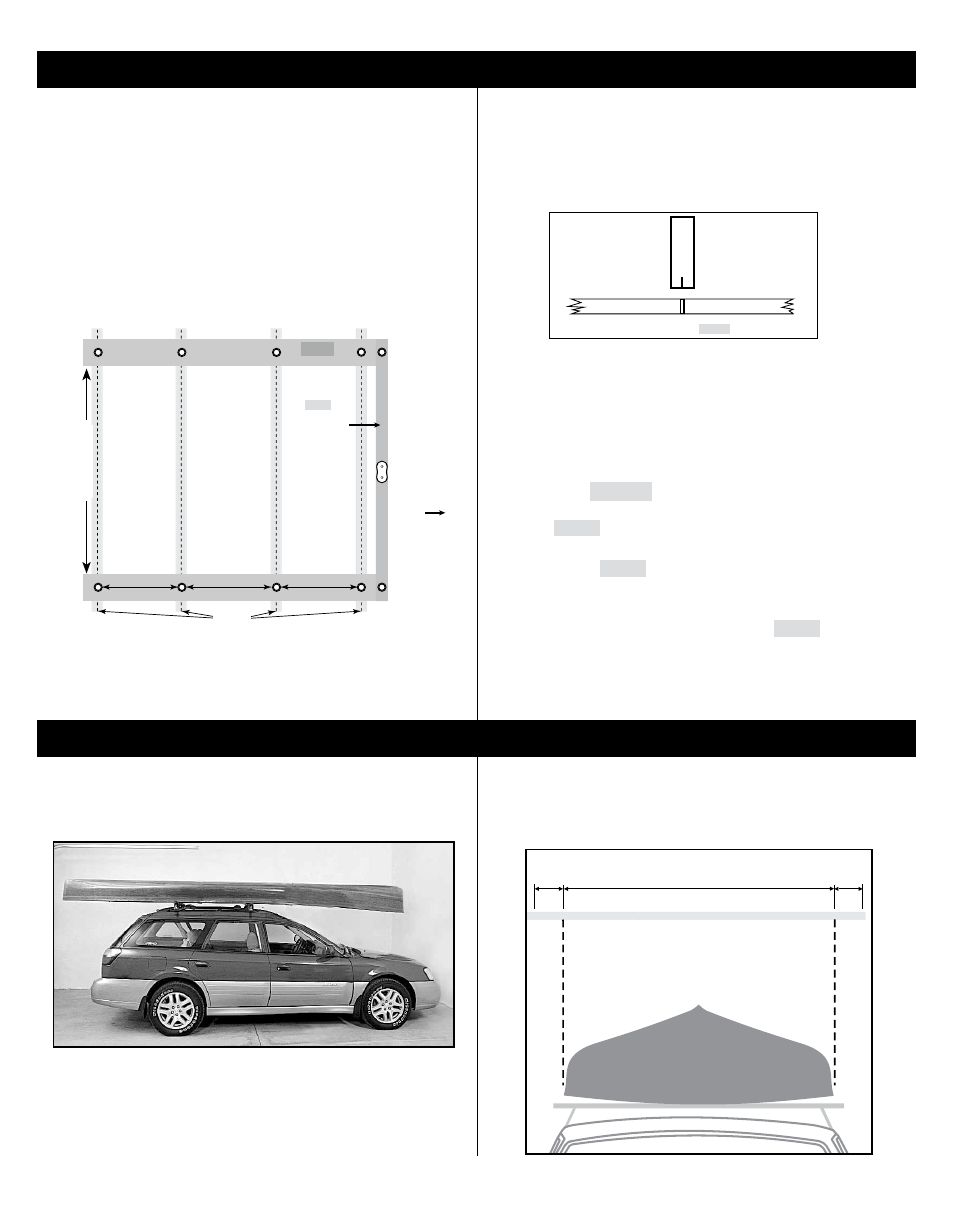
A. DETERMINE PIGTAIL LAG SCREW (B) LOCATION
PULL VEHICLE INTO GARAGE
MARK LOCATION POINTS
Use plumb line to locate four lifting points on mounting
boards above vehicle.
Top
view
Rafter
center-to-center
distance
Mounting boards
2" X 4"
(50 mm x 100 mm)
for mounting organizer –
no riser board used
Alternate position for rafters that run sideways.
2" x 6"
50 mm x 152 mm
Rafters
Organizer
Front
wall
Note: Mount boards so that object width
is at or about 3/4" from inside edge.
Object Width
7
/
32
" (5.5 mm) hole in rafter
5
/
16
" (8 mm) clearance hole in 2" x 6" mounting board
VIEWED FROM BELOW
SIDE VIEW
B. DRILL MOUNTING BOARD
Measure center-to-center distance between
7
/
32
" (5.5 mm)
rafter holes. Mark distance on mounting boards. Mark
drill points in the center of board. Drill
5
/
16
" (8 mm) holes
completely through the mounting boards.
C. ATTACH MOUNTING BOARDS TO CEILING
Attach mounting boards using
5
/
16
" x 4" (8 mm x 10 mm)
lag bolts and washers (not included). Do not overtighten.
D. ATTACH 2" X 4" TO MOUNTING BOARDS
Hold 2" x 4" up to ends of mounting boards and mark
screw location on each side. Lower and drill
5
/
16
" (8 mm)
holes. Hold 2" x 4" in place and mark holes in ends of
mounting boards. Leave room for pigtail lag screws
shown in Diagram 17. Drill a
7
/
32
" (5.5 mm) hole in the
end of each mounting board. Attach 2" x 4" mounting
boards using
5
/
16
" x 3
1
/
2
" (8 mm x 90 mm) lag bolts and
washers (not included). Do not overtighten.