4 disassembling the instrument – Guralp Systems CMG-3TB User Manual
Page 16
CMG-3TB
11.Push the vertical sensor housing into the hole lock–actuator
section, twisting to align the holes.
12.Fit twelve M3×8 screws into the holes and tighten.
13.If you are using a single-jaw hole lock unit, attach skids or studs
to the sonde as appropriate for your installation, using the
fastenings provided.
2.4 Disassembling the instrument
When the instrument is recovered, you may want to disassemble it. To
do this, reverse the steps above, bearing in mind the following points:
•
Make sure you only undo the screws that are necessary to
disassemble the instrument, and not the ones which hold each
module together. Each joint has several sets of screws holding it
together. Only one set from each joint needs to be undone—the
set which was added during assembly. For the joint between the
vertical sensor and the hole lock, this is the middle set of
screws; for that between the hole lock and the horizontal
sensors, it is the lower set. The joint between the two horizontal
sensors should not be dismantled.
•
When you detach one module from the next, do not yank them
apart, since doing this will damage the connectors inside. Insert
flat-head screwdrivers either side of the seal, and carefully lever
both sides up simultaneously so that the modules remain
parallel. You will need someone to support the upper module as
you do this.
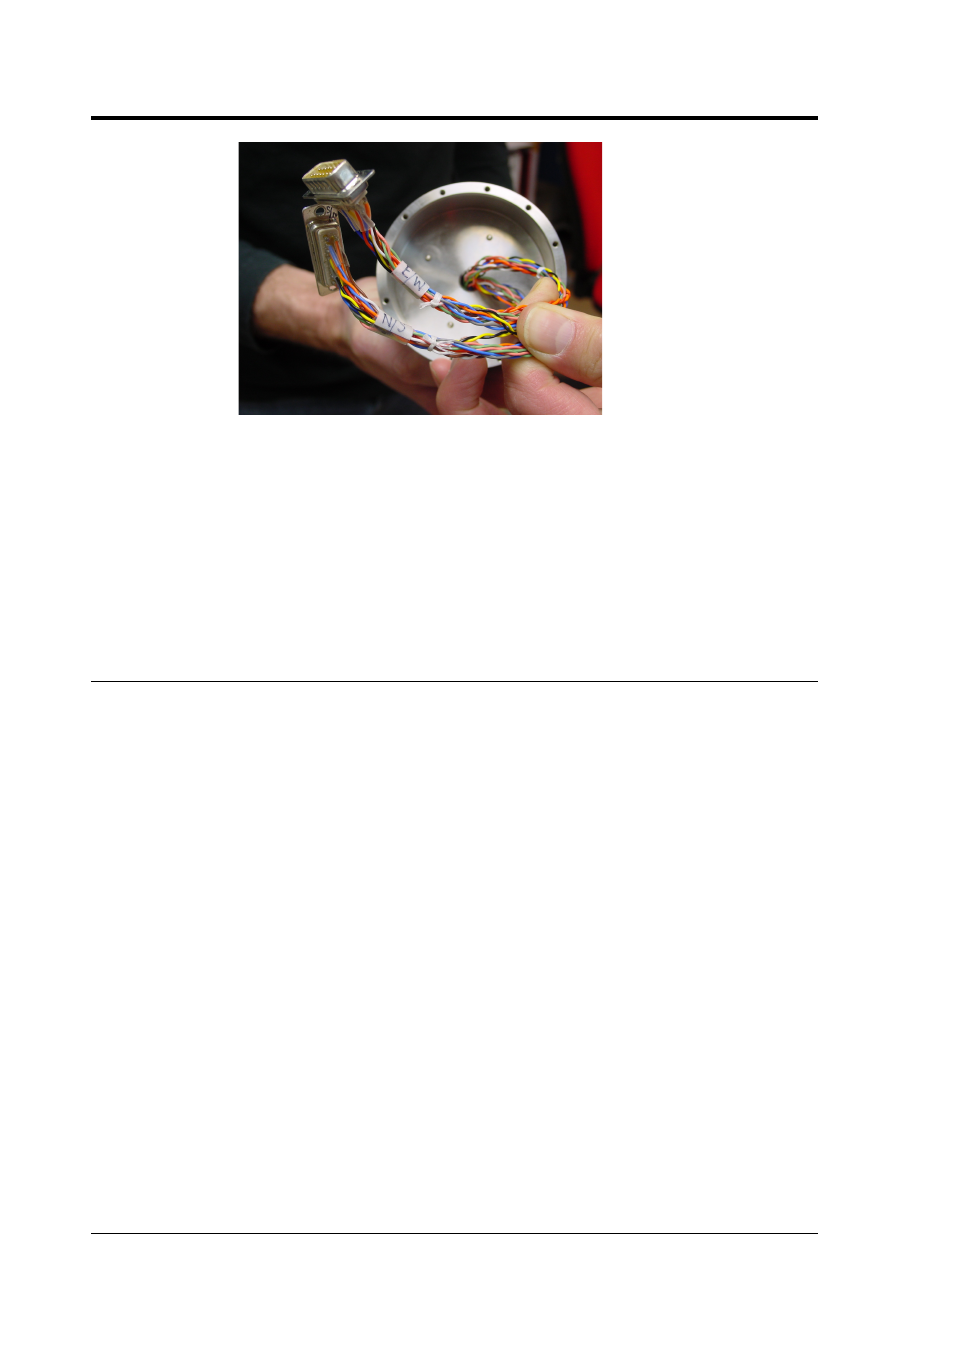
When the two parts are separated, tilt the upper one to gain
access to the connectors, and disconnect them without
16
Issue C