Creating function buttons, Paging function buttons – Daktronics Data Manager (DDM) User Manual
Page 15
Operation
9
Creating Function Buttons
1. On the Function Button Configuration window, select a worksheet (Range) for which
the buttons will be used.
2. Click Add to insert a new function button.
3. Click Command Collection, and then click the
button to open the Script Editor window.
4. Click Add to insert a new command.
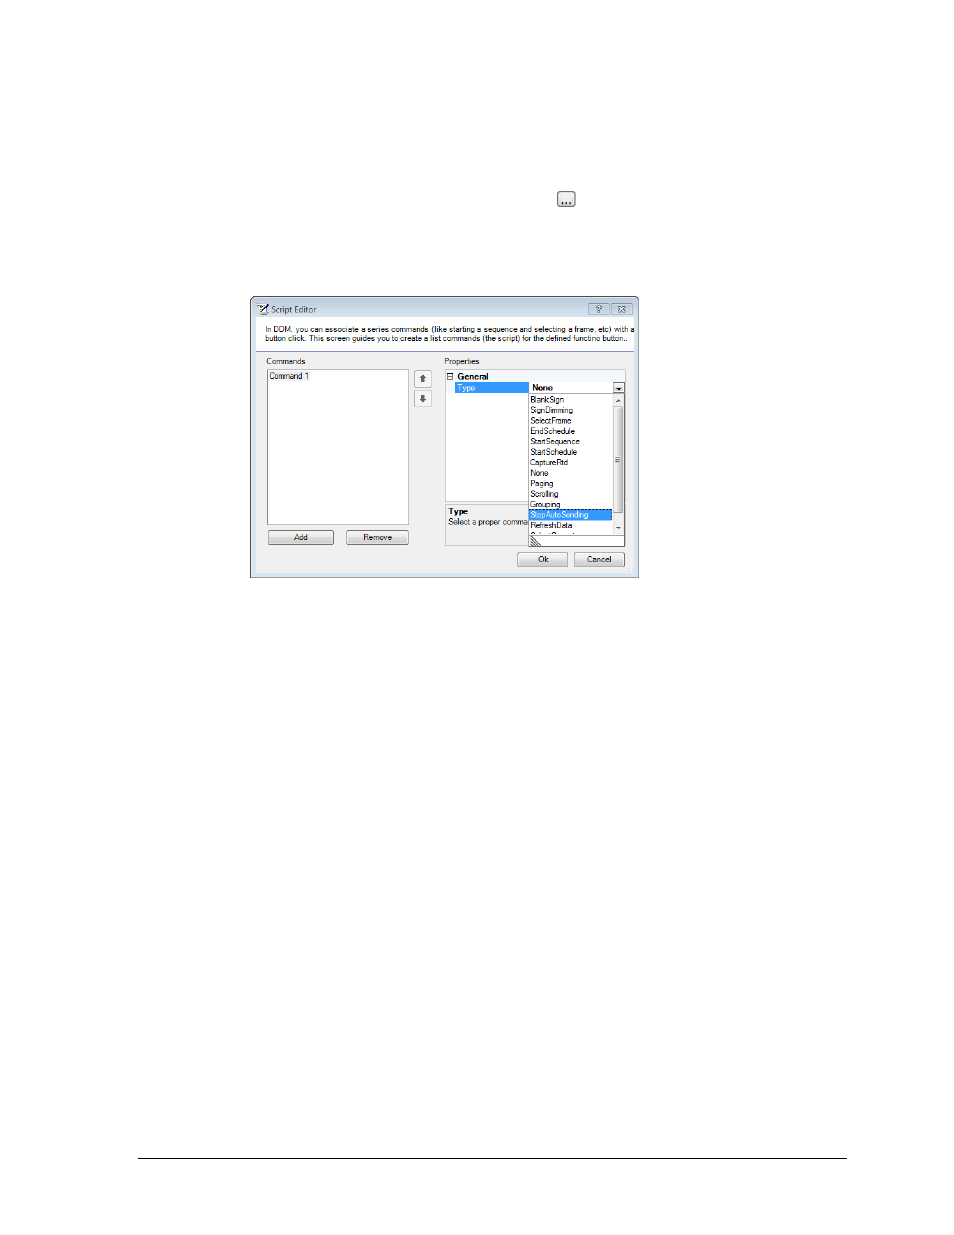
5. Under Type, click the arrow to choose from a list of command types (Figure 10).
Multiple command types may be assigned to a single button as long as the actions do
not negate each other.
6. Select StopAutoSending, and then click Ok.
7. Change the Name of the function button to “Stop”.
Note: Every DDM spreadsheet file must include a button to stop sending data and one or
more buttons to resume sending data. Other display controls may be configured as needed.
Paging Function Buttons
Paging function buttons send out pages of RTD with a predefined number of rows of
information on each page.
1. Repeat steps 1 – 5 under Creating Function Buttons.
2. Select Paging from the list of command types.
3. Adjust the following settings accordingly:
HoldingTime: Type in how many seconds to wait before sending the next data set.
Port: Select a previously configured port (see Port Configuration).
RecordCount: Type in how many rows of data should be sent out at a time.
Sorts: Sort text or numerical data in ascending or descending order before it is
sent out (See Sorting).
4. Click Ok when finished.
5. Give the Paging function button a descriptive Name.
Note: Both Paging and Scrolling will send out data until the first empty row of data, and
then start from the top again. To allow blank rows to be sent, there must be at least one
cell in that row with a dummy character (such as a space) in order for it to appear to be
empty. Otherwise when the DDM application finds a row with absolutely no data, it will
disregard any information following the empty row.
Figure 10: Script Editor Window