Cloud Electronics DCM1 User Manual
Page 38
DCM1 & DCM1e Installation and User Guide v1.0
38
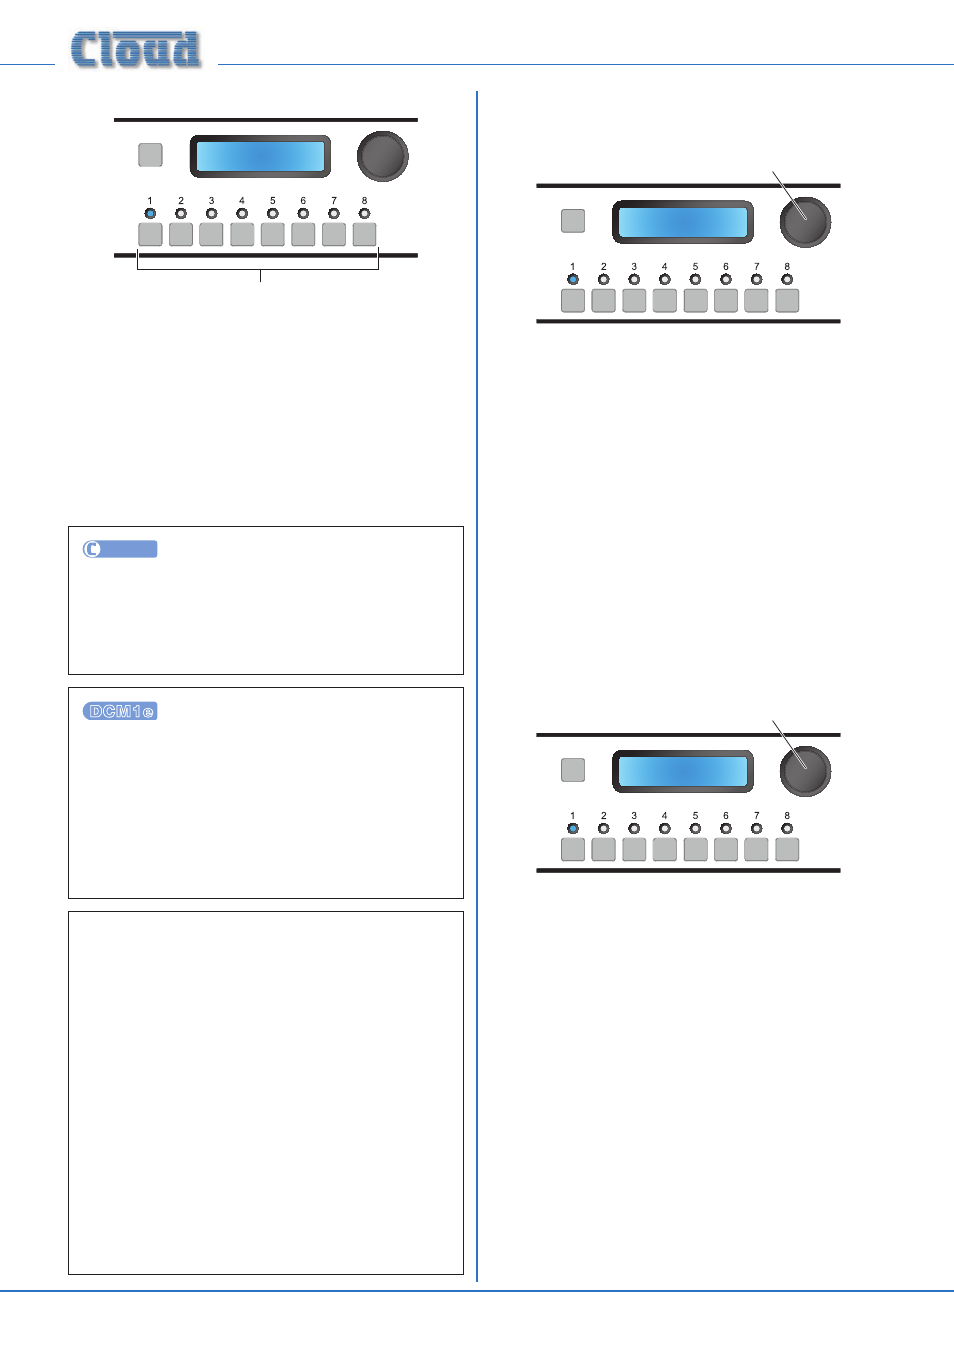
Set Key
SELECT INPUT
Set Key
1234
Numeric buttons enter key
This menu function enables the DCM1 Installer Mode key to
be changed from the factory default setting of 1234. Changing
the key from the default to one “less obvious” is strongly
recommended.
The key may be any 4-digit number, but comprised of digits 1
to 8 only.
Enter the new 4-digit key using the eight numeric buttons. No
additional actions are required for the new key to become
active.
UTILITY
The Installer Mode key may be changed from the
INSTALLER KEY tab. Enter the current key in the Old
Key
field, then enter the new key in both the New Key
and Repeat New Key fields. Click Send Key to
transmit the new setting.
The Installer or Power Keys may be changed from the
browser window by selecting
Config, then Change
PIN
. Enter the current key in the Enter your
current PIN
field, then enter the new key in both
the Add a new PIN and
Confirm your new PIN
fields. Click the Reset button to confirm the change. The
key changed will be that corresponding to the original
PIN entered.
NOTE: There may be occasions where it is necessary to
access Installer Mode to change the Installer key, without
knowing the current Installer key. This typically happens
some time after a system has been installed, when the
original installer is no longer available.
In this situation, turn the DCM1 off, remove the top
cover and move jumper J8 to its alternative position. (See
page 65 for details of jumper locations.) This forces the
Installer Key to the original factory default. Power the
DCM1 on, and enter Installer Mode, using the default key.
Set a new key in the Set Key menu function. Then go to
the Save Defaults menu function (see page 39) and
press the rotary control to save the current settings. Turn
the DCM1 off, replace J8 to its original position and refit
the top cover. On re-powering the DCM1, the new key
will be required to access Installer Mode.
RS232 Baud Rate
SELECT INPUT
Rotary Control sets Baud Rate
RS232 Baud Rate
9600
This menu function sets the data rate (baud rate) of the
DCM1’s RS-232 Control Port. If no external control system
or other equipment is connected to the RS-232 port, the
setting can be ignored.
Most control systems and other equipment using RS-232 are
able to operate with a wide range of baud rates. It may be
simpler to set the baud rate at the controller and leave the
DCM1’s setting at the default.
The default setting is 9600 baud (displayed as 9600). Use the
rotary control to change the setting. Alternative baud rates
are 300, 1200, 2400, 4800 and 19200. The baud rate applies to
both data transmit and receive.
The numeric buttons are not used in this function.
RS232 Flow
SELECT INPUT
Rotary Control sets RS232 flow option
RS232 Flow
No Flow
Some external equipment requires the RS-232 ports of devices
to which they are connected to be configured in a certain
way, particularly in regard to the way data flow between the
transmitting and receiving device is managed. The two most
common methods of data flow control are Xon/Xoff and
RTS/CTS
, alternatively referred to as software control and
hardware control respectively.
The rotary control selects which of these control methods is
applied to the port. A third option, the default, is for no flow
control to be applied.
The numeric buttons are not used in this function.
Note that hardware flow control requires additional pins on
the RS-232 port to be connected. See
page 66 for more
details.