Appendix b: cutter installation, Installing media and ribbon with cutter – Argox F1 User Manual
Page 78
78
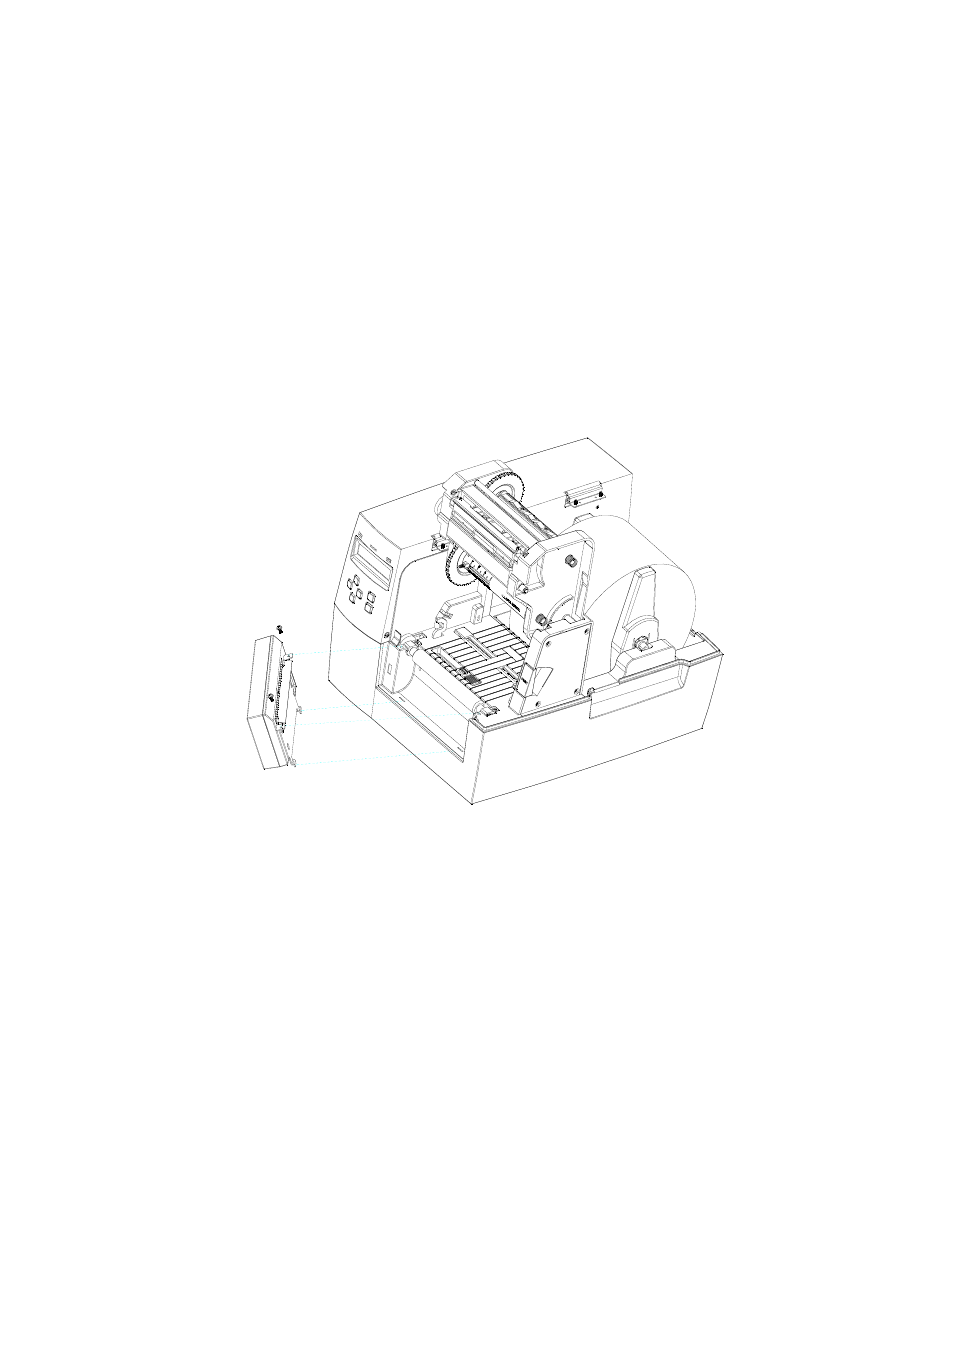
Appendix B: Cutter Installation
Follow this procedure to install a cutter in the printer.
1. Turn off the printer.
2. Remove the left cover and press down the TPH release lever to release
the print head module.
3. Locate the cutter in the two slots and secure two screws indicated in the
figure below.
4. Turn on the power switch and enable the cutter from the control panel.
Installing Media and Ribbon with Cutter
The first time after installation or after a cutter jam use the following procedure:
1. Put the media end on the roller.
2. Close the TPH latch.
3. Enter the setting menu on the panel. Enable print mode to cut and
choose rotate cutter function.
4. After the cutter is rotated exit the menu setting.
5. Press the feed button and one label feeds out and is cut.